Author Archive

Salesforce Integration – How to sync contacts tags

You can synchronize the platform with Salesforce or Salesforce with the platform through the integration:

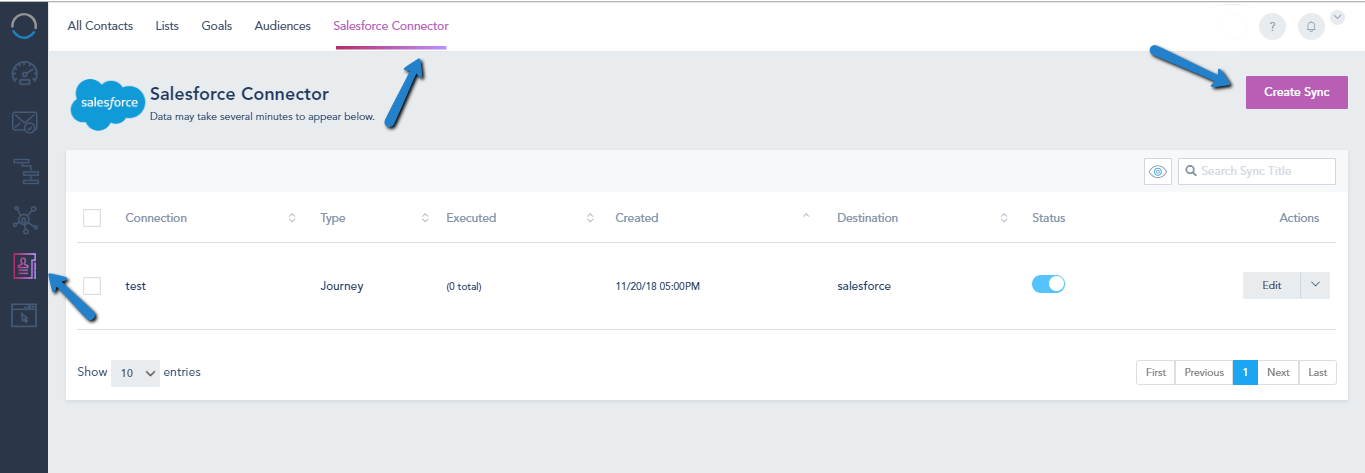
To access the integration tab for Salesforce, go to: Contacts > Salesforce Connector

Note: Salesforce is an Add-on that must be installed or part of your plan.

After going to Salesforce Connector, click Create Sync

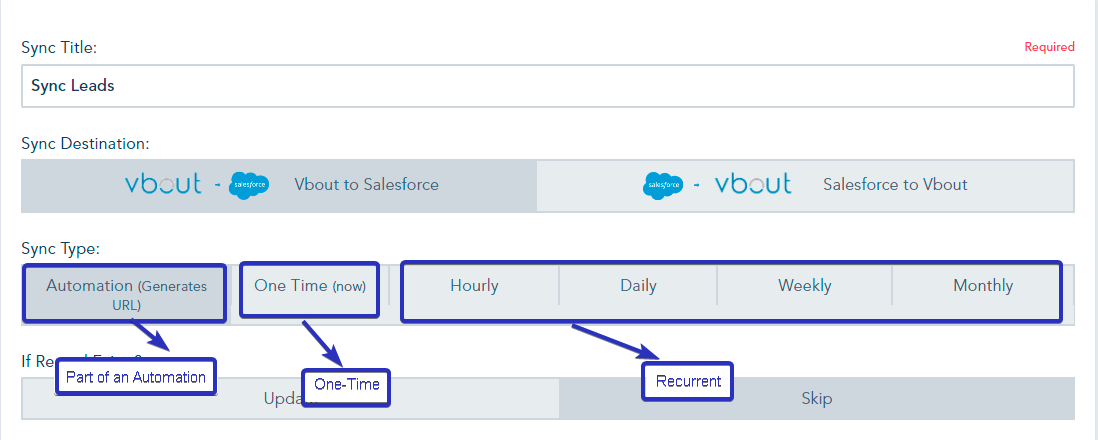
The sync is bi-directional and can be customized as a one-time, recurrent or part of an Automation at the contact level:

If you want to update an existing record, and not override an empty field, toggle this option:

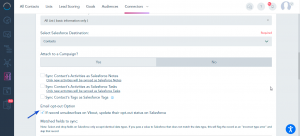
Afterward, Select Contact Email List to Sync and Salesforce Destination; you can now choose to Sync contact’s tags to Salesforce by clicking the checkbox:

Also, you have the option to sync unsubscribe contacts and update their opt-out status in SalesForce.

In order to sync contact tags make sure to allow tags in SalesForce.
Please check the Required editions and User permissions:

1- Required editions
Salesforce Classic (not available in all orgs)

2- User permissions needed to modify tag settings:
Customize Application

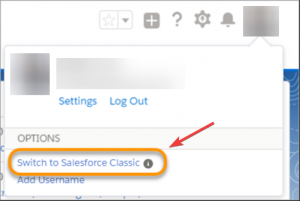
After switching to SalesForce classic you can now enable tags from the tag settings, To access your Tag settings, follow the steps below:

1- From Setup, enter Tag Settings in the Quick Find box, then select Tag Settings.
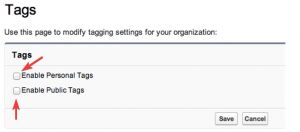
2- Select Enable Personal Tags and Enable Public Tags to allow users to add personal and public tags to records. Deselect both options to disable tags.


3- Specify which objects and page layouts display tags in a tag section at the top of record detail pages. The tag section is the only place where a user can add tags to a record.
For example, if you select only account page layouts, users in your org can only tag account records. If you select only account page layouts for personal tags and not public tags, users can tag account records only with personal tags.
4- Click Save.

Get Started

Tag Contacts when importing a CSV

When importing your database of contacts to a list, you will have the option to add the same tags to all the list users or Mass Import contact tags.

After creating your lists on your account, you have the option to import your database of contacts, to your lists, by using the Mass Import feature under the list Options. To access your mass import, follow the steps below:

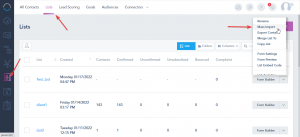
1- Go to your Contacts and select Lists tab from the top.

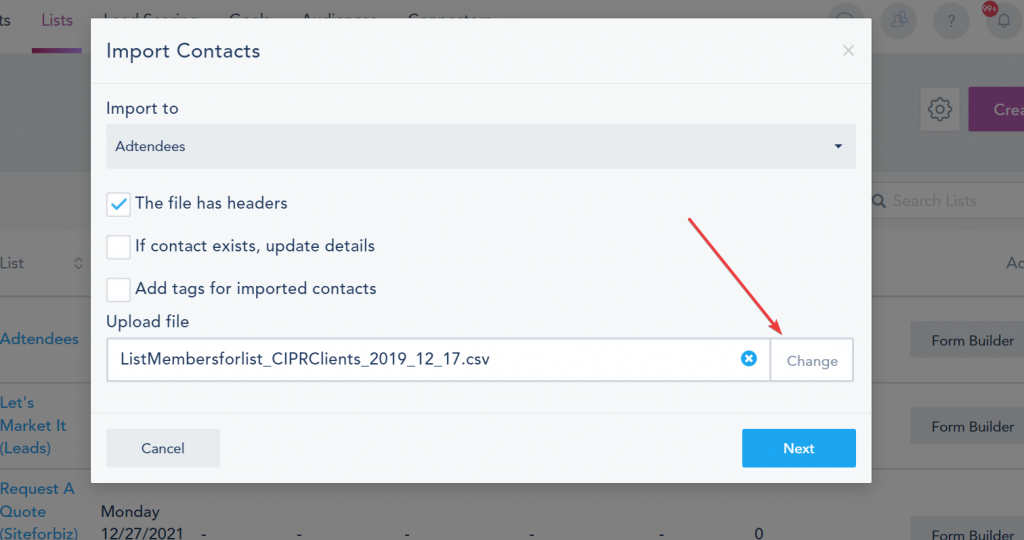
2- Choose the list you’d like to import tags to and click on Mass Import from the drop-down option.

There are two ways to apply tags to contacts:

1- Apply default fields

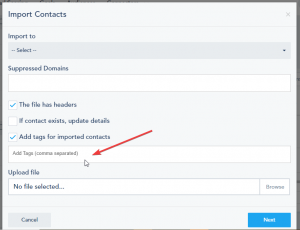
If you want to add the same tags to all the list contacts, select Add tags for imported contacts and add the desired tags separated by a comma.

2- Import unique Tags from the excel file:

1 – Upload a ready .CSV file and proceed to the next step.

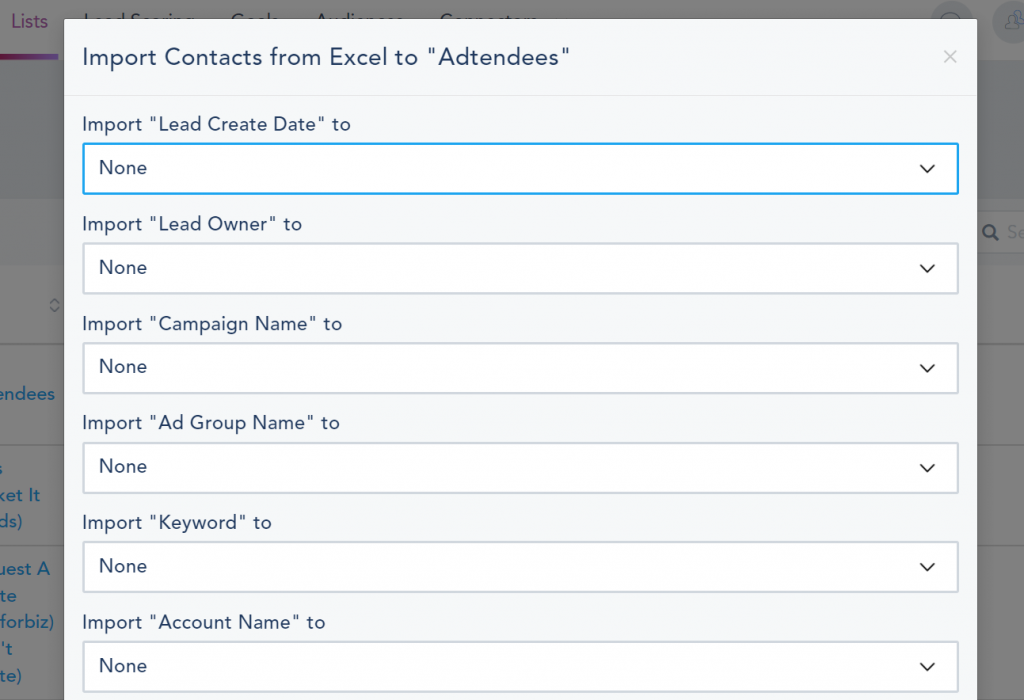
2 – Proceed to the next step where you can map the Excel file columns (Excel column names will appear above each field) to the corresponding fields you have created on your account under those list settings.

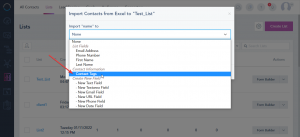
3 – To mass import tags to your contacts, choose the Contact Tags from the drop-down mapping and make sure the Excel tags column has comma-separated values if you are importing multiple tags to each contact.

Once you are ready, click on Import and the process will start.

An email summary of your import will be sent to the account admin email for all successful and failed imports.

Note: Random characters, badly formatted emails, and missing required fields might trigger errors in the upload process.


Get Started

How to enable Instagram Messages feed

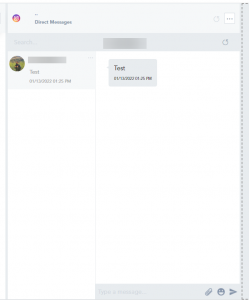
Instagram has a new privacy setting for “connected apps”, third-party tools and apps. Below is the process how to adjust your Instagram account settings and connect the inbox.

See screenshots of the process below. If permissions for your “connected apps” are not enabled, you will get an error code and the following details “The account owner has disabled access to Instagram direct messages” will be returned. This means we will not be able to pull in your direct messages until the permissions are resolved.

Go to the Instagram mobile app and follow the following steps to grant permissions:

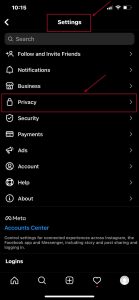
Click Settings, then, click Privacy.

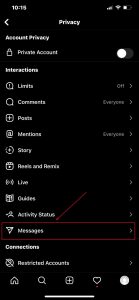
Click Messages.

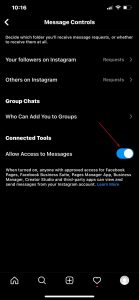
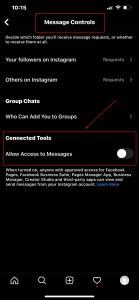
Scroll down to Connected Tools.

Click the toggle to Allow access to Messages.

In order to activate the feature in your account:

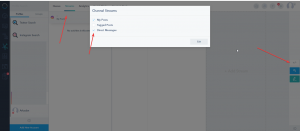
Enable the Direct Message option inside the social media streams.

The feature is active.

Get Started

Integrately Integration

Integrately is an app that allows you to integrate third-party apps with your VBOUT account.

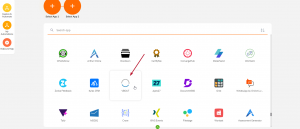
To connect Integrately, go to Integrations and click on Integrately:

It will open Integrately where you should log in, search for VBOUT and click on it:

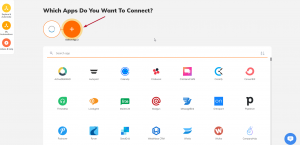
Select which apps you want to connect VBOUT with.

You will be able to create workflows:

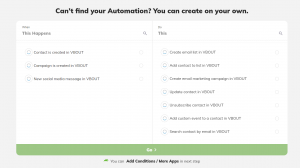
Setup the trigger and the action you want and click Go.

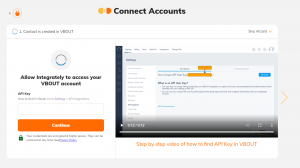
Once you add the API key and click on Continue, you will be able to use Integrately with your VBOUT account:

Below is a list of VBOUT triggers and actions available in Integrately

Triggers:

  • Contact is created in VBOUT
  • Campaign is created in VBOUT
  • New social media message in VBOUT
  • Tag is added to contact in VBOUT
  • Contact is updated in VBOUT

Actions:

  • Create email list in VBOUT
  • Add contact to list in VBOUT
  • Create email campaign in VBOUT
  • Update contact in VBOUT
  • Unsubscribe contact in VBOUT
  • Add custom event to a contact in VBOUT
  • Search contact by email in VBOUT
  • Add tag to contact in VBOUT

Get Started

How to create Folders

You can store and organize your data tables (Lists, Audiences, Goals, Lead Scores, Landing Pages, Site Messages, Automations, Automation Messages, Email Campaigns, Email Templates and Reports) by grouping them into a folder.

Creating a folder

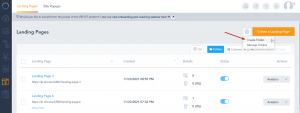
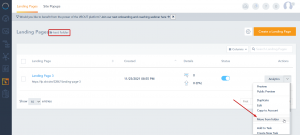
From the top right, you can click on the gear icon and choose Create Folder

Type the desired name for the folder and press Submit. Folders are shared across different features on the platform but only display the content of the data table you are on.

Note: The created folder will not be displayed in the Folders View until it contains at least one asset.

Renaming a folder

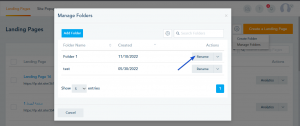
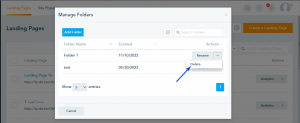
To rename your folder, click on Manage Folder from the gear icon and click on Rename.

Deleting a folder

To delete a folder, you can click on Manage Folders from the gear icon. Note that deleting a folder with assets will move those assets to the feature’ default data table.

After you confirm deletion all the assets inside the folder will be extracted to its features root.

Folder settings

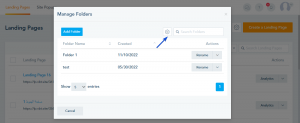
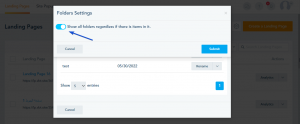
To access your folder settings, you can click on Manage Folders from the gear icon and then click on the gear icon in the next window. The Folder settings provide you with the option to show folder with no assets.

You need to enable the option in order to show folder with no assets and click on Confirm.

Adding assets to a folder

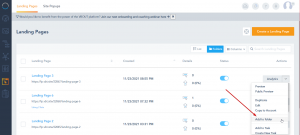
From the dropdown, choose Add to Folder to add an asset to a folder that already exists.

The folder will then appear on your data table and you can click view to see the assets that are inside that folder. You can also Rename or Delete the folder from the dropdown.


Moving assets from a folder

Navigate your way inside the folder, click on the dropdown option of an asset and choose Move from Folder. Follow the prompt to choose the new destination for that asset.

Select the destination folder.

Adding assets as bulk to a folder

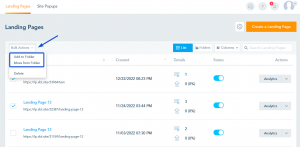
Select your assets, click on  Bulk Actions drop-down and  choose Add to Folder/ Move from Folder.

Get Started

Syncspider Integration

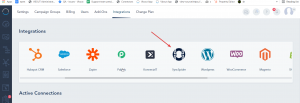
To install Syncspider’s Integration, go to Integrations, and click on Syncspider:

When you click on Syncspider, a new tab will be opened where you should log in or start your free trial:

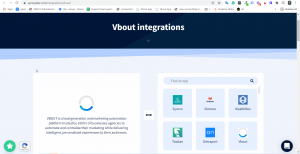
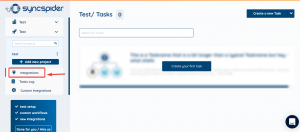
First, log in to your SyncSpider account, and click on the option Integrations located on the left side of the screen, as shown below:

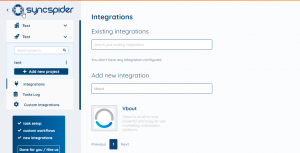
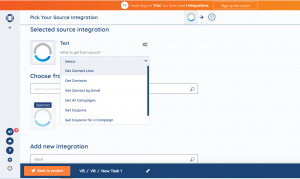
Select VBOUT application from the list of integrations, or use the search bar to find it.

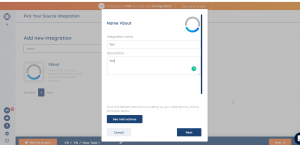
After selecting Vbout, enter the integration name and description (optional) then click on the Next button.

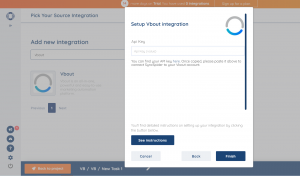
Sign in to connect Syncspider with your VBOUT account by pasting your API key:

You will be able to create workflows:

Choose the trigger.
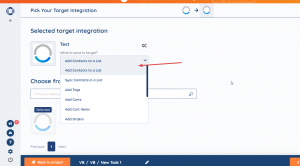
Once you set up the trigger, set up the action:

After choosing the action, click Save & Send Test Request or Save.

Below is a list of VBOUT Get and Send actions available in SyncSpider:

Get Actions:

  • Get Contact Lists
  • Get Contacts
  • Get Contact by Email
  • Get All Campaigns
  • Get Coupons
  • Get Coupons for a Campaign

Send Actions:

  • Create Contacts to a List
  • Sync Contacts in a List
  • Add Tags
  • Add Carts
  • Add Cart Items
  • Add Orders
  • Add Activities
  • Add Product Search
  • Add Product View
  • Add Category View
  • Add/Update Customers

Get Started

Twilio Phone Call Configurations

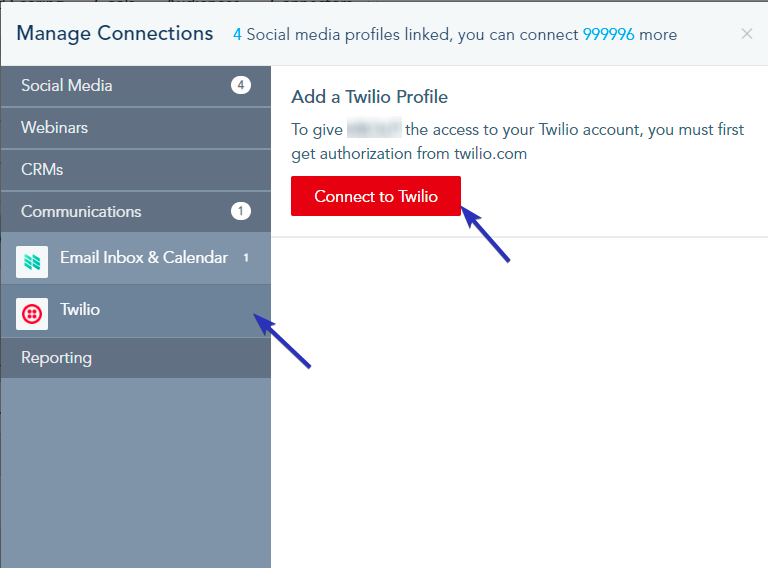
In order to connect your Twilio account, go to the Connection Center, and choose Connect to Twilio.


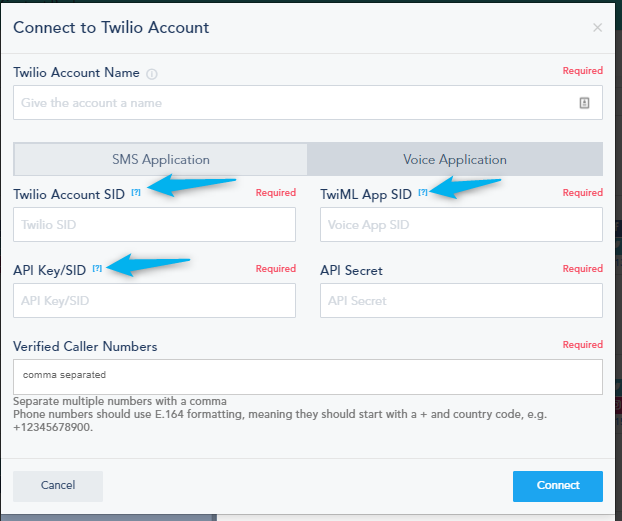
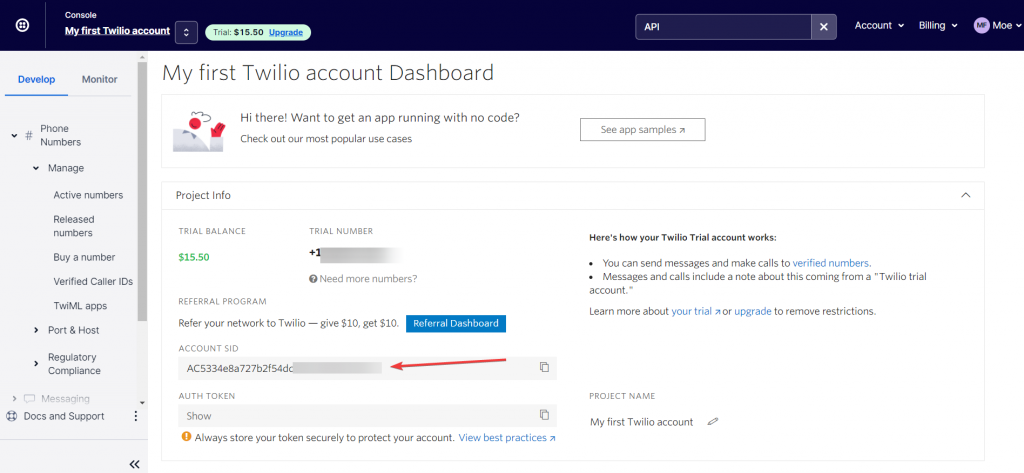
To complete the Twilio connection, you need to add the required keys. Please follow these steps to find your keys in Twilio:

1-Twilio Account SID:

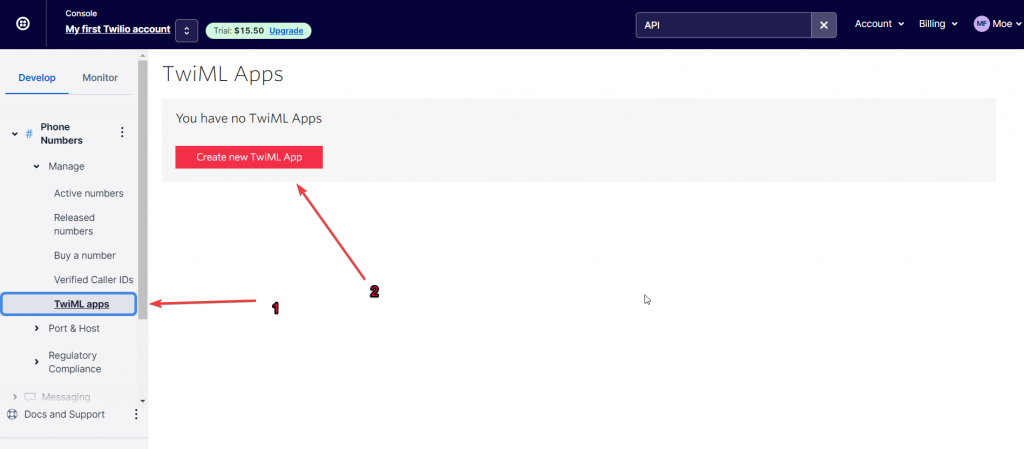
2-TwiML APP SID:

Create a new TwiML App.

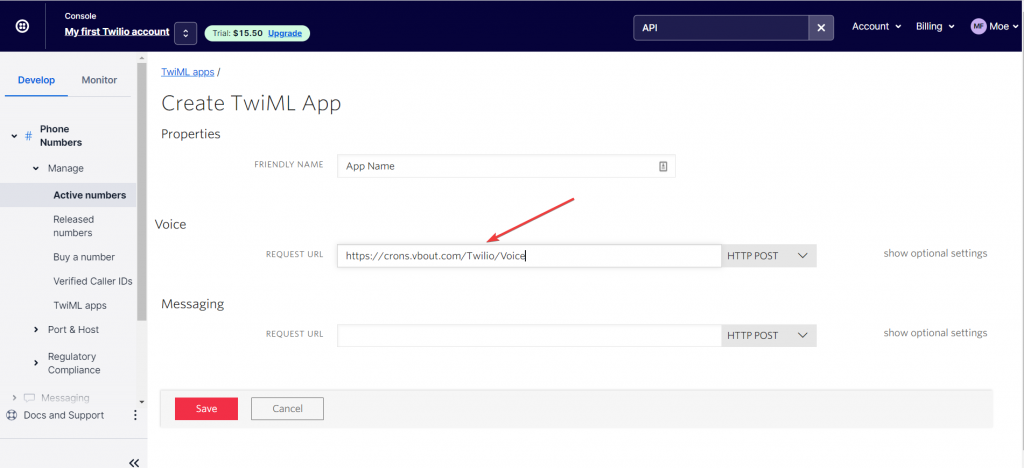
Give the app a name and paste the webhook URL(https://crons.vbout.com/Twilio/Voice).

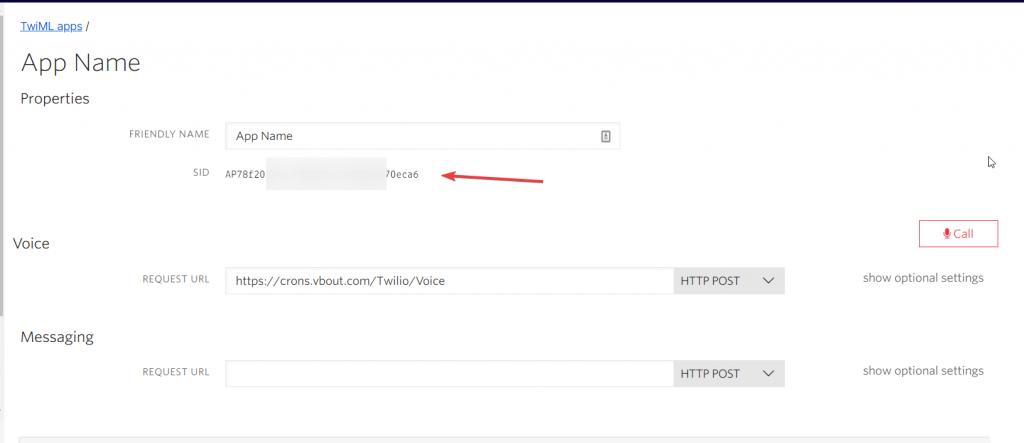
After saving changes the TwiML APP SID will show.

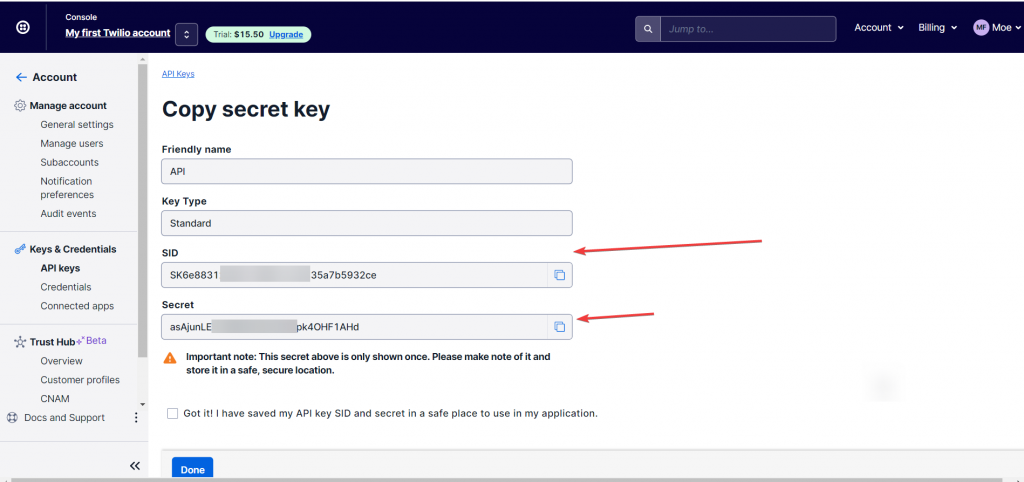
3-API Key/SID & API Secret

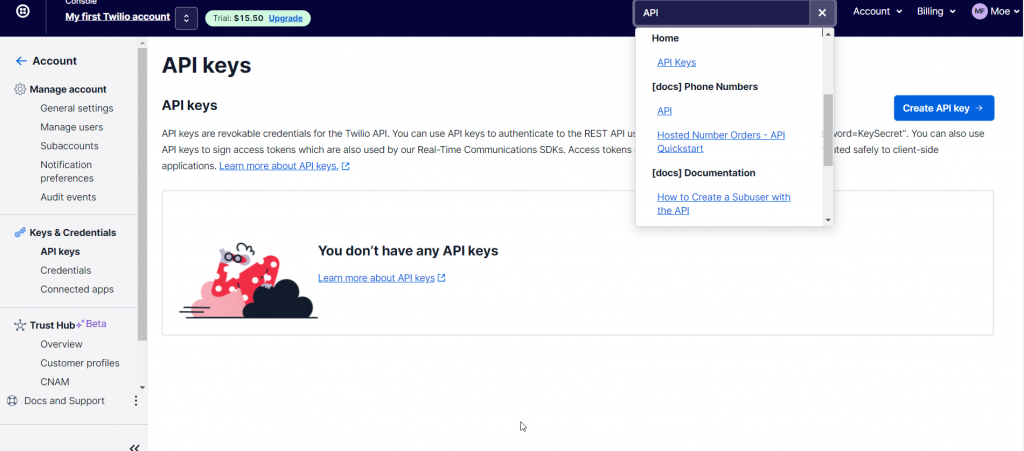
Search for API keys and create a new API key.

Make sure to save the API Secret in a safe place in order to use it later.
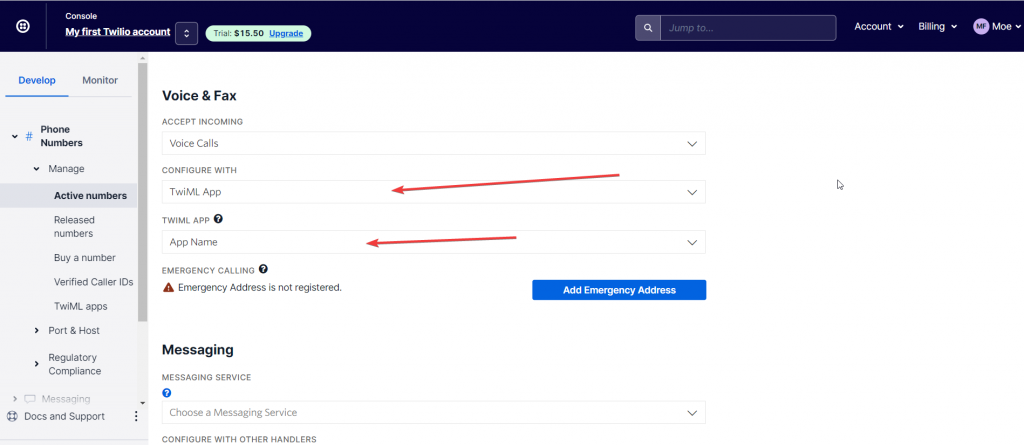
One last step before switching back to VBOUT is to assign the TwiML APP to the active phone number.
Get Started

Adding browser push to your workflows

To use Browser Push in a Workflow we should:

  1. Create a Browser Push Template
  2. Create a workflow using Browser Push Trigger
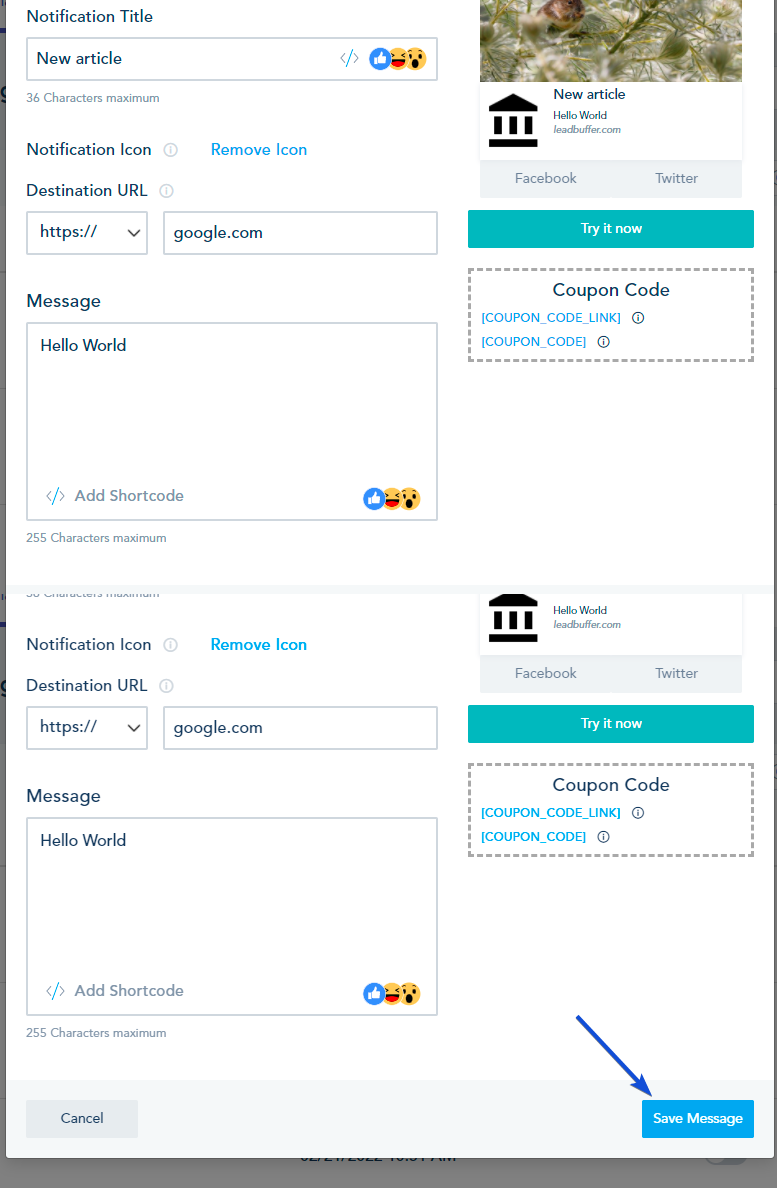
  • Go to Automated Messages, click on Create Automated Message > Create Browser Push Template.


  • Insert your Browser Push Message info and click Save Message.


  • Go to Automation and click on Create Automation.
    Check this article in case you don’t know how to create automation.


  • Drag and drop any Trigger, then the Browser Push Action.
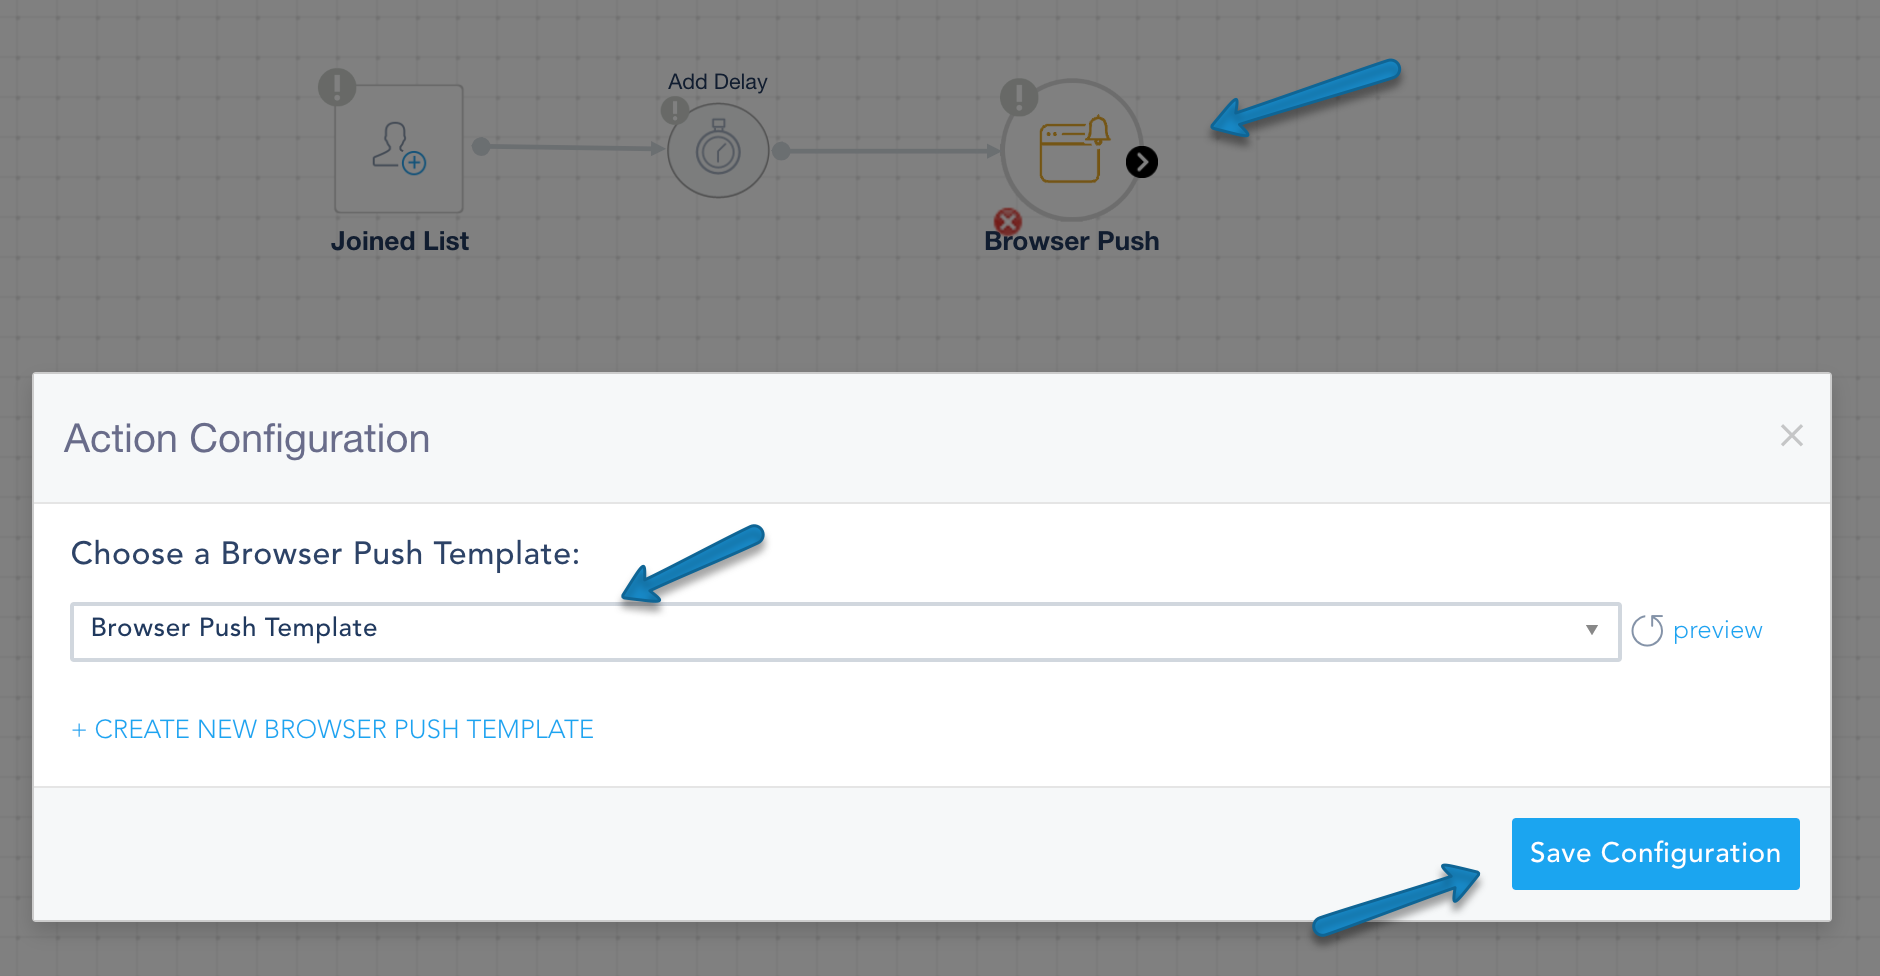
    As an example, we will use Joined List Action, a Delay and Browser Push. Choose a List, put any Delay and double click on the Browser Push to choose the template we’ve created earlier and click on Save Configuration.


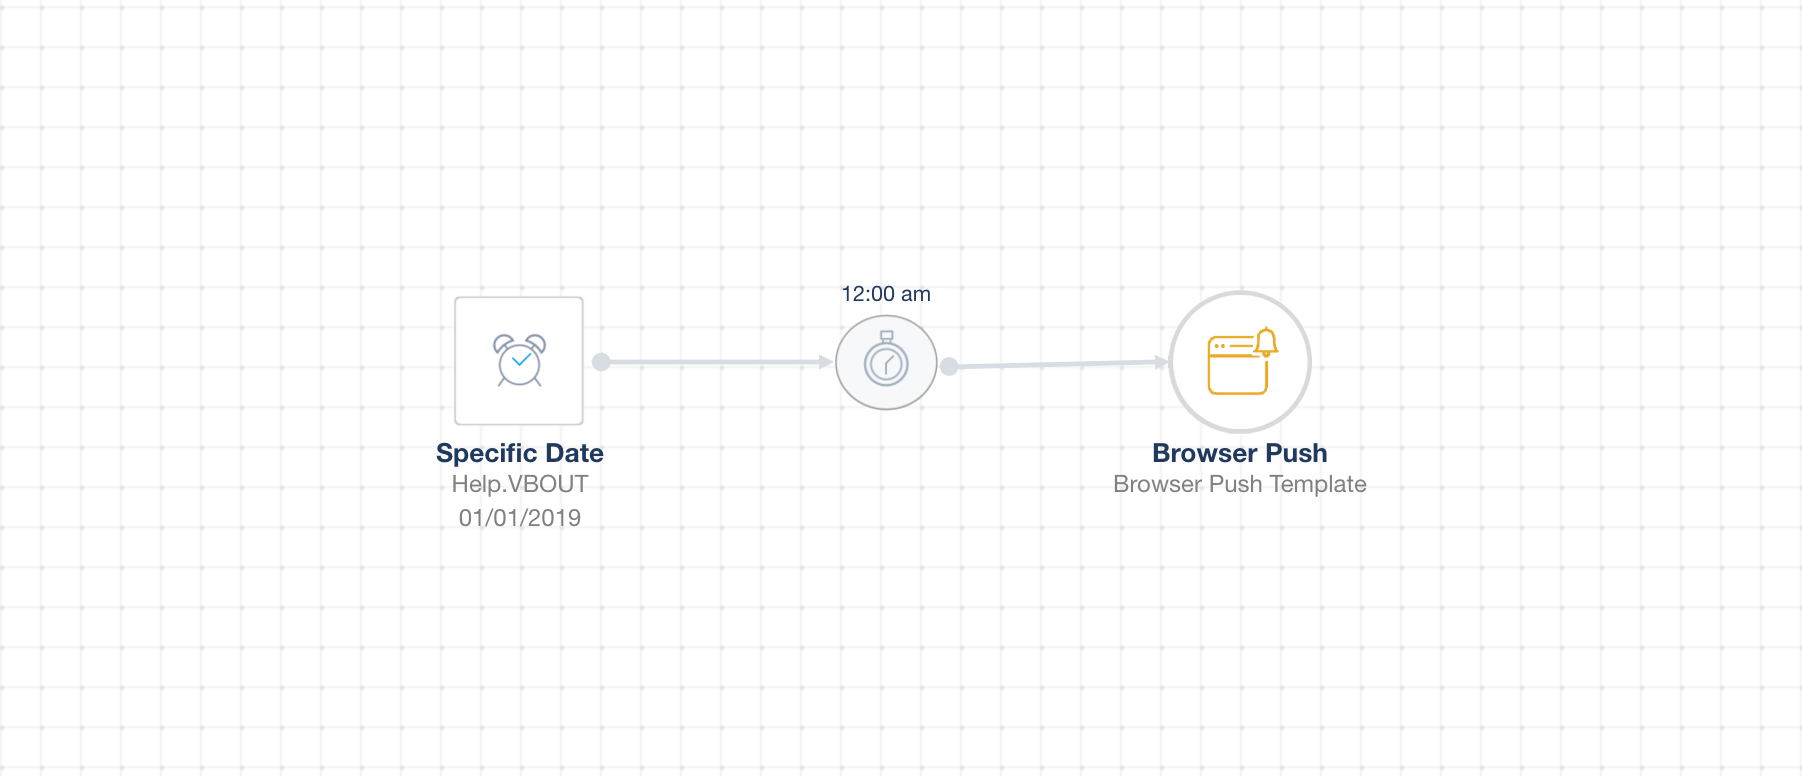
  • Now we have the Automation ready with the Browser Push Action.


  • You can see full analytics on each automated Browser Push message added to a workflow. You can access them under the Analytics portion of your Automated Messages.

Get Started

Vanity URLs

Activating Vanity URLs will allow you to use your own custom domain for tracking email and social media links. This way when your contacts click on any link you send them via email or social media posts, they will see your custom domain.

This option requires adding some code that is provided to your .htaccess file in order for this to be fully functional.  We will see now how to do that.

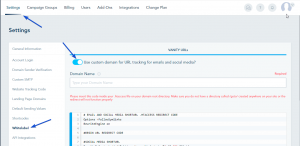
Go to Settings -> Whitelabel -> toggle on the Vanity URL

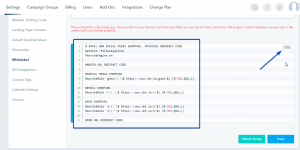
Copy the code provided.

After you add it to your .htaccess file, you can click on check setup.

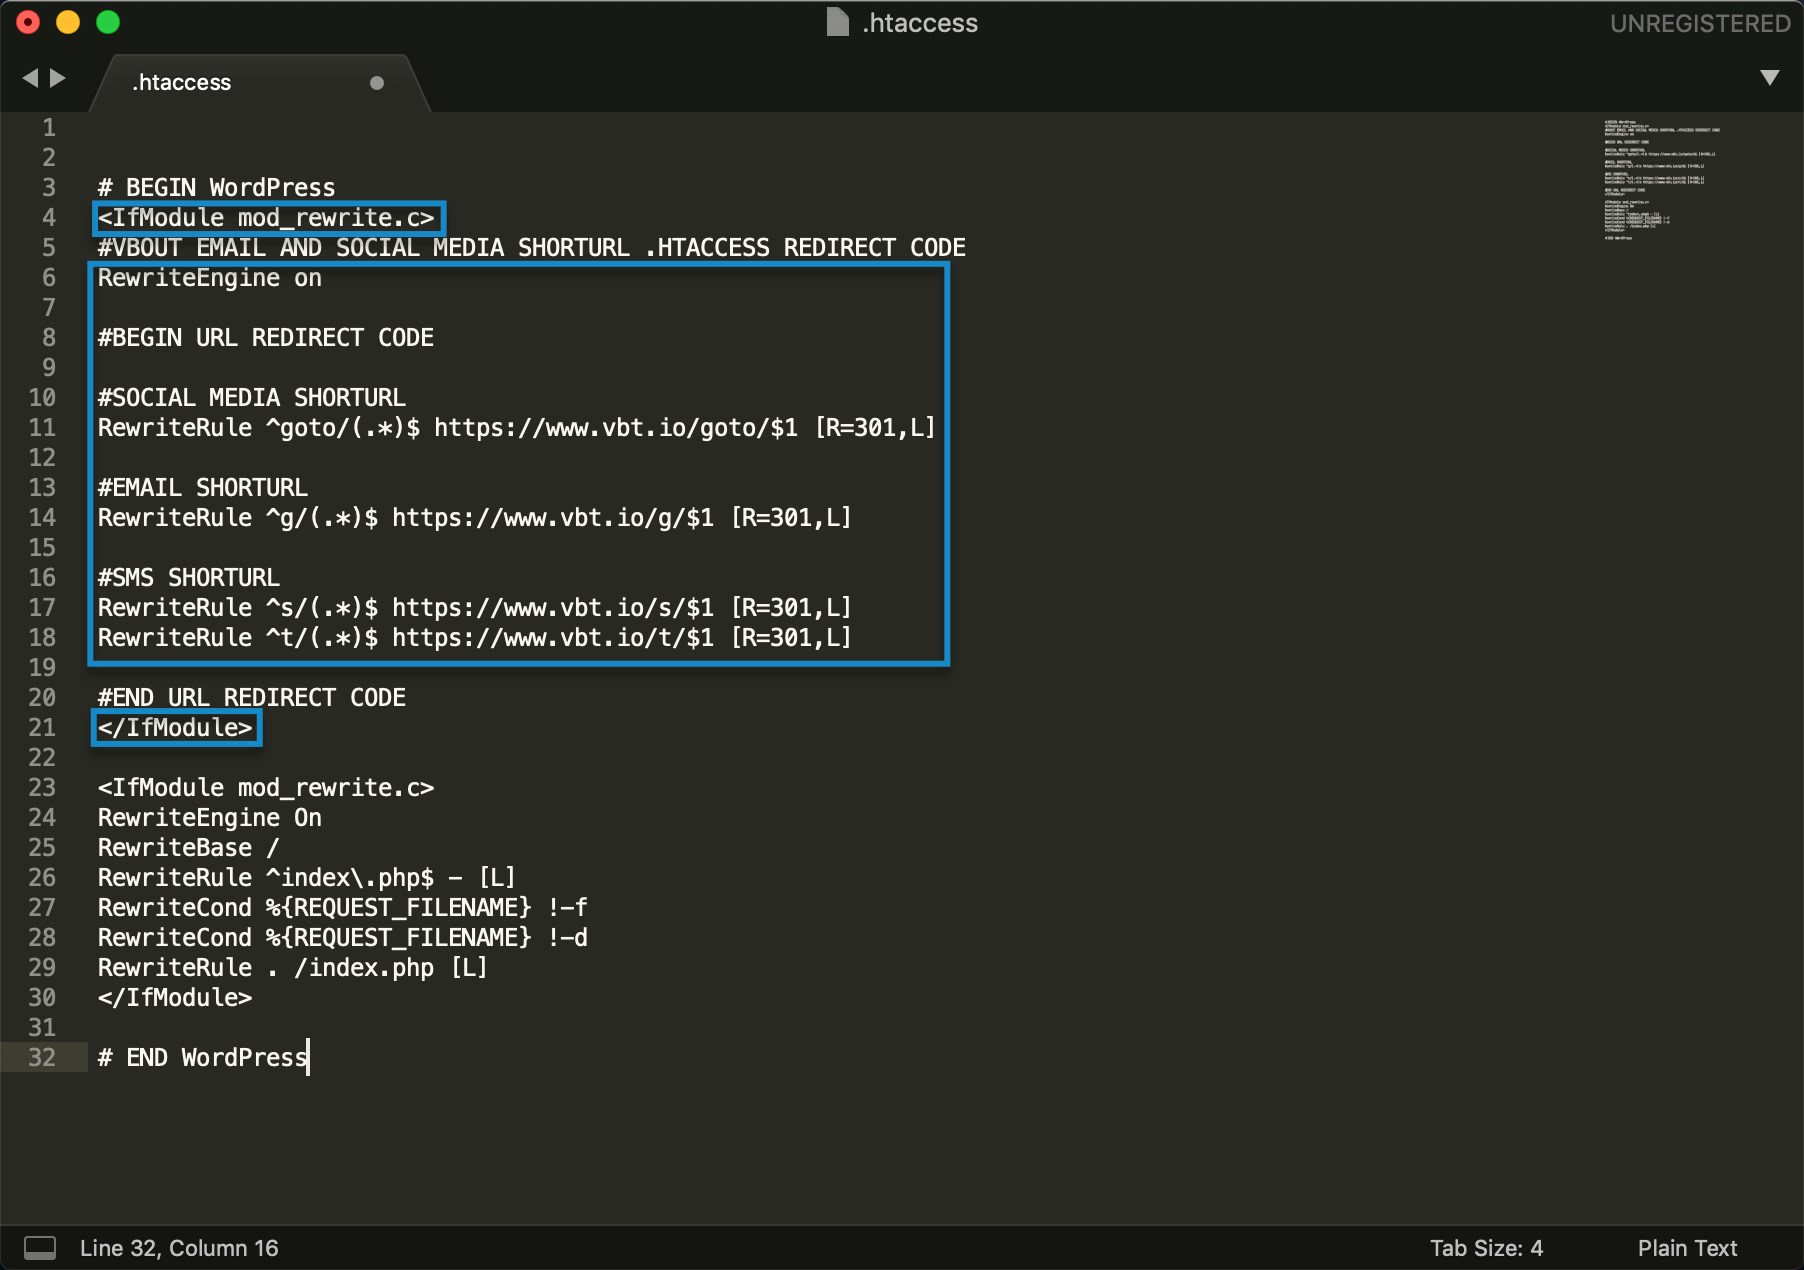
In your .htaccess file insert a new IfModule by putting <IfModule mod_rewrite.c>
Then paste our code and close the IfModule by putting </IfModule>

Note that if you have an <IfModule mod_rewrite.c> inside your .htaccess file, make sure to put our IfModule before all the IfModule you already have.

Get Started