You can store and organize your data tables (Lists, Audiences, Goals, Lead Scores, Landing Pages, Site Messages, Automations, Automation Messages, Email Campaigns, Email Templates and Reports) by grouping them into a folder.
Creating a folder
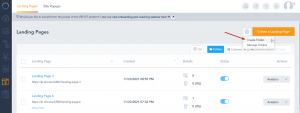
From the top right, you can click on the gear icon and choose Create Folder
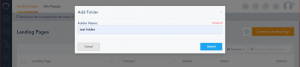
Type the desired name for the folder and press Submit. Folders are shared across different features on the platform but only display the content of the data table you are on.
Note: The created folder will not be displayed in the Folders View until it contains at least one asset.
Renaming a folder
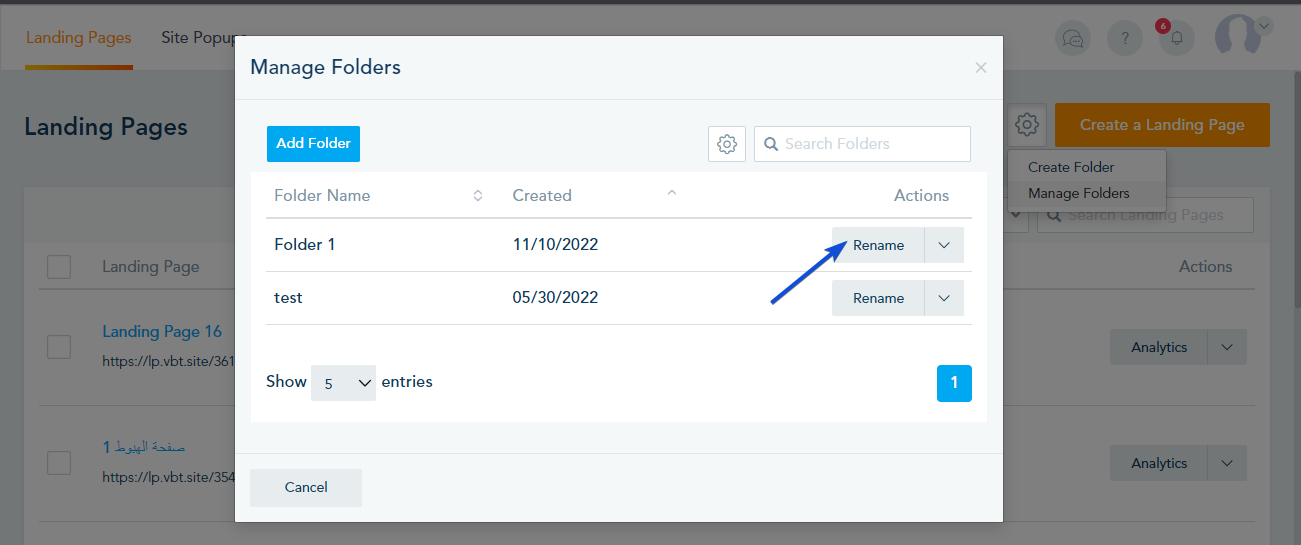
To rename your folder, click on Manage Folder from the gear icon and click on Rename.
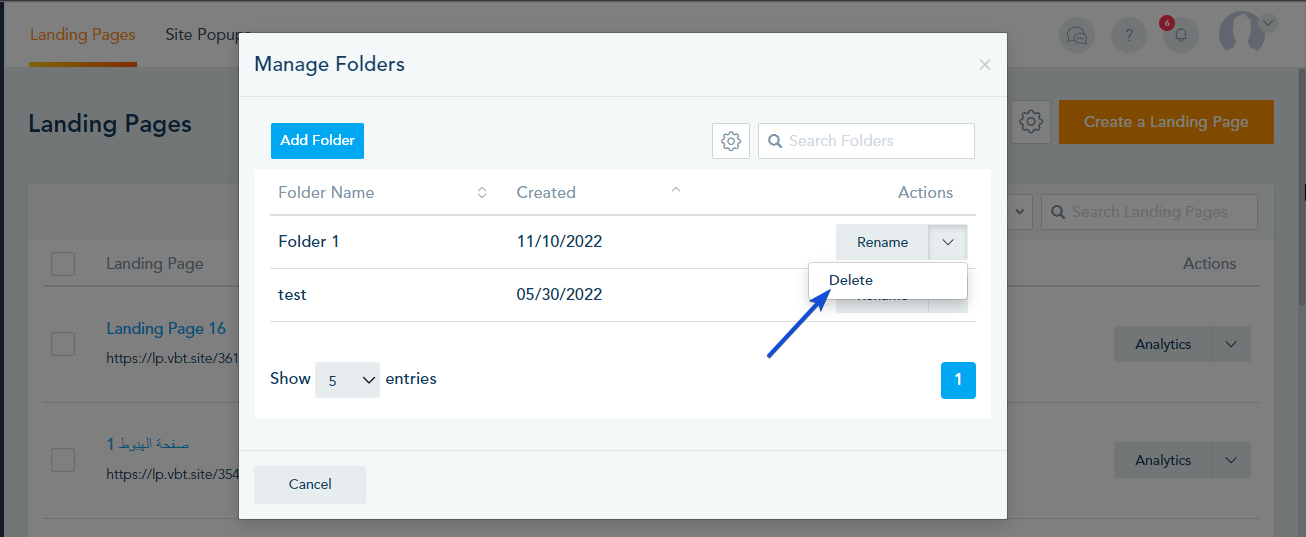
Deleting a folder
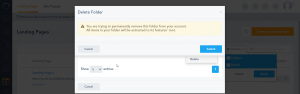
To delete a folder, you can click on Manage Folders from the gear icon. Note that deleting a folder with assets will move those assets to the feature’ default data table.
After you confirm deletion all the assets inside the folder will be extracted to its features root.
Folder settings
To access your folder settings, you can click on Manage Folders from the gear icon and then click on the gear icon in the next window. The Folder settings provide you with the option to show folder with no assets.

You need to enable the option in order to show folder with no assets and click on Confirm.
![]()
Adding assets to a folder
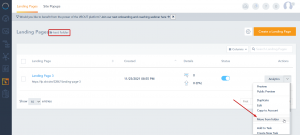
From the dropdown, choose Add to Folder to add an asset to a folder that already exists.
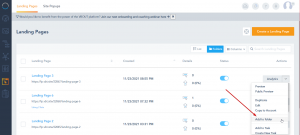
The folder will then appear on your data table and you can click view to see the assets that are inside that folder. You can also Rename or Delete the folder from the dropdown.
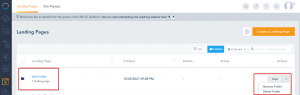
Moving assets from a folder
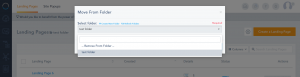
Navigate your way inside the folder, click on the dropdown option of an asset and choose Move from Folder. Follow the prompt to choose the new destination for that asset.
Select the destination folder.
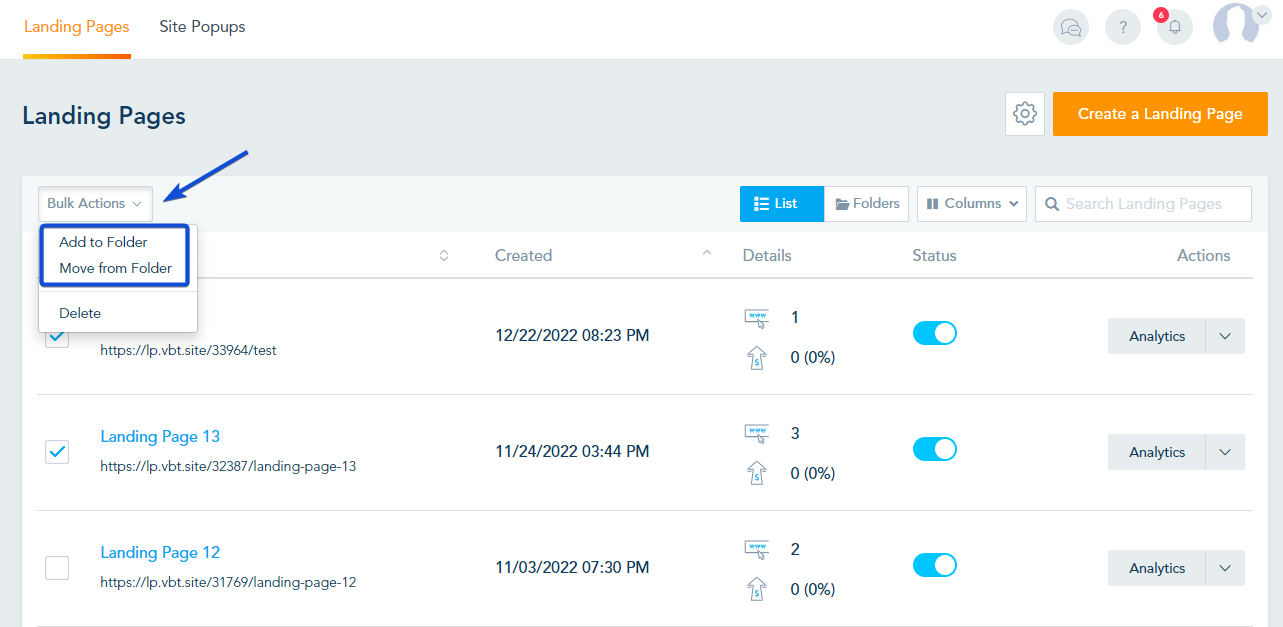
Adding assets as bulk to a folder
Select your assets, click on Bulk Actions drop-down and choose Add to Folder/ Move from Folder.