
You can synchronize the platform with Salesforce or Salesforce with the platform through the integration:
To access the integration tab for Salesforce, go to: Contacts > Salesforce Connector
Note: Salesforce is an Add-on that must be installed or part of your plan.
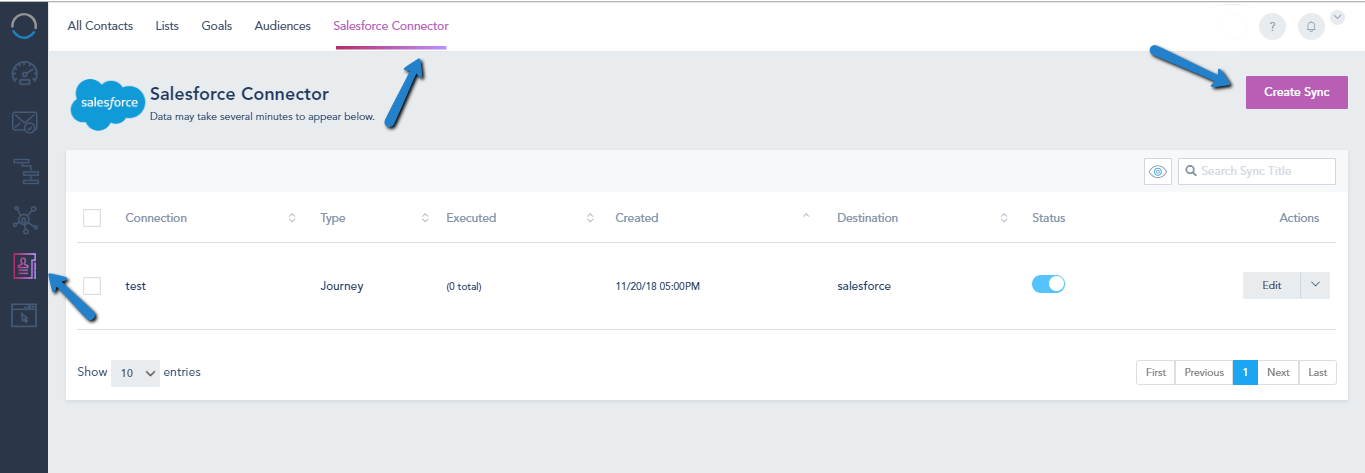
After going to Salesforce Connector, click Create Sync
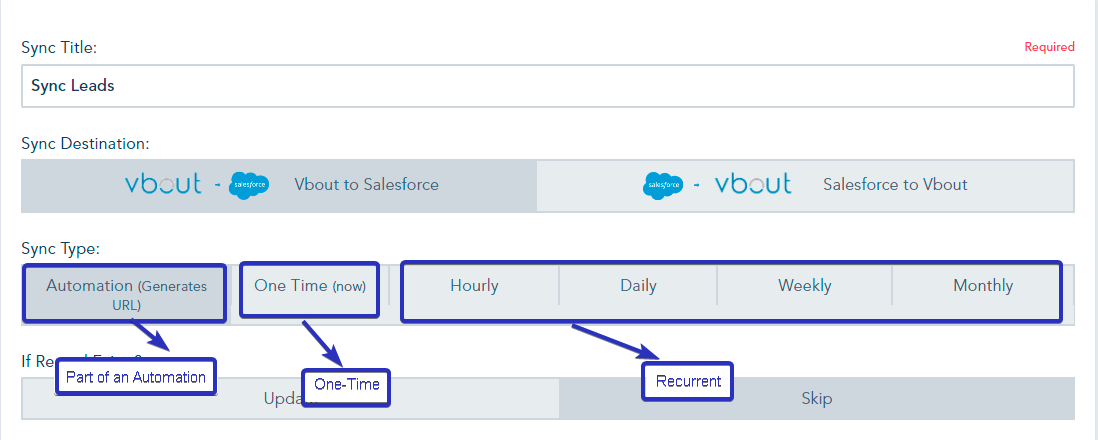
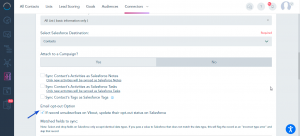
The sync is bi-directional and can be customized as a one-time, recurrent or part of an Automation at the contact level:
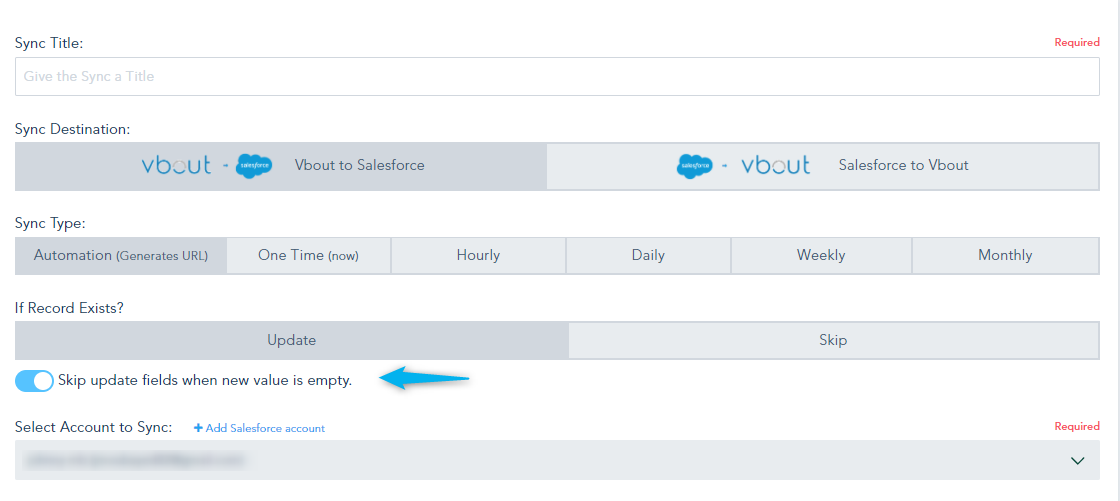
If you want to update an existing record, and not override an empty field, toggle this option:
Afterward, Select Contact Email List to Sync and Salesforce Destination; you can now choose to Sync contact’s tags to Salesforce by clicking the checkbox:
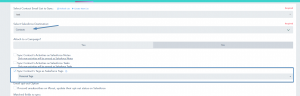
Also, you have the option to sync unsubscribe contacts and update their opt-out status in SalesForce.
In order to sync contact tags make sure to allow tags in SalesForce.
Please check the Required editions and User permissions:
1- Required editions
Salesforce Classic (not available in all orgs)
2- User permissions needed to modify tag settings:
Customize Application
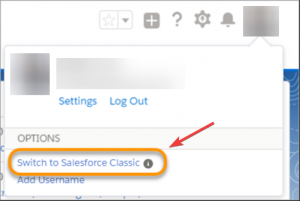
After switching to SalesForce classic you can now enable tags from the tag settings, To access your Tag settings, follow the steps below:
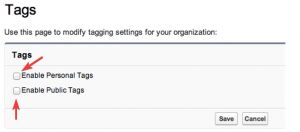
1- From Setup, enter Tag Settings in the Quick Find box, then select Tag Settings.
2- Select Enable Personal Tags and Enable Public Tags to allow users to add personal and public tags to records. Deselect both options to disable tags.
3- Specify which objects and page layouts display tags in a tag section at the top of record detail pages. The tag section is the only place where a user can add tags to a record.
For example, if you select only account page layouts, users in your org can only tag account records. If you select only account page layouts for personal tags and not public tags, users can tag account records only with personal tags.
4- Click Save.