Email clients will automatically clip all emails with a message size larger than 102KB. This means that your recipients do not see all the content of your email, unless they click the link at the bottom.
To avoid your email from being clipped, make sure to follow the below recommendations:
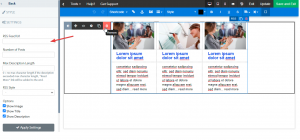
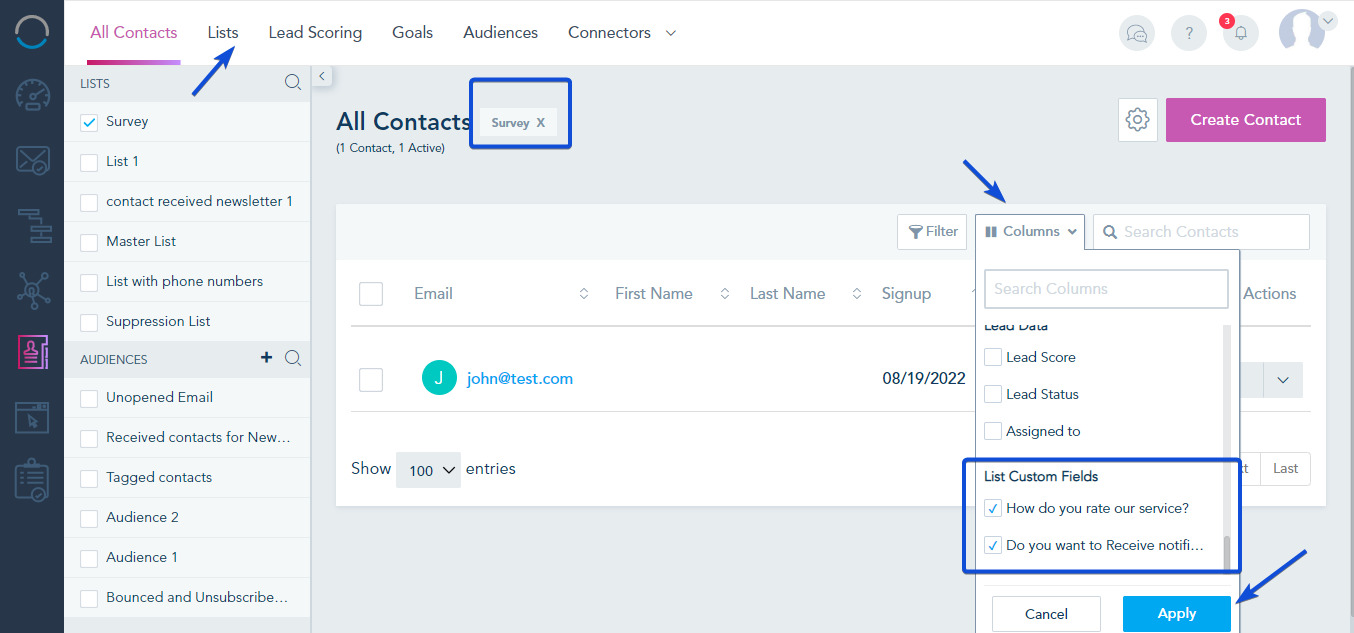
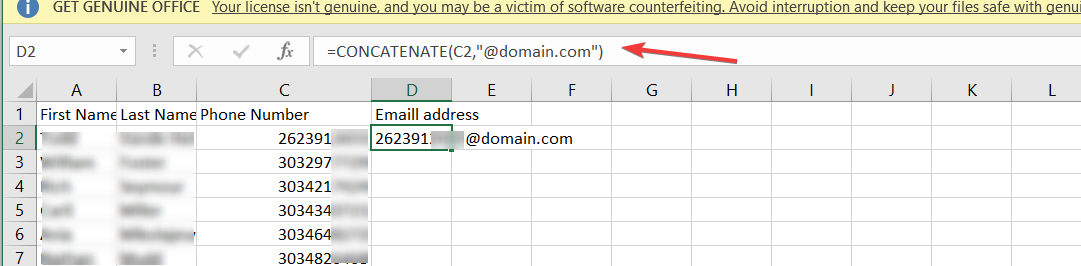
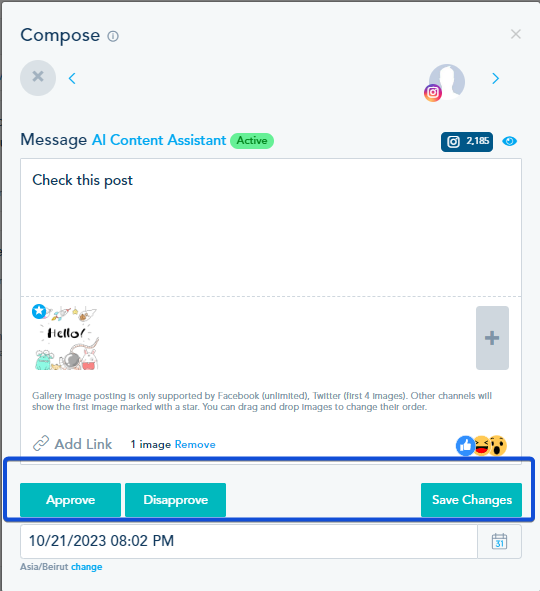
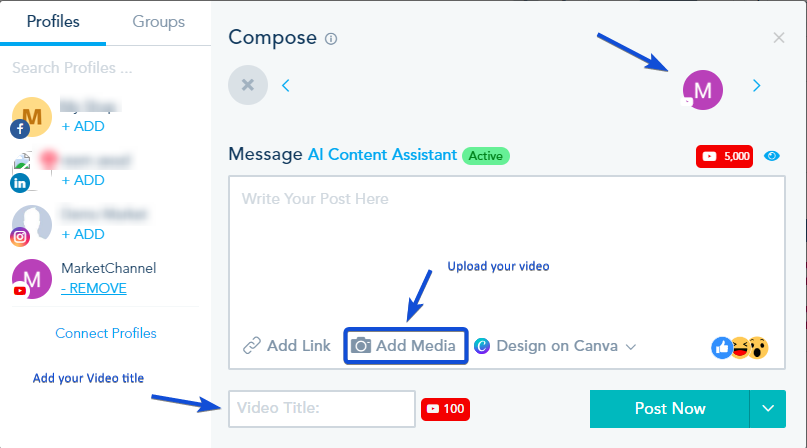
- Optimize your images: Make sure that the images used in the email have a small size.
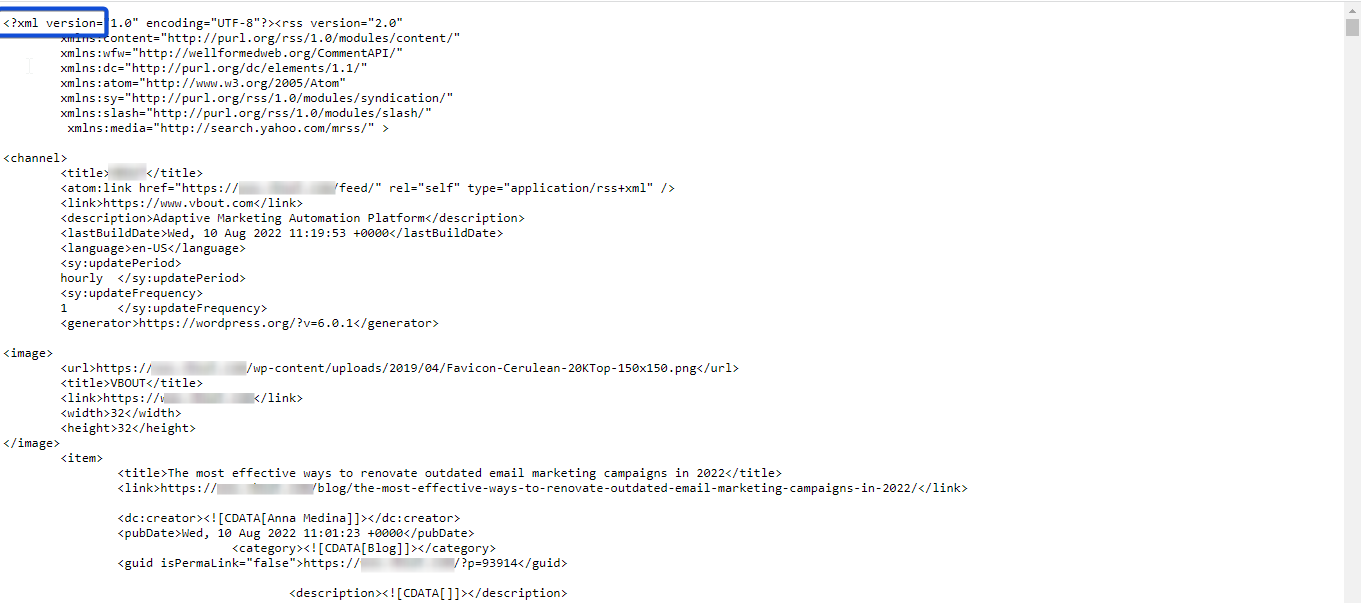
- Make sure your email does not contain any inherited code.
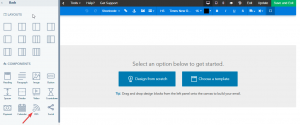
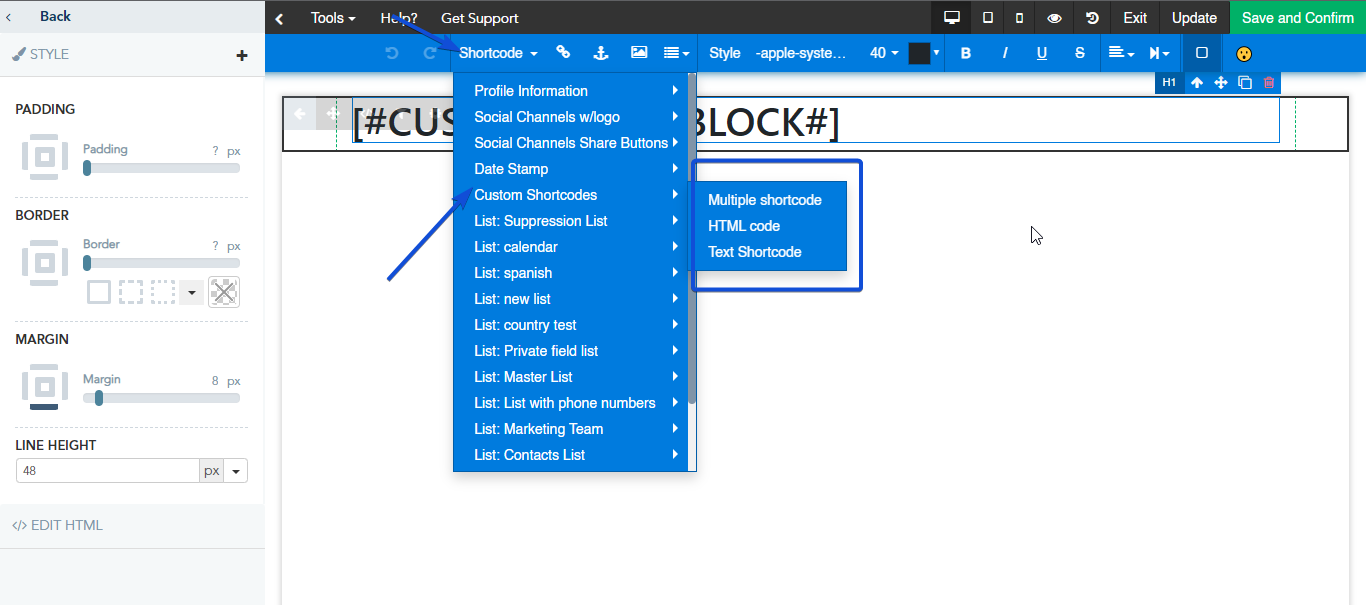
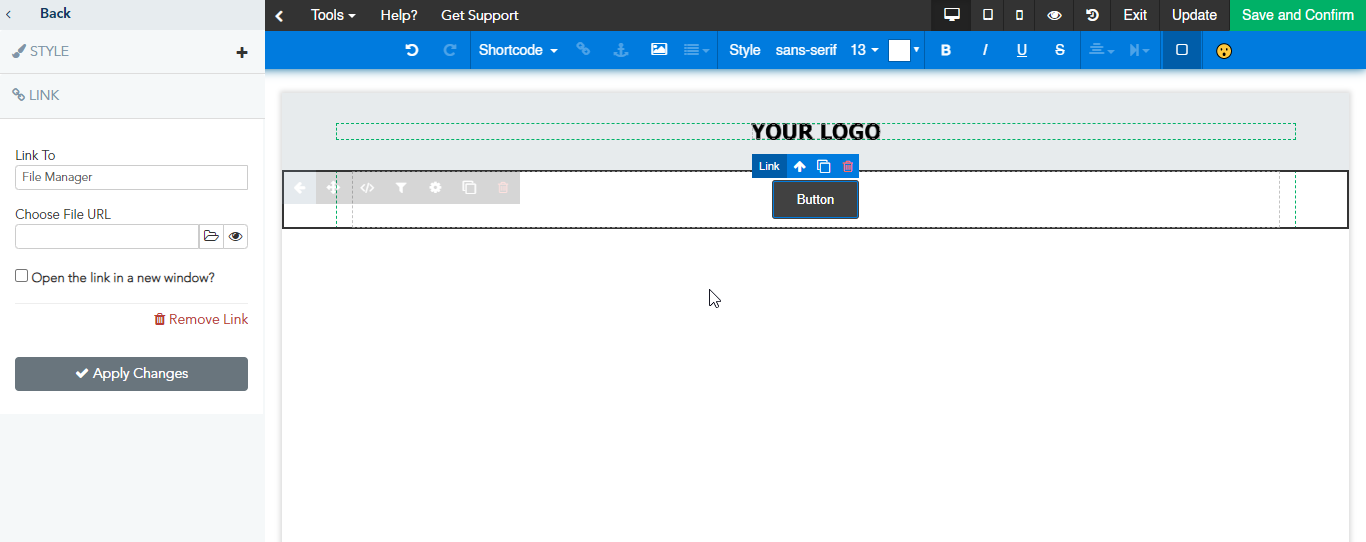
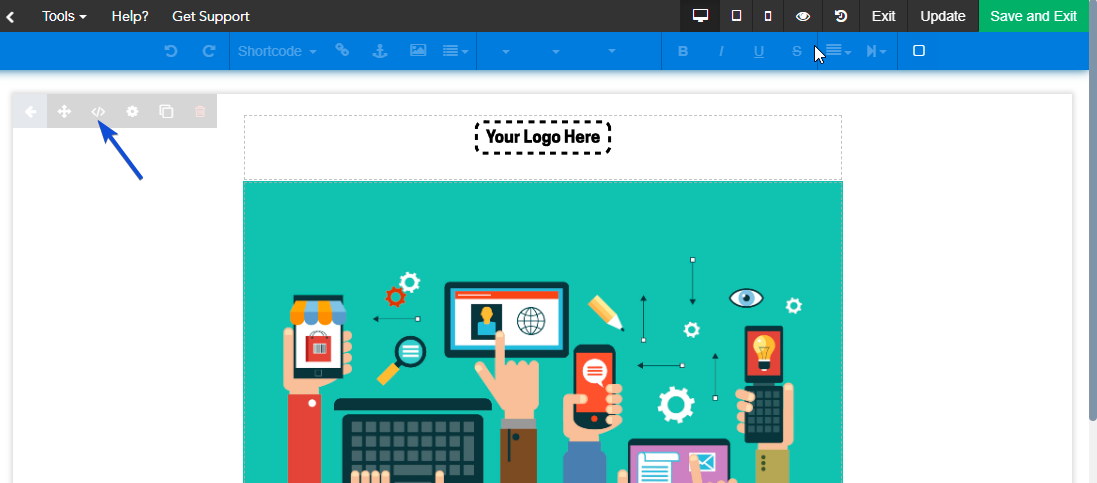
In some cases, your browser extension may add some code to your email while building it. To check your email code, open your email block source code from the builder and make sure it does not contain thousands lines of code.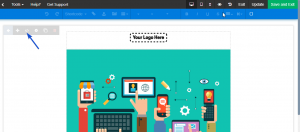
- Make sure your email is not too long.
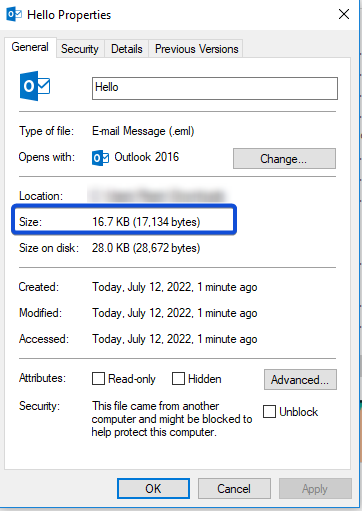
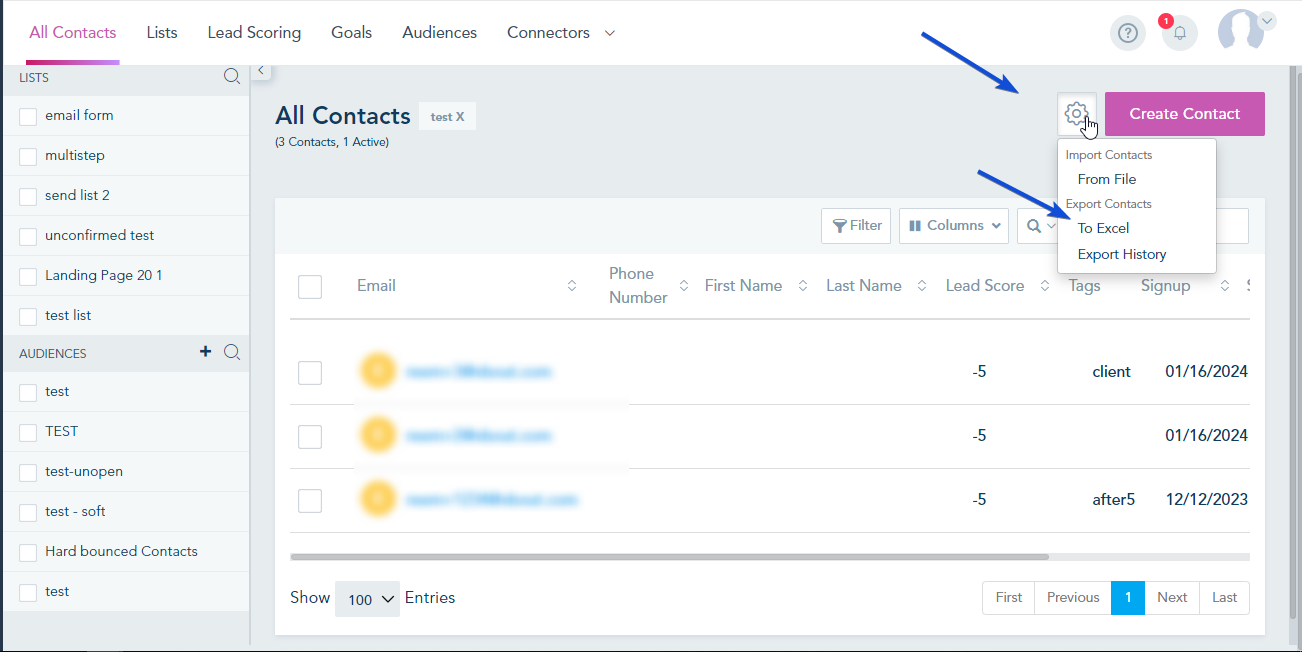
Finally, to check the exact size of your email, send it as a campaign and download the email.
Once downloaded you can check its size from the file properties.