
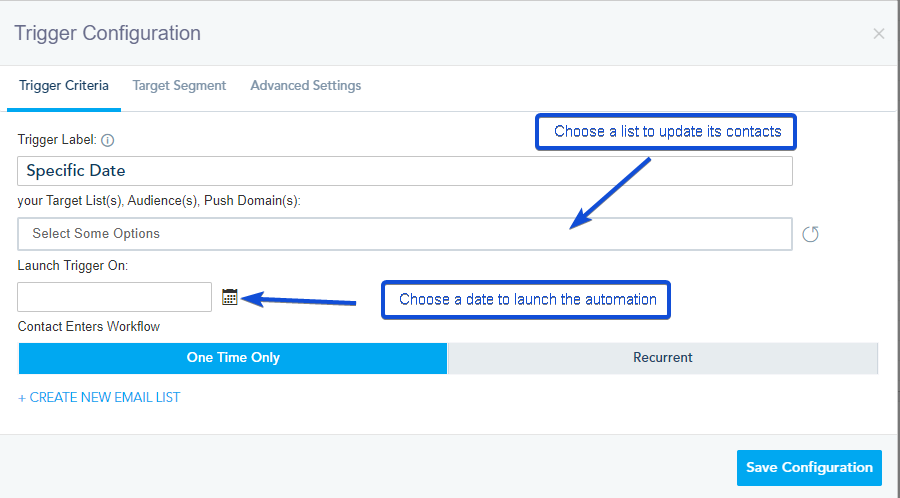
Creating a booking calendar, allows your clients to view, manage, and schedule appointments, reservations, or events within a specific timeframe. Clients can typically see availability, book slots, cancel or reschedule appointments, and receive reminders.
Using the platform, you can create booking calendars that connect directly with your Google Calendar or Outlook Calendar.
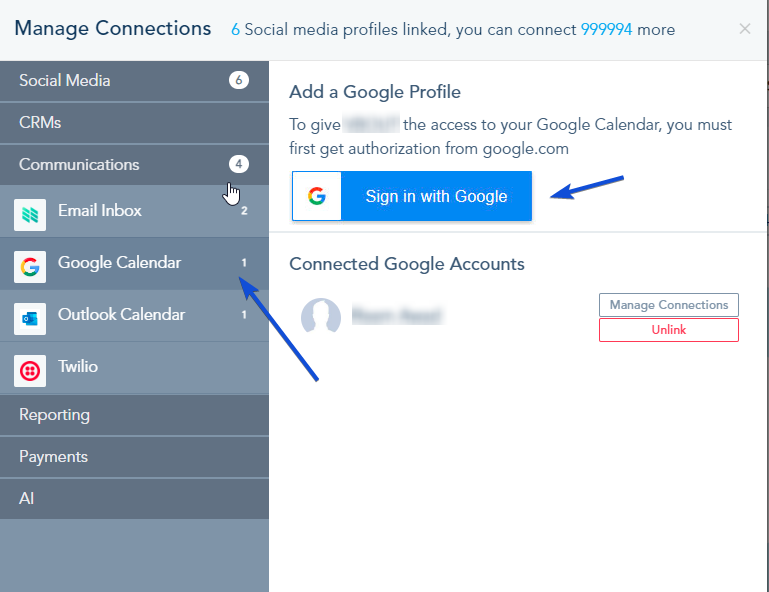
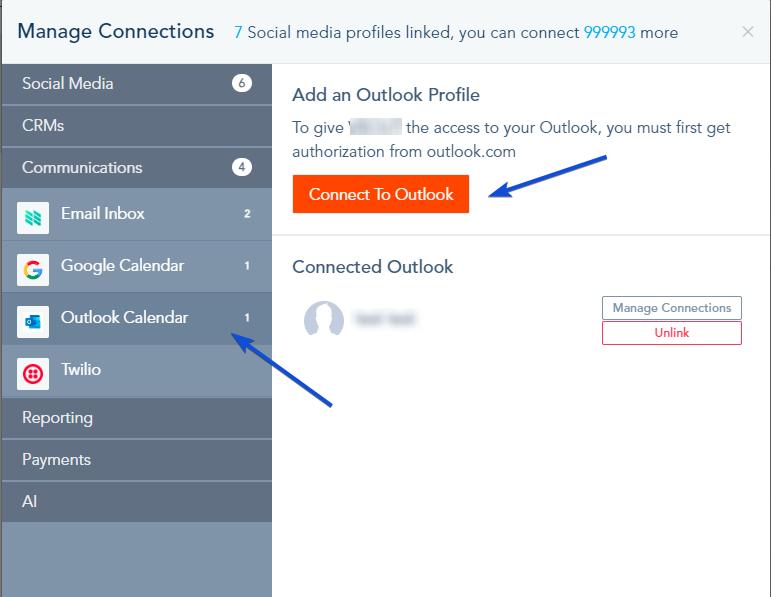
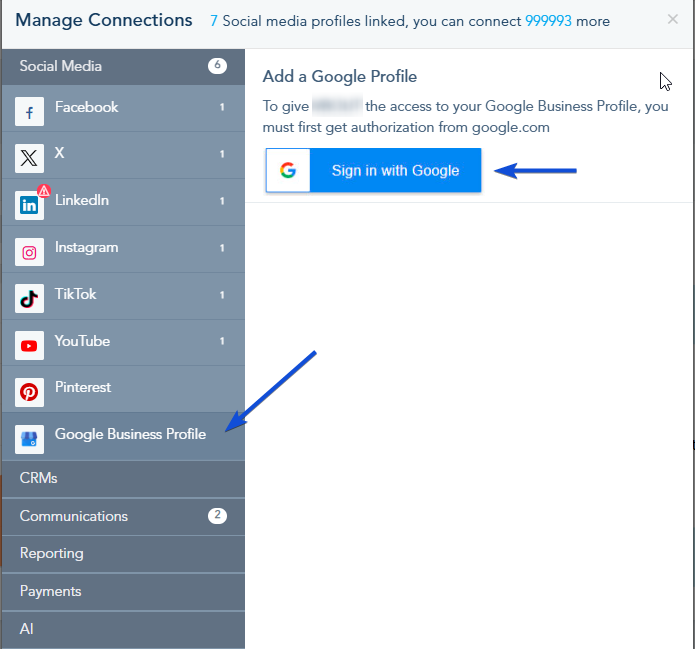
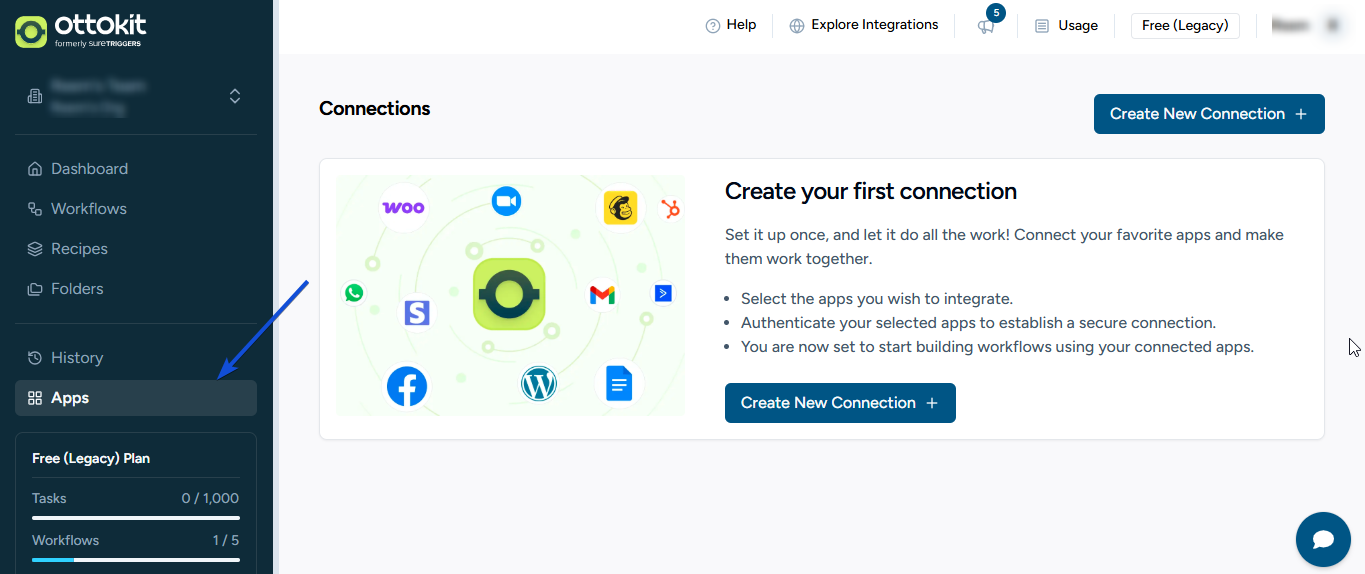
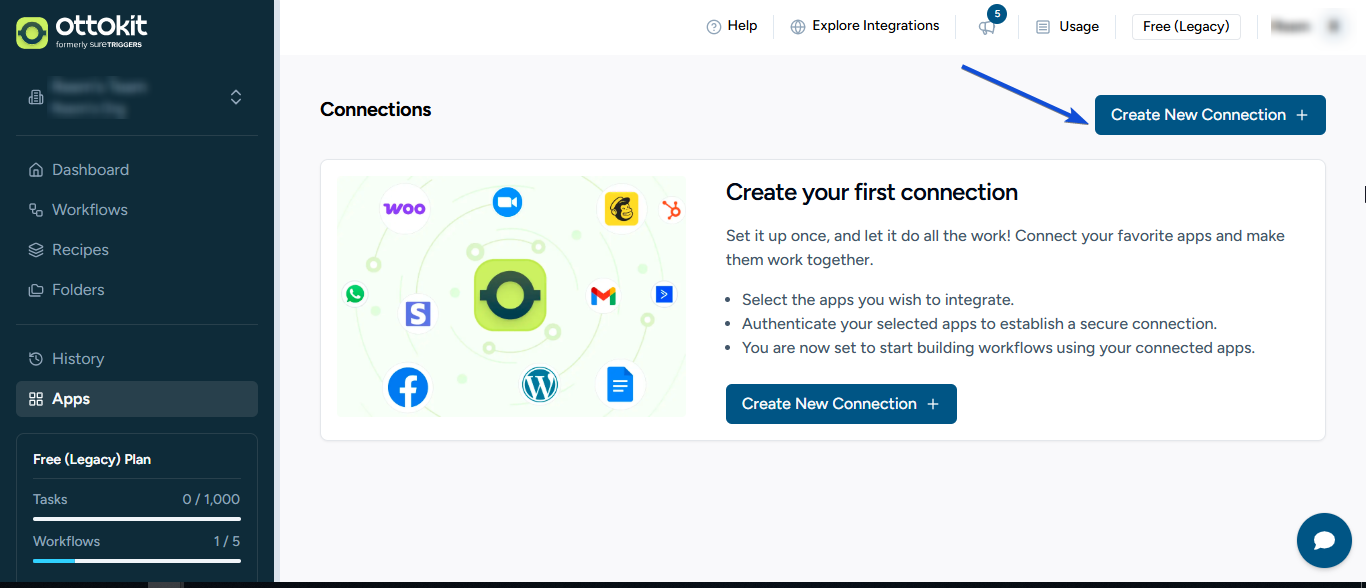
Connecting your Calendar
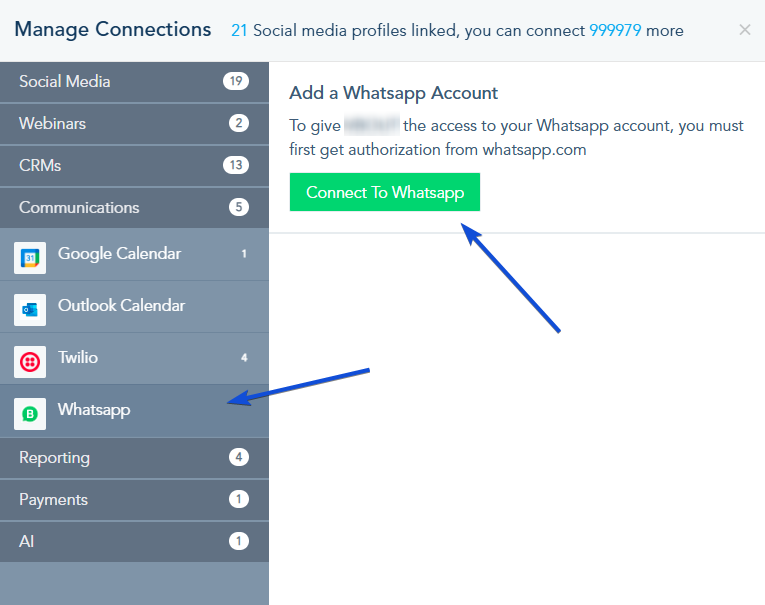
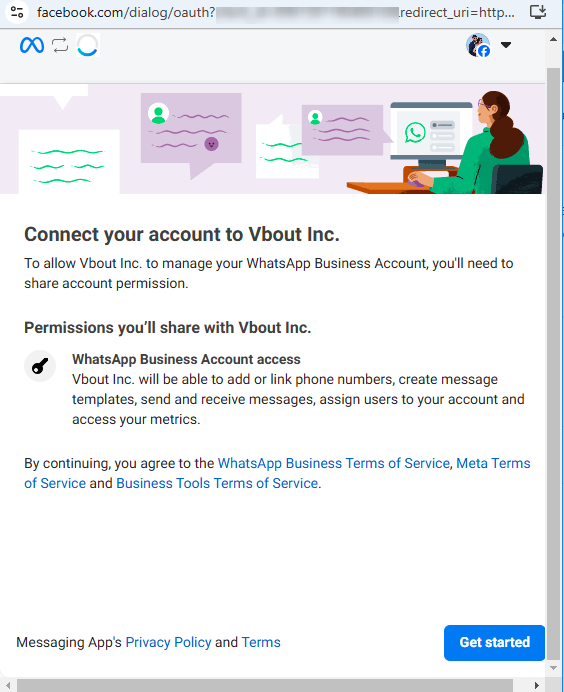
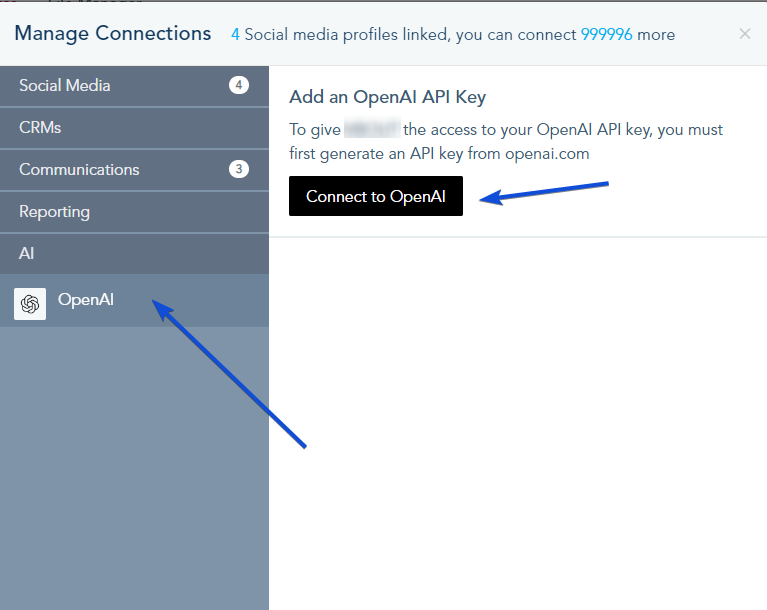
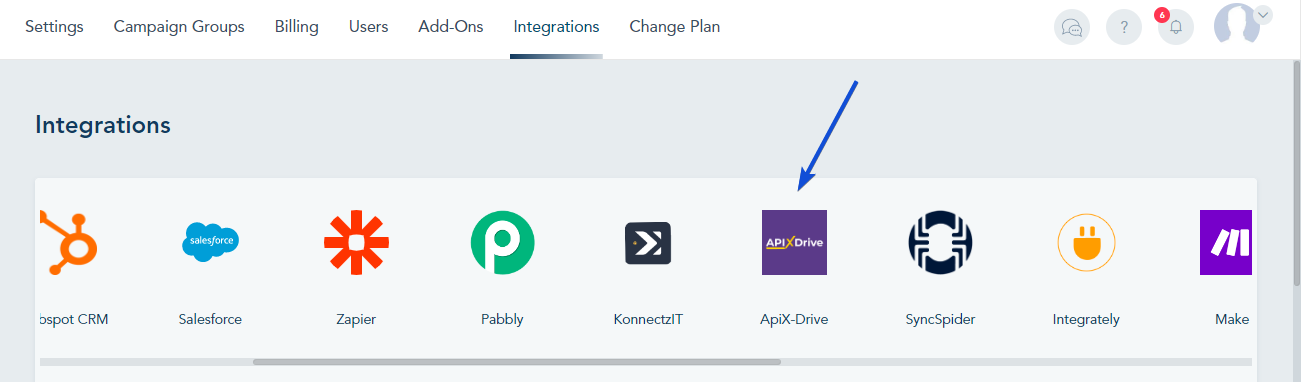
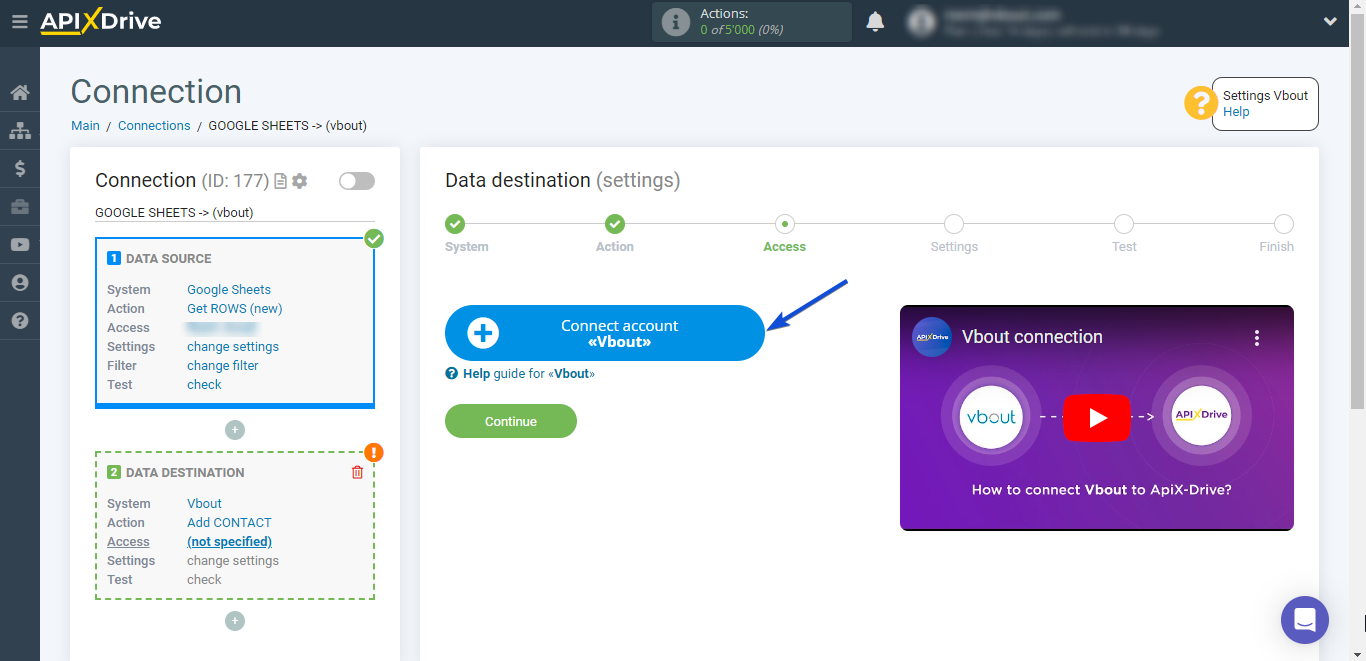
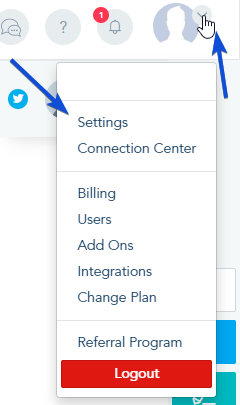
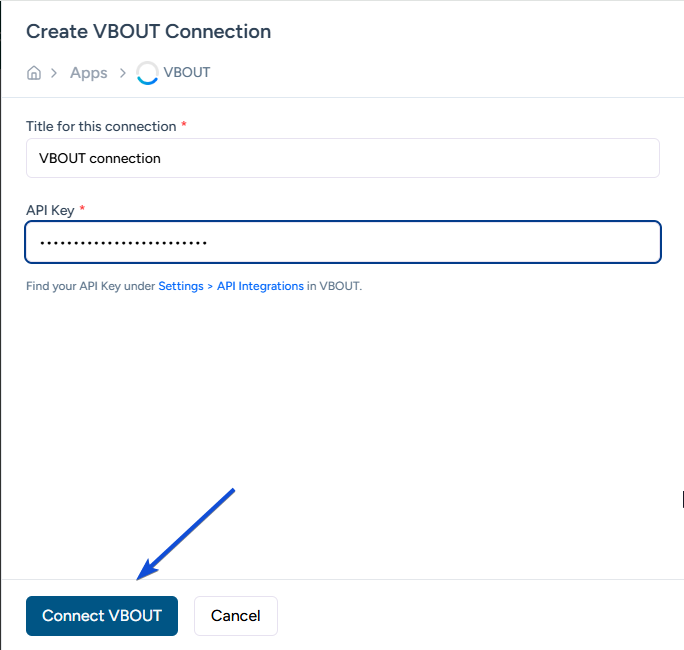
To connect the calendar, go to Connection Center -> Google/Outlook Calendar and connect your calendar.

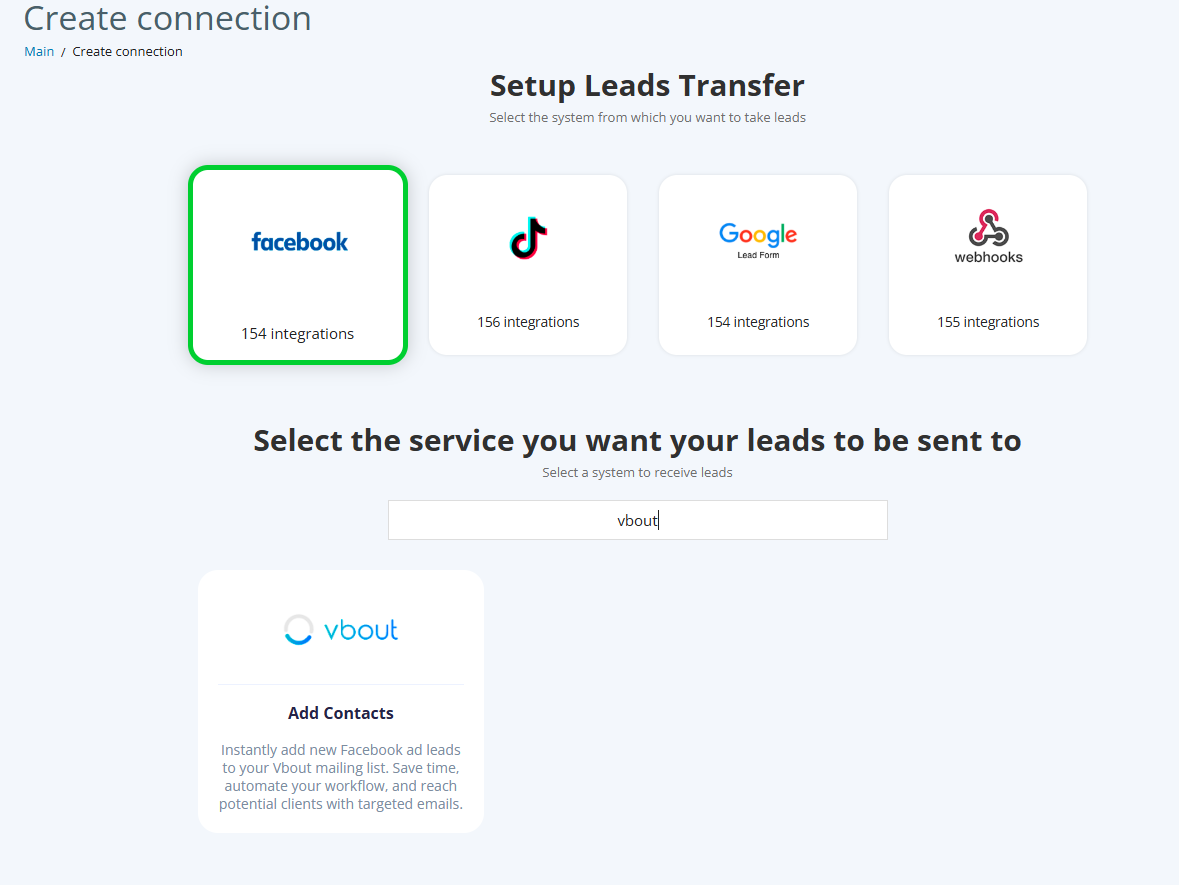
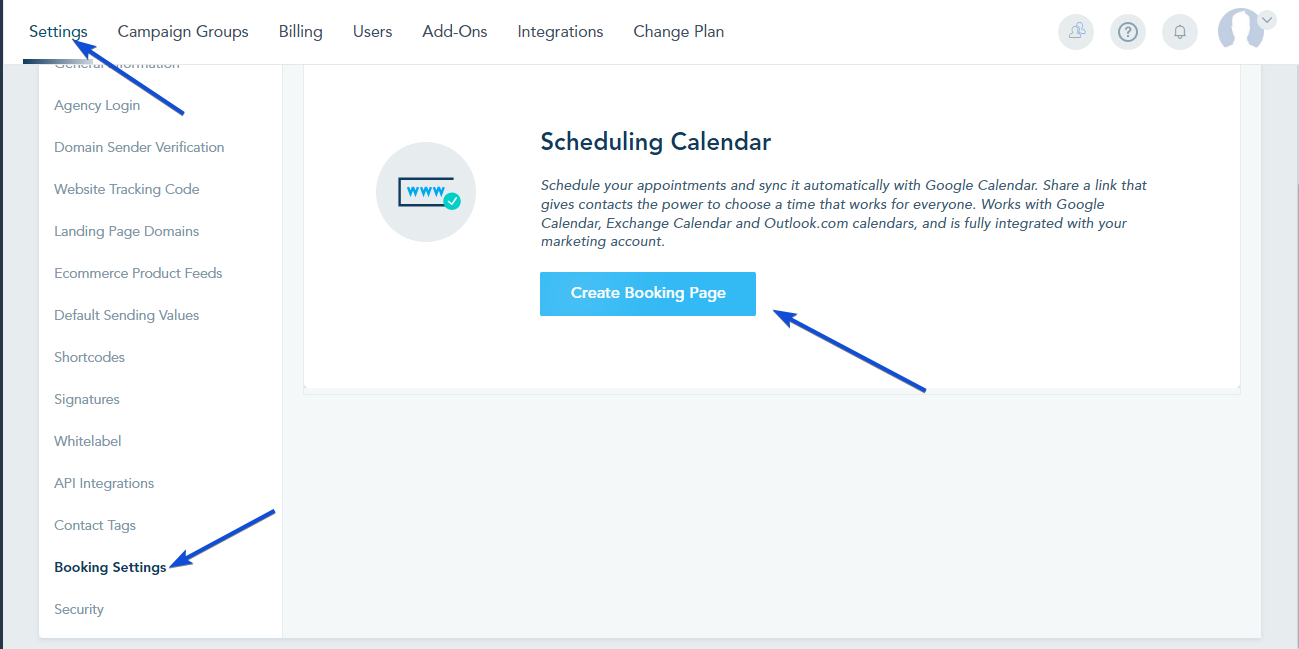
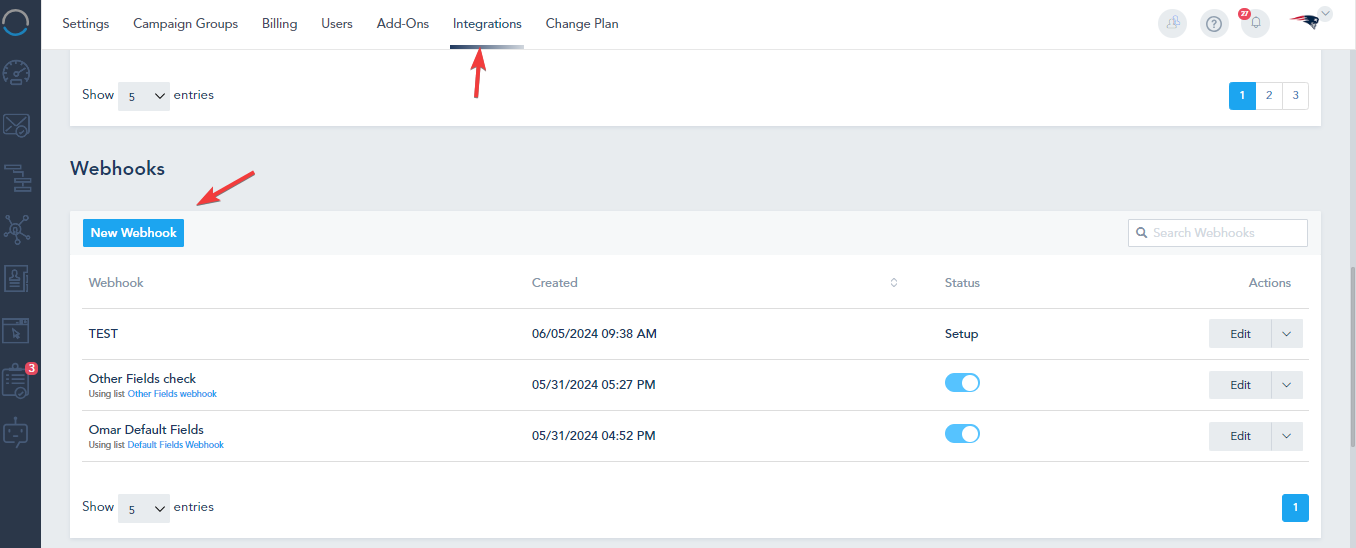
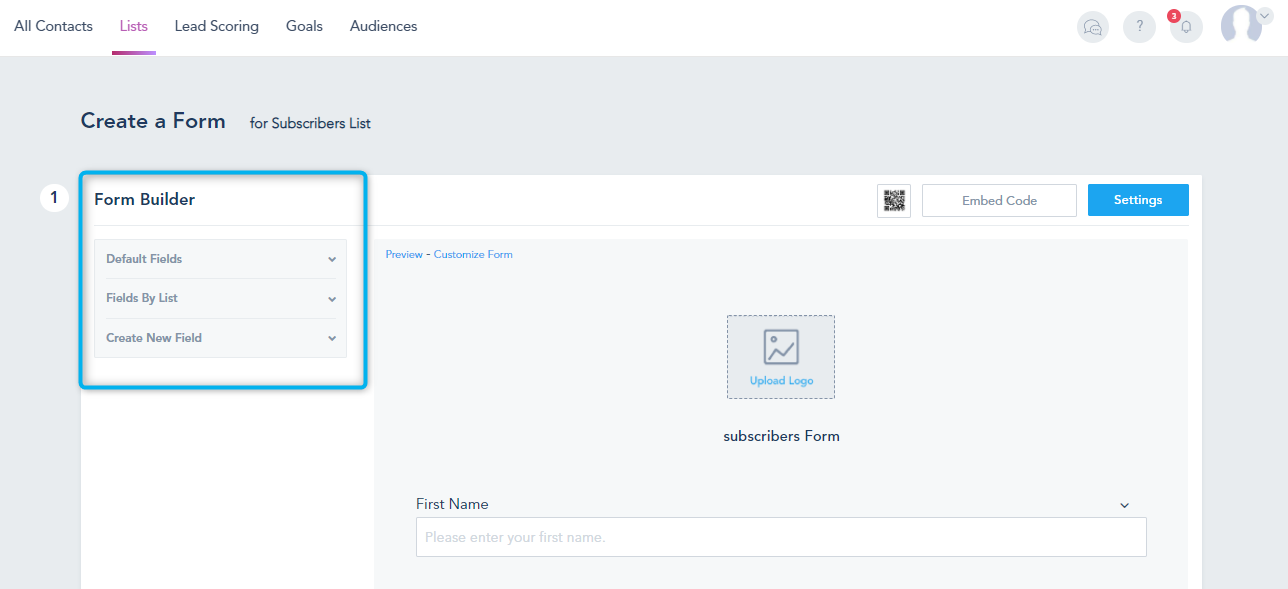
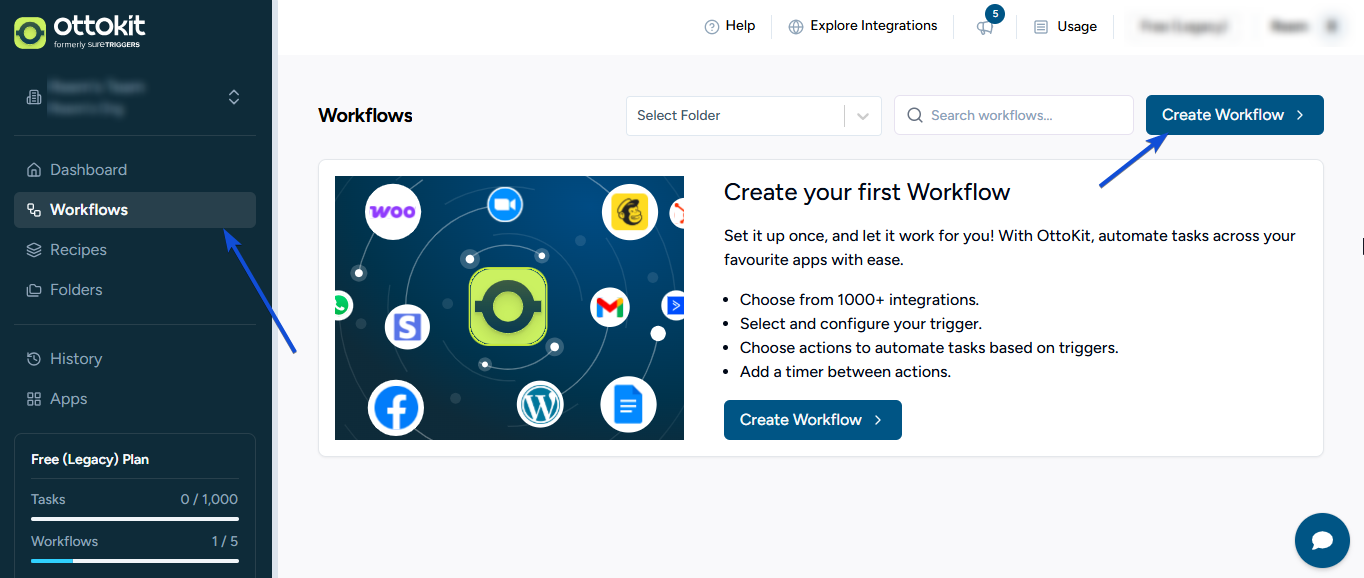
Creating a booking page
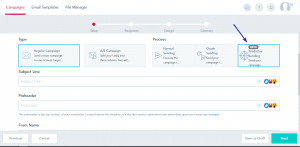
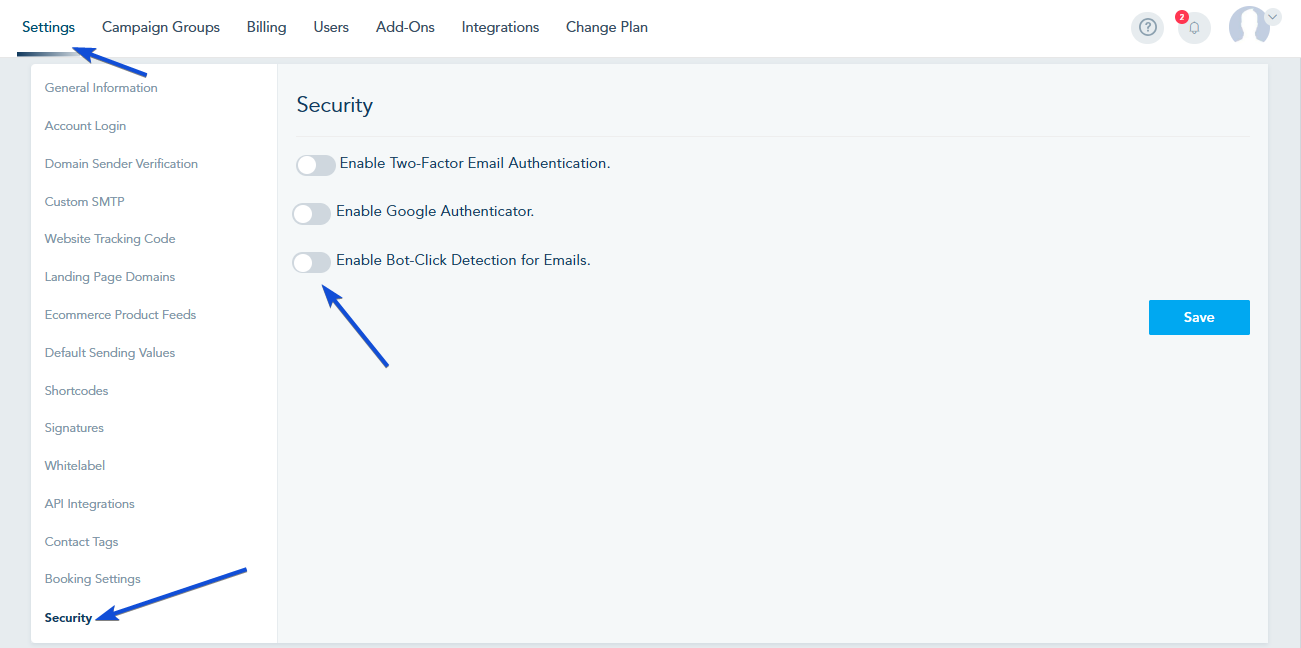
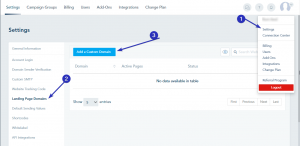
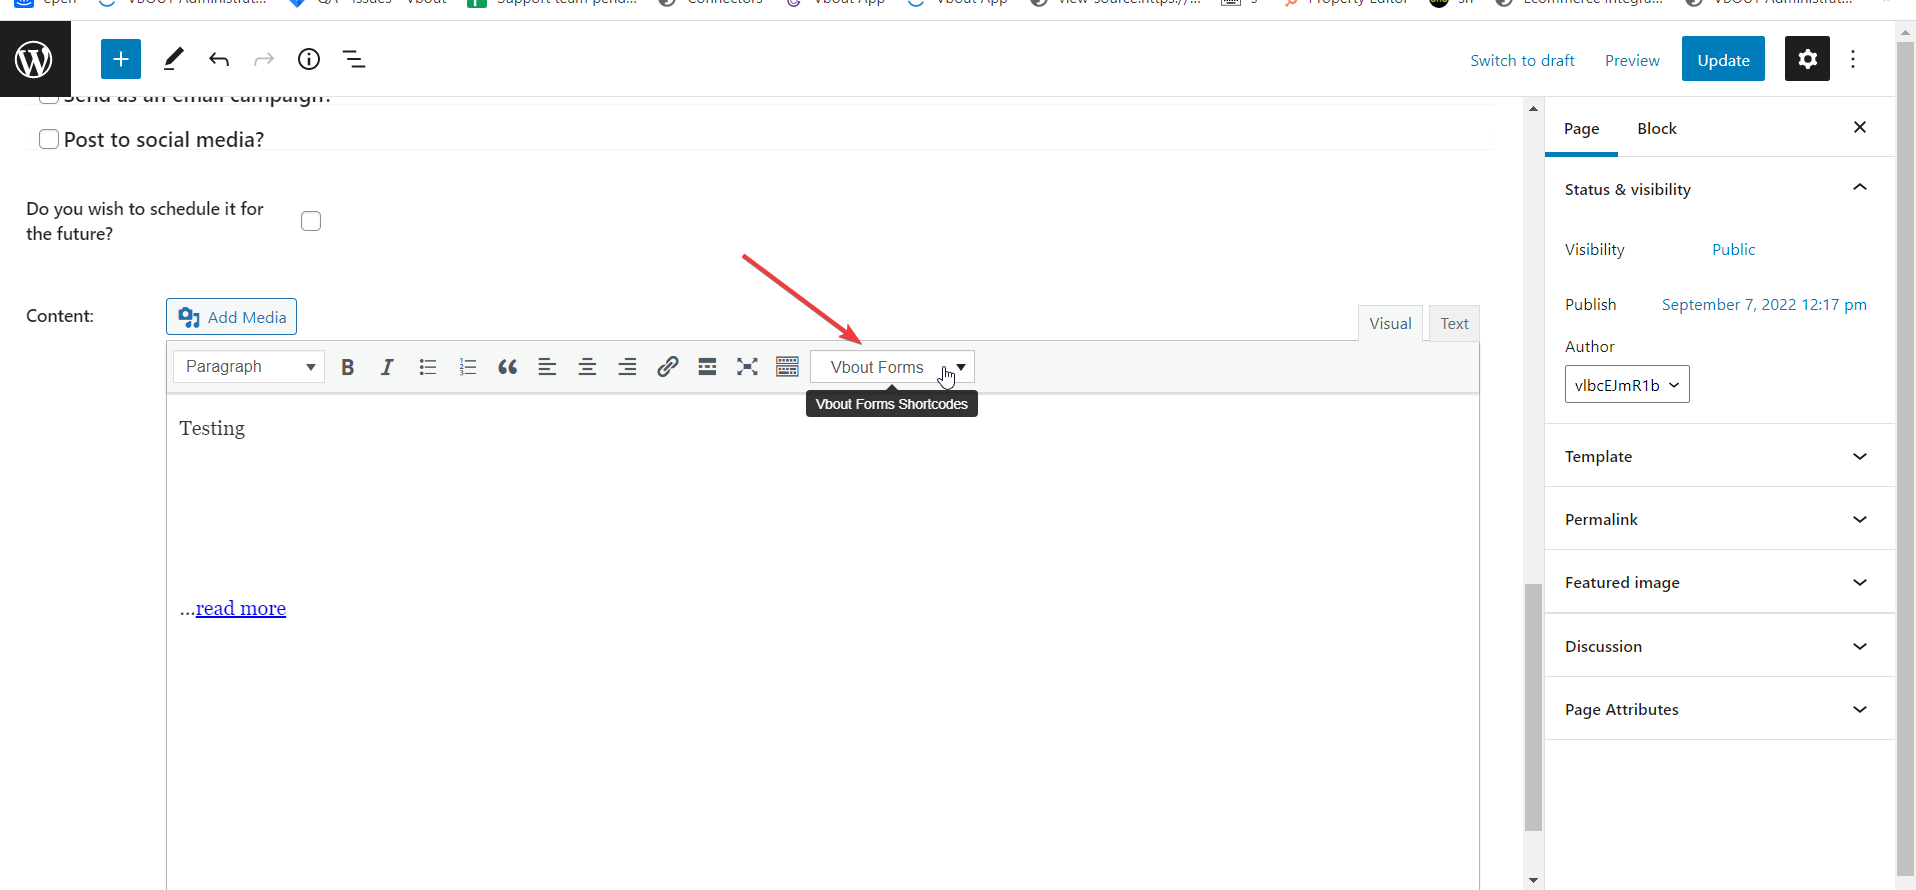
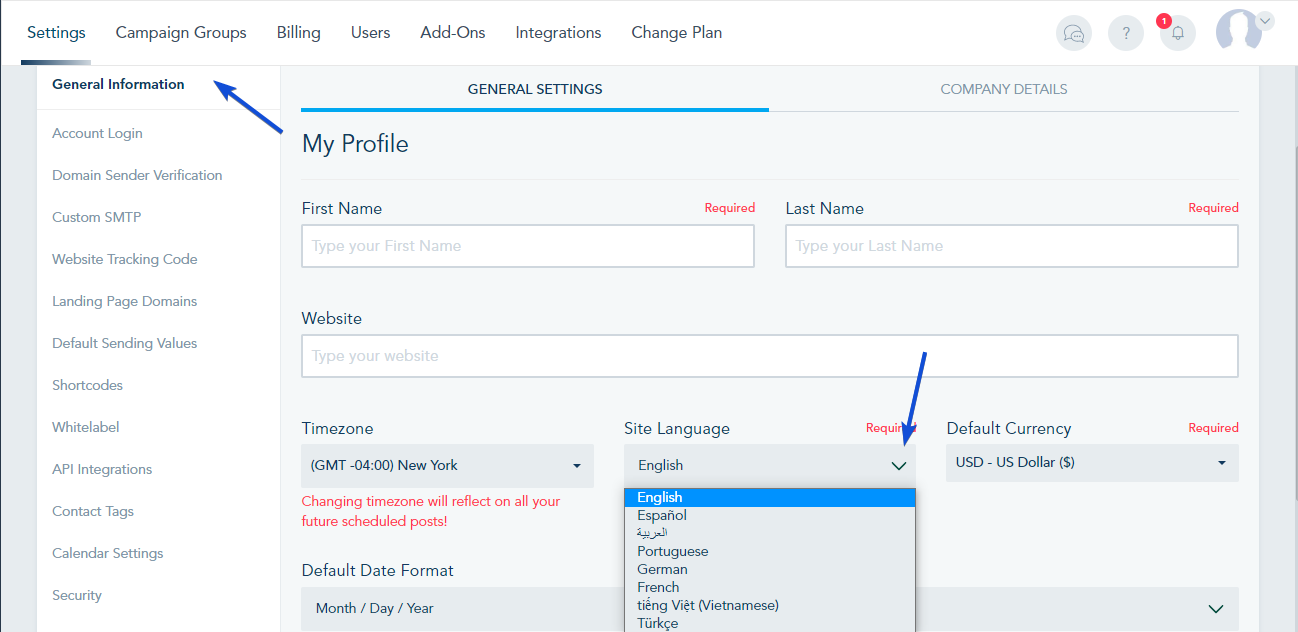
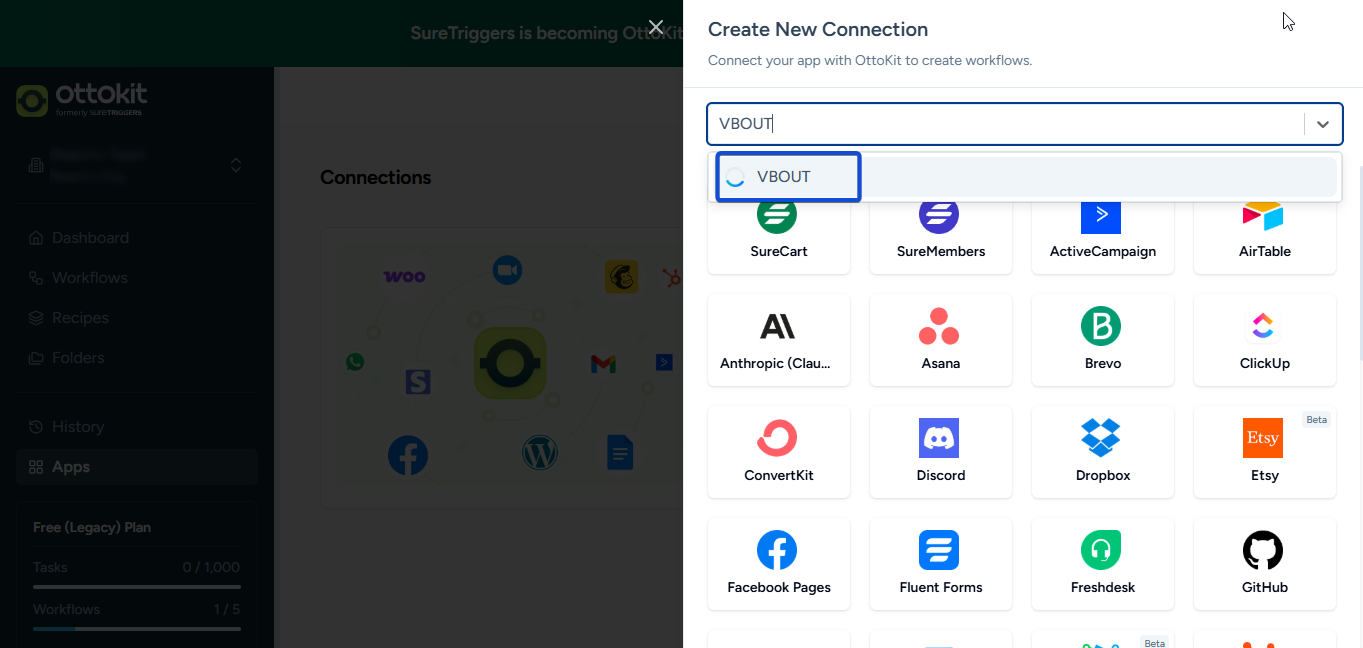
Go to Settings -> Booking Settings -> Create Booking Page.
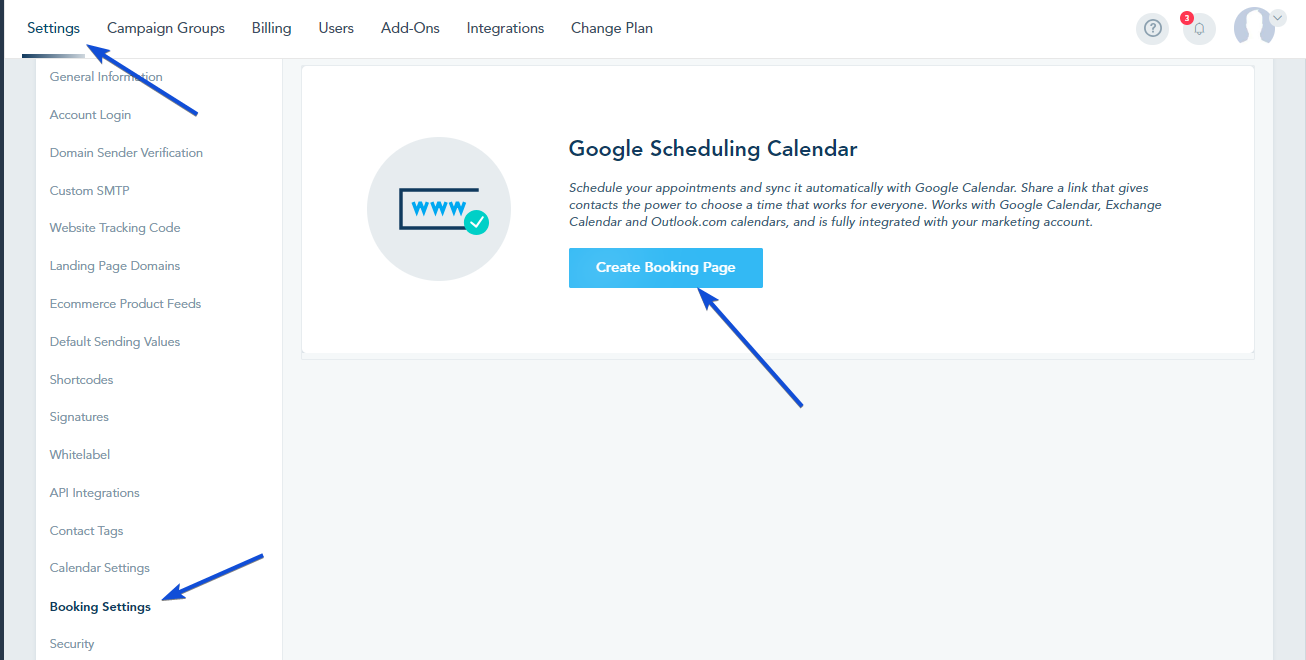
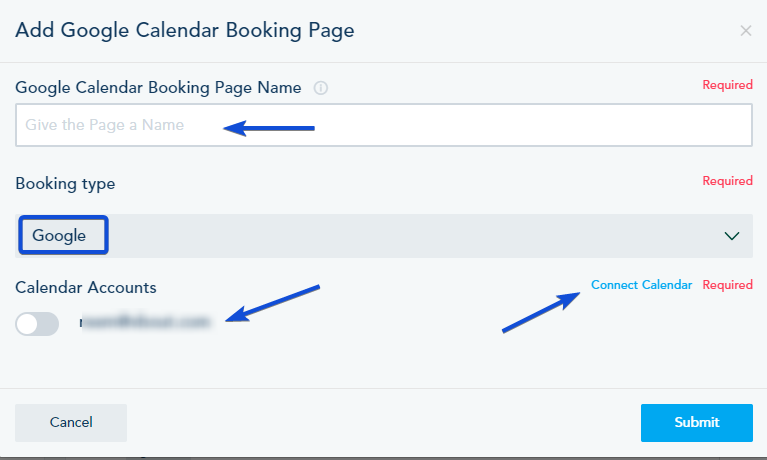
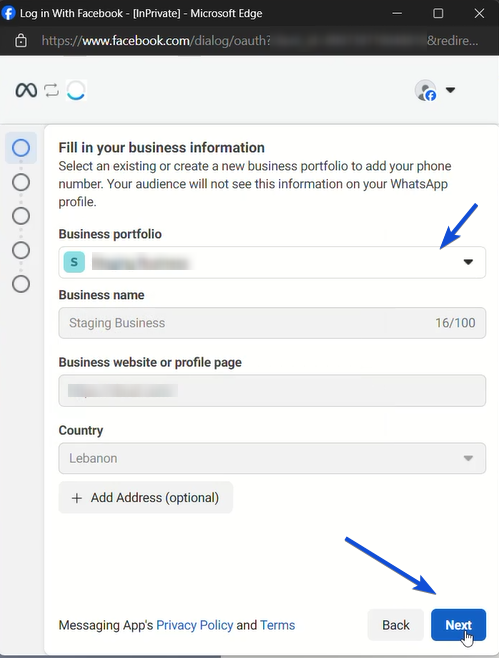
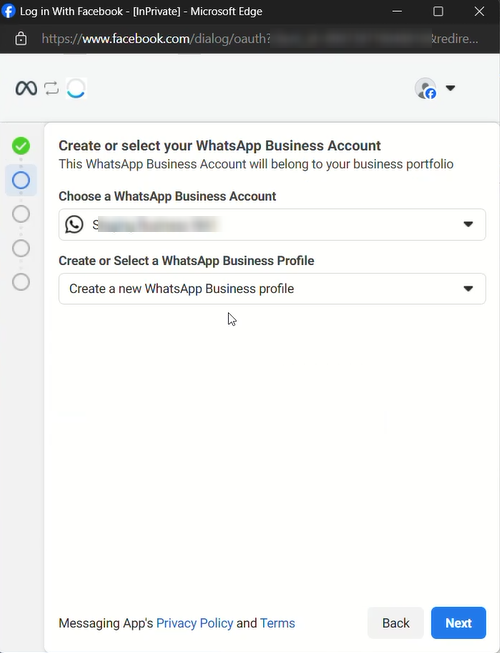
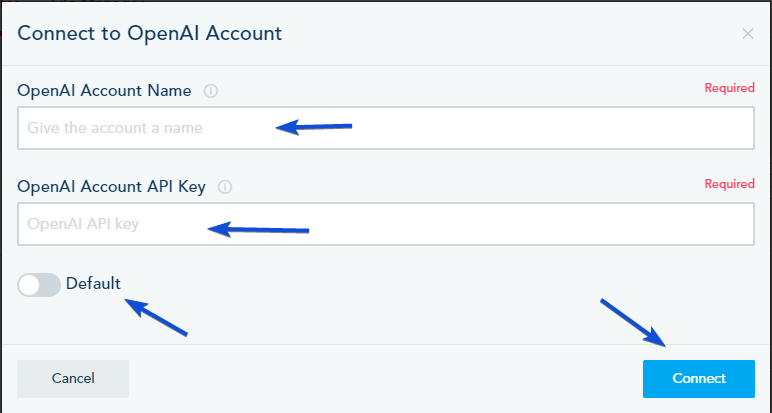
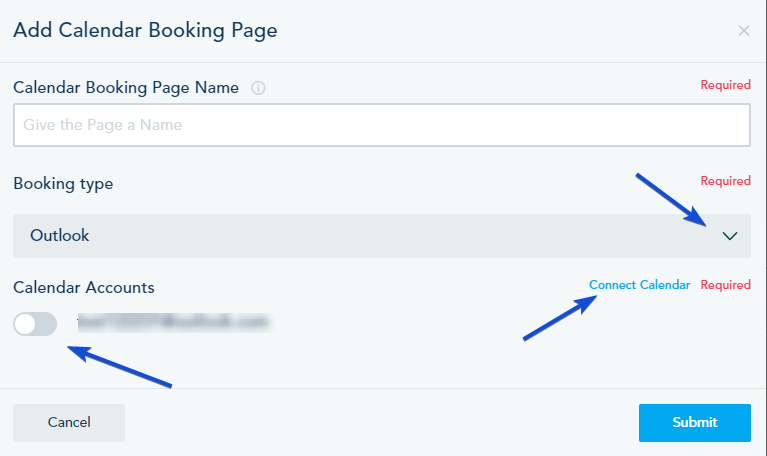
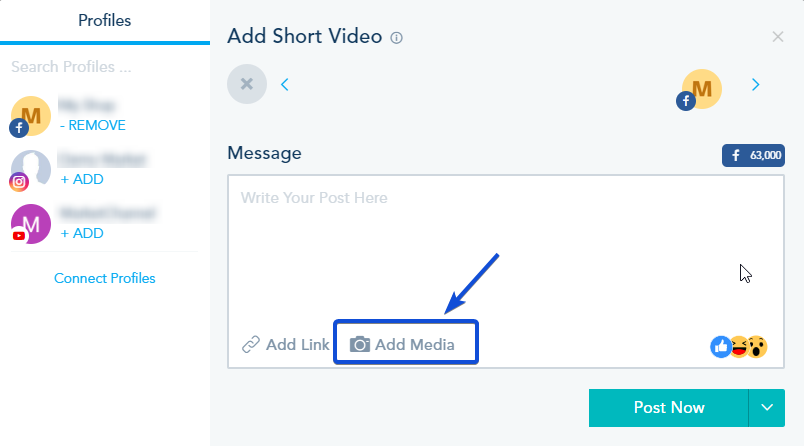
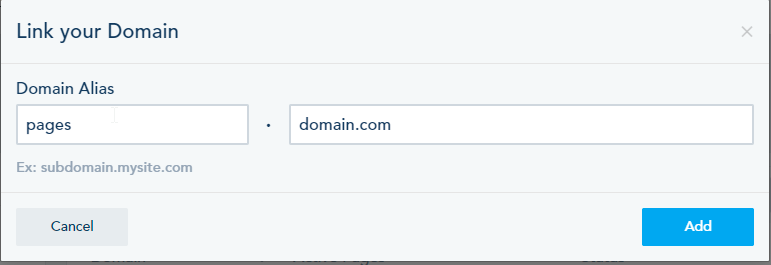
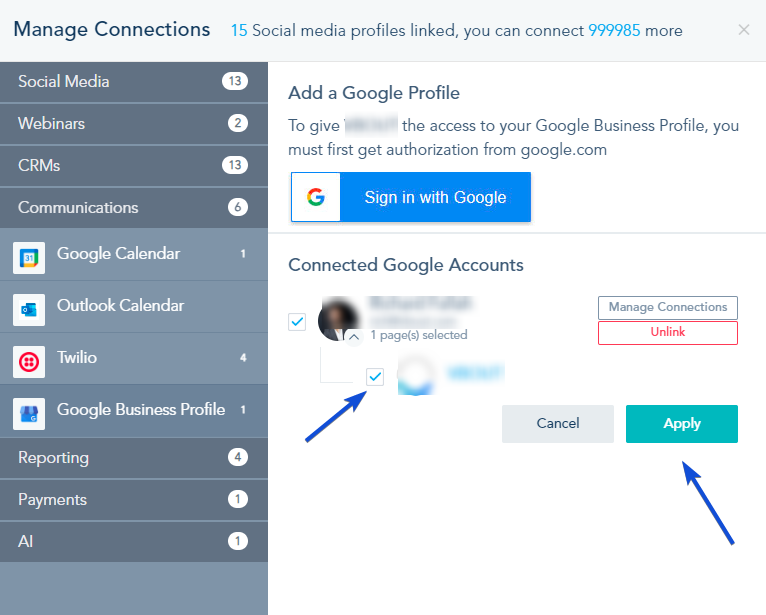
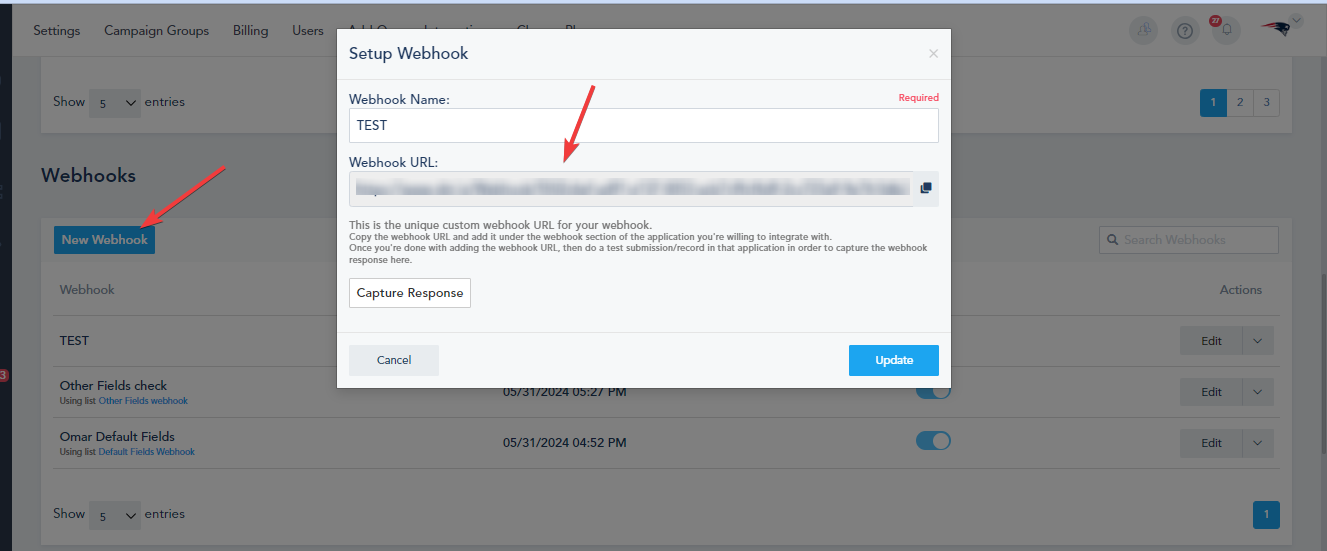
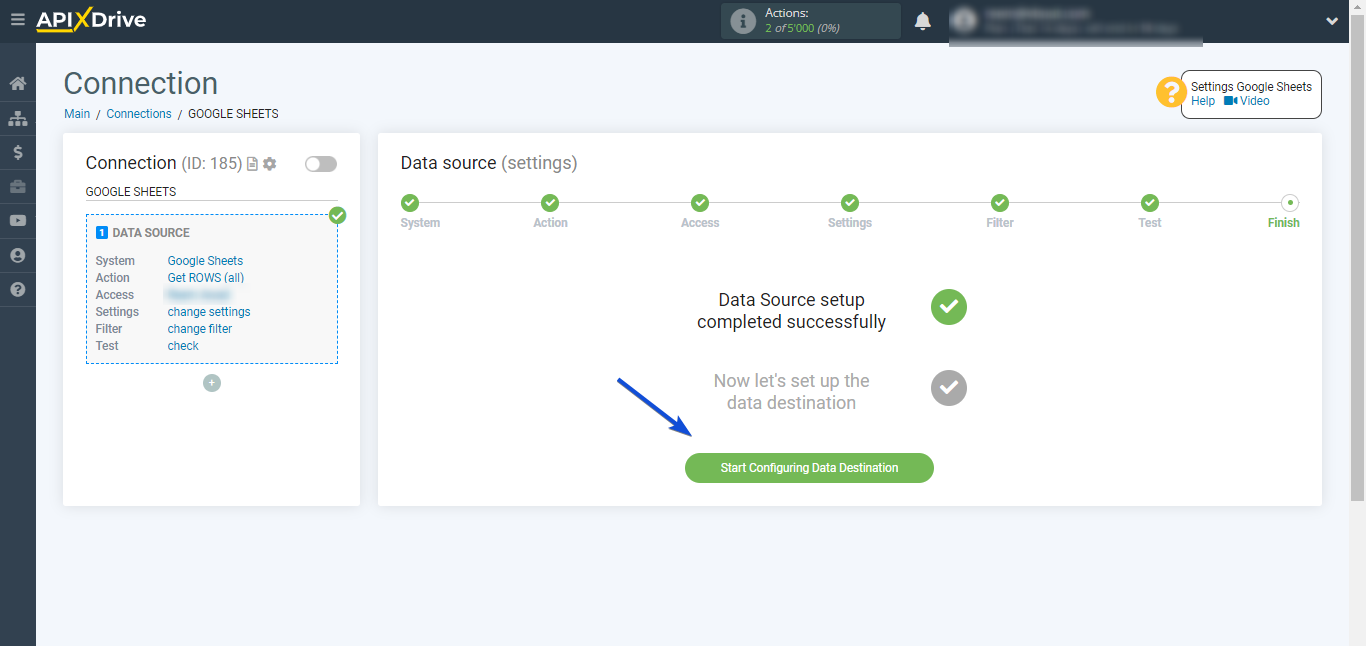
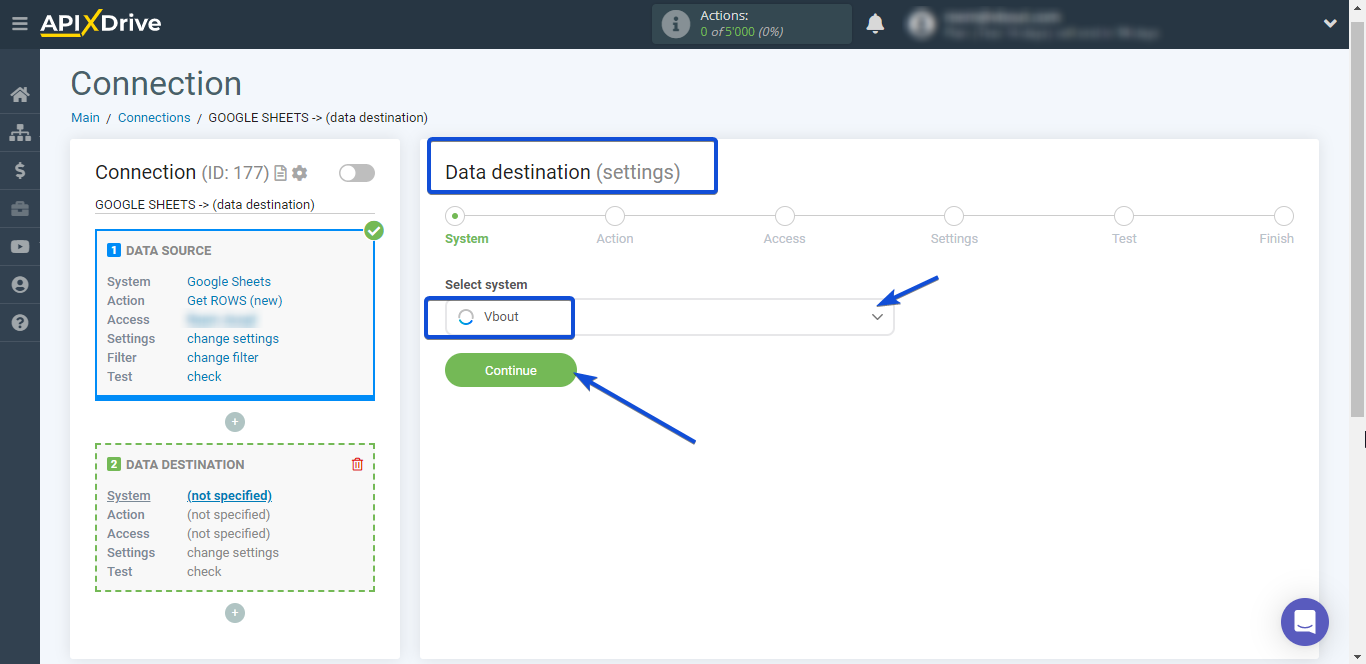
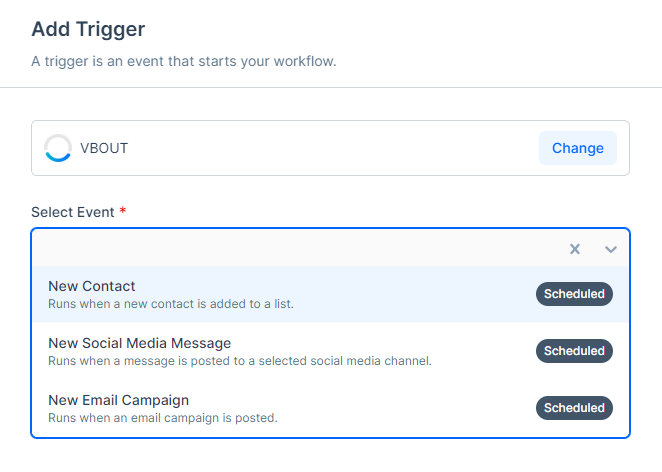
To create your Calendar Booking Page, choose Google/ Outlook as the booking type, and a calendar account if you have already connected your calendar account or you can click Connect Calendar and connect the calendar:
Note that you should give the Calendar booking page a name.
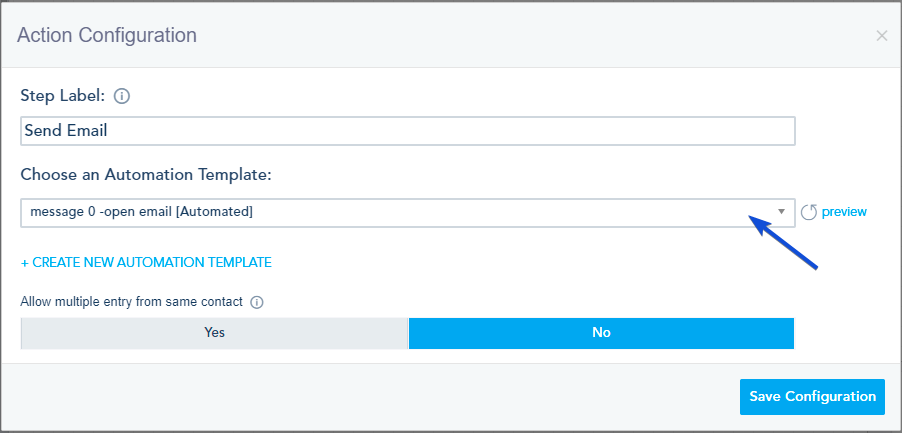
Once you click Submit, the settings will open.
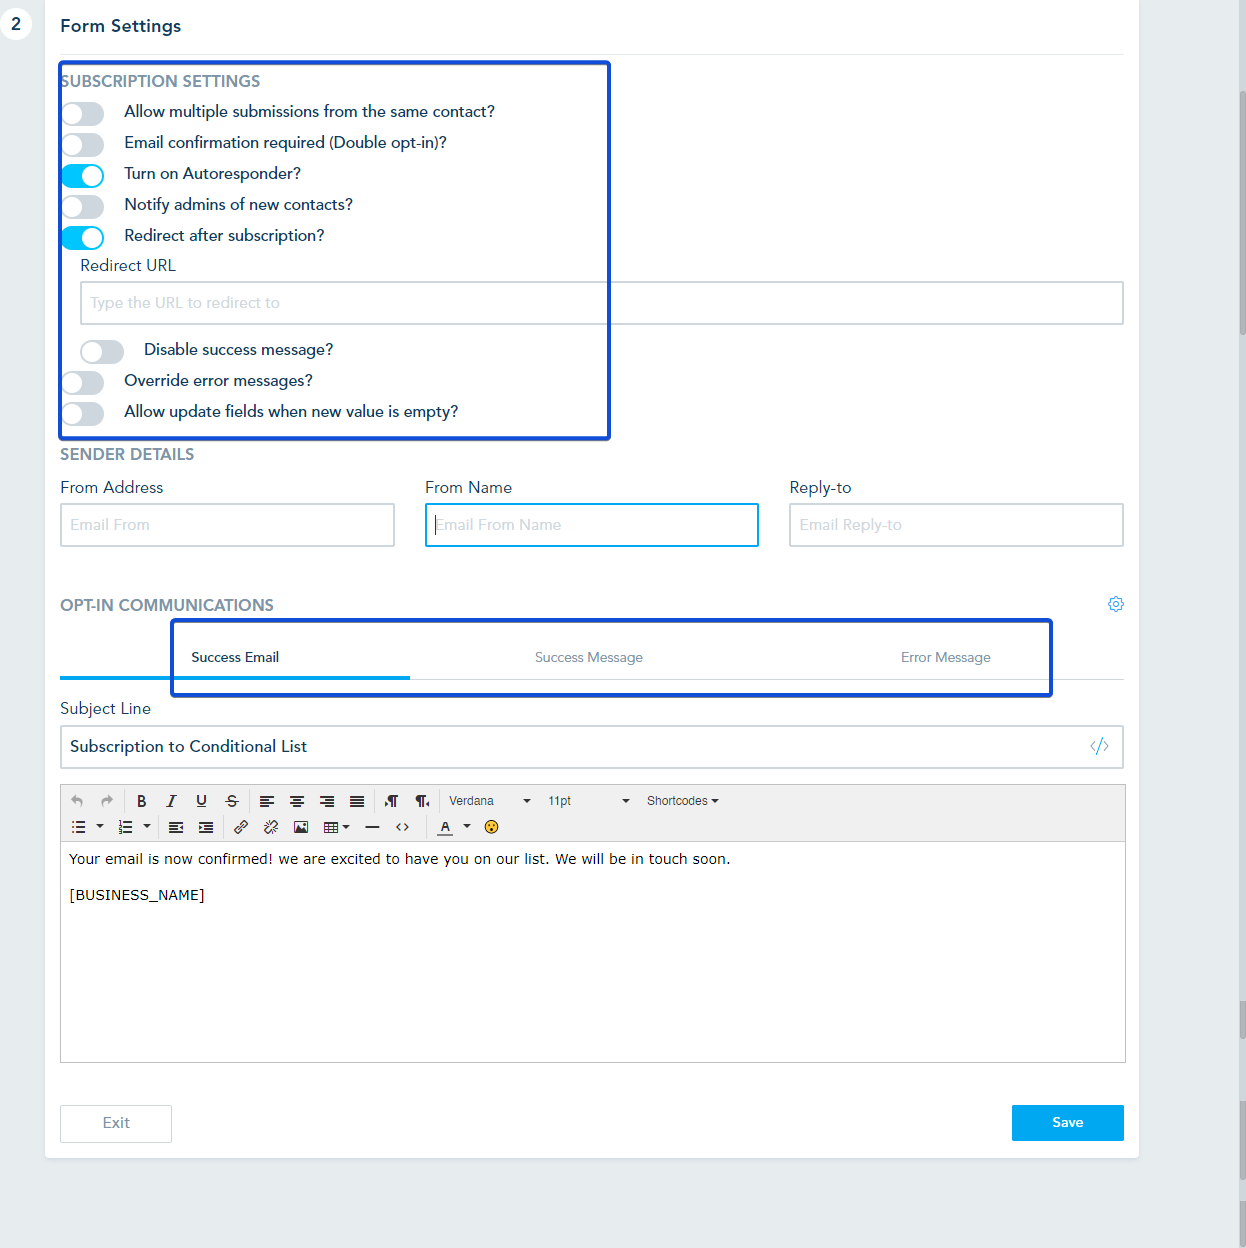
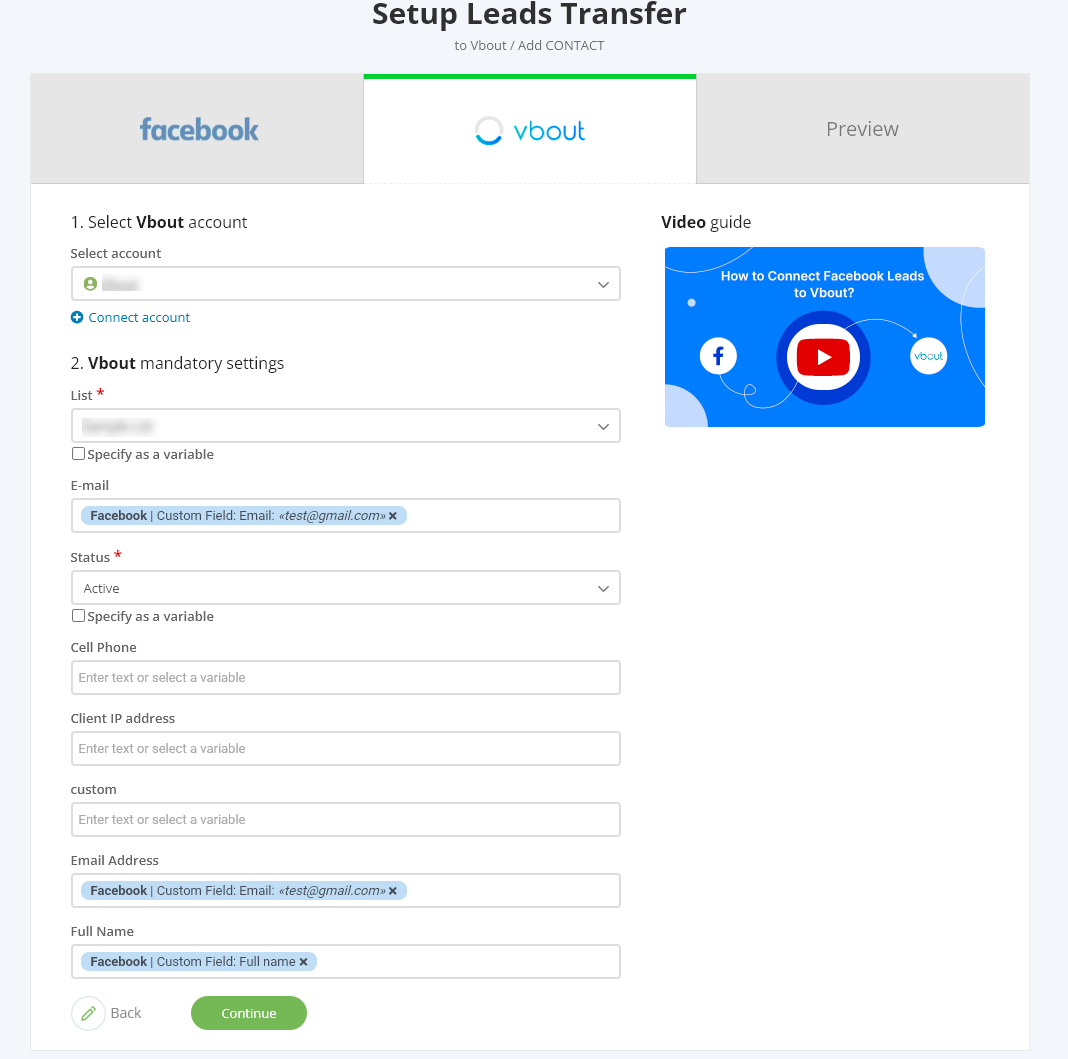
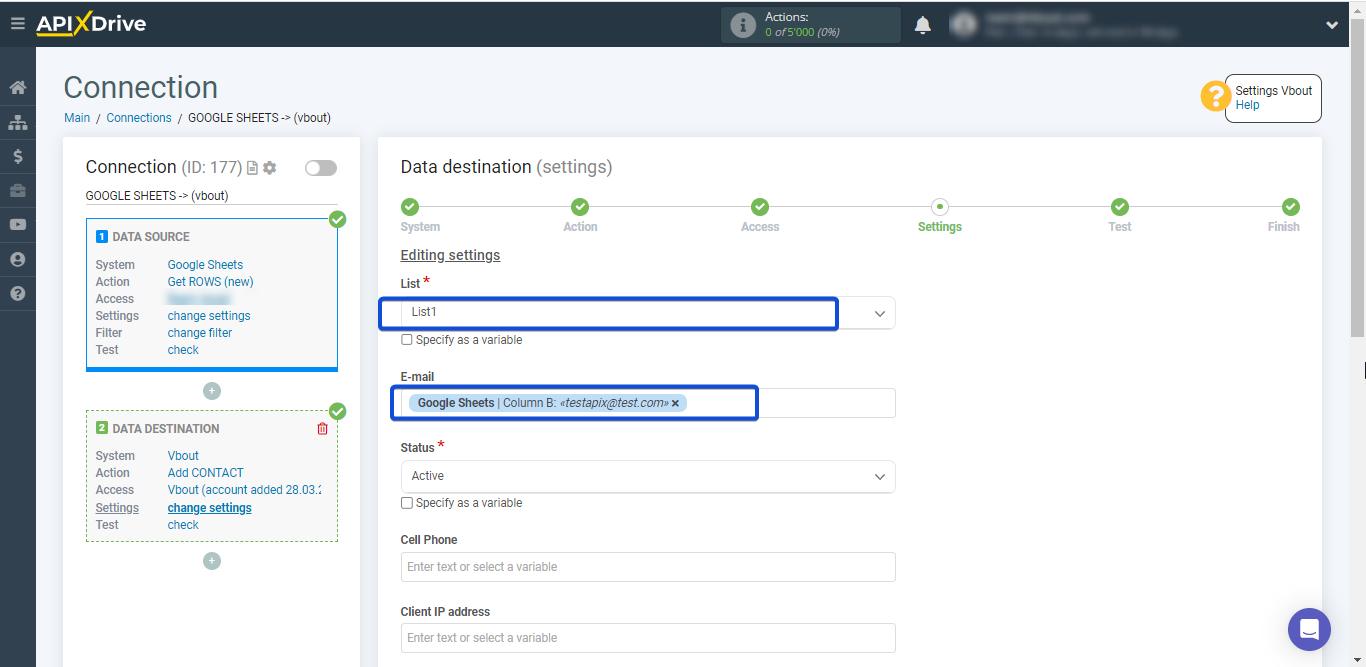
Event Info: you can change the booking page name, add a name and location to your event, add a Privacy policy page, and choose your cancellation policy. You can also choose to link it to your Zoom account.

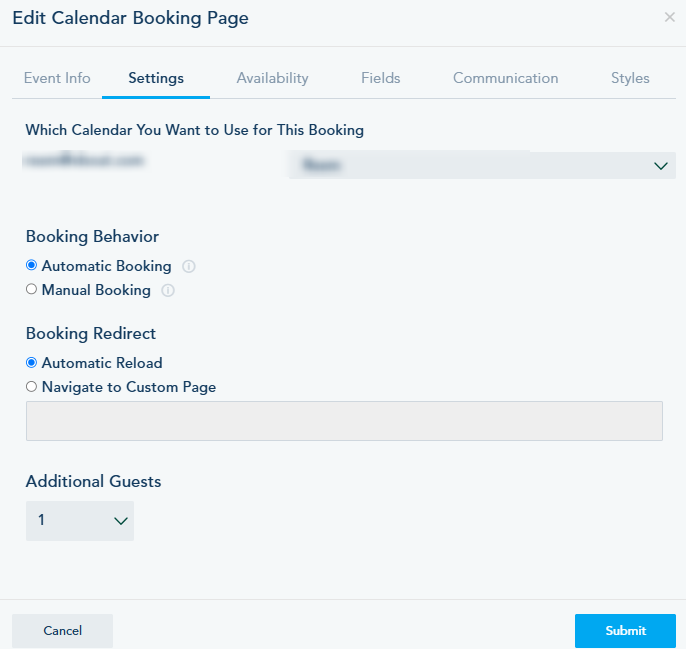
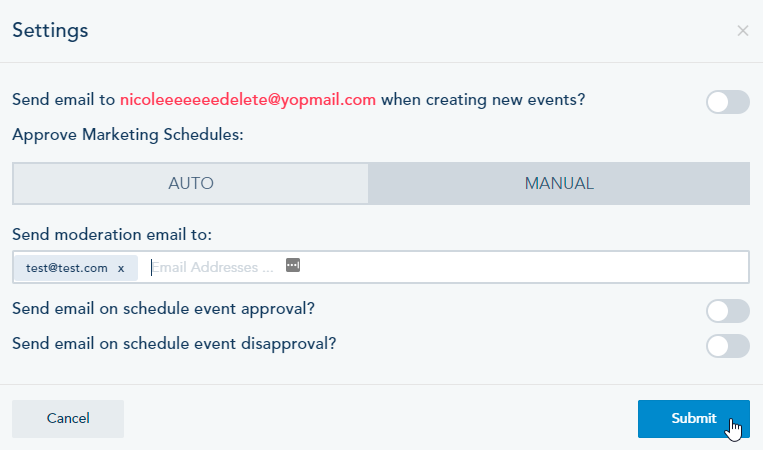
Settings: Choose the calendar you want to use, if the booking should be automatic or manual, and the redirection behavior.
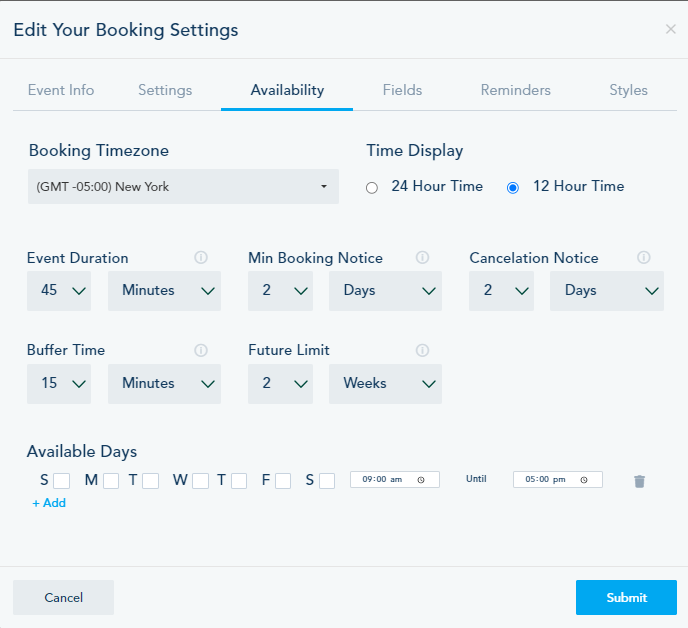
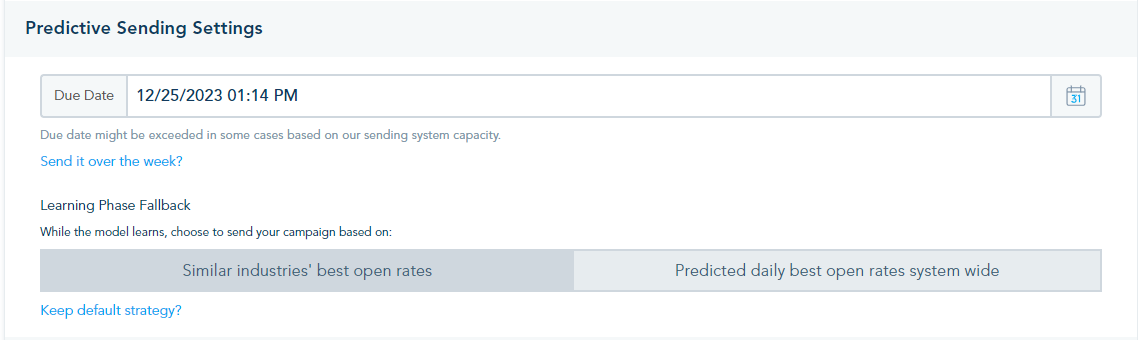
Availability: Choose the event time zone and the available date and time, and set the event duration, Min Booking Notice, Max Cancelation Notice, the buffer time between events, and the future limit to book.
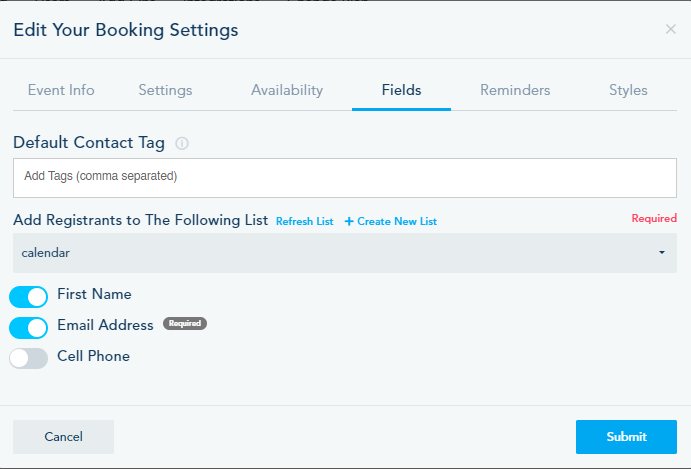
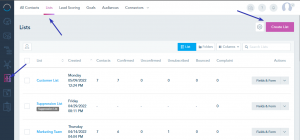
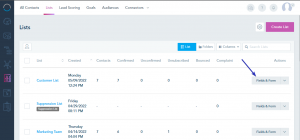
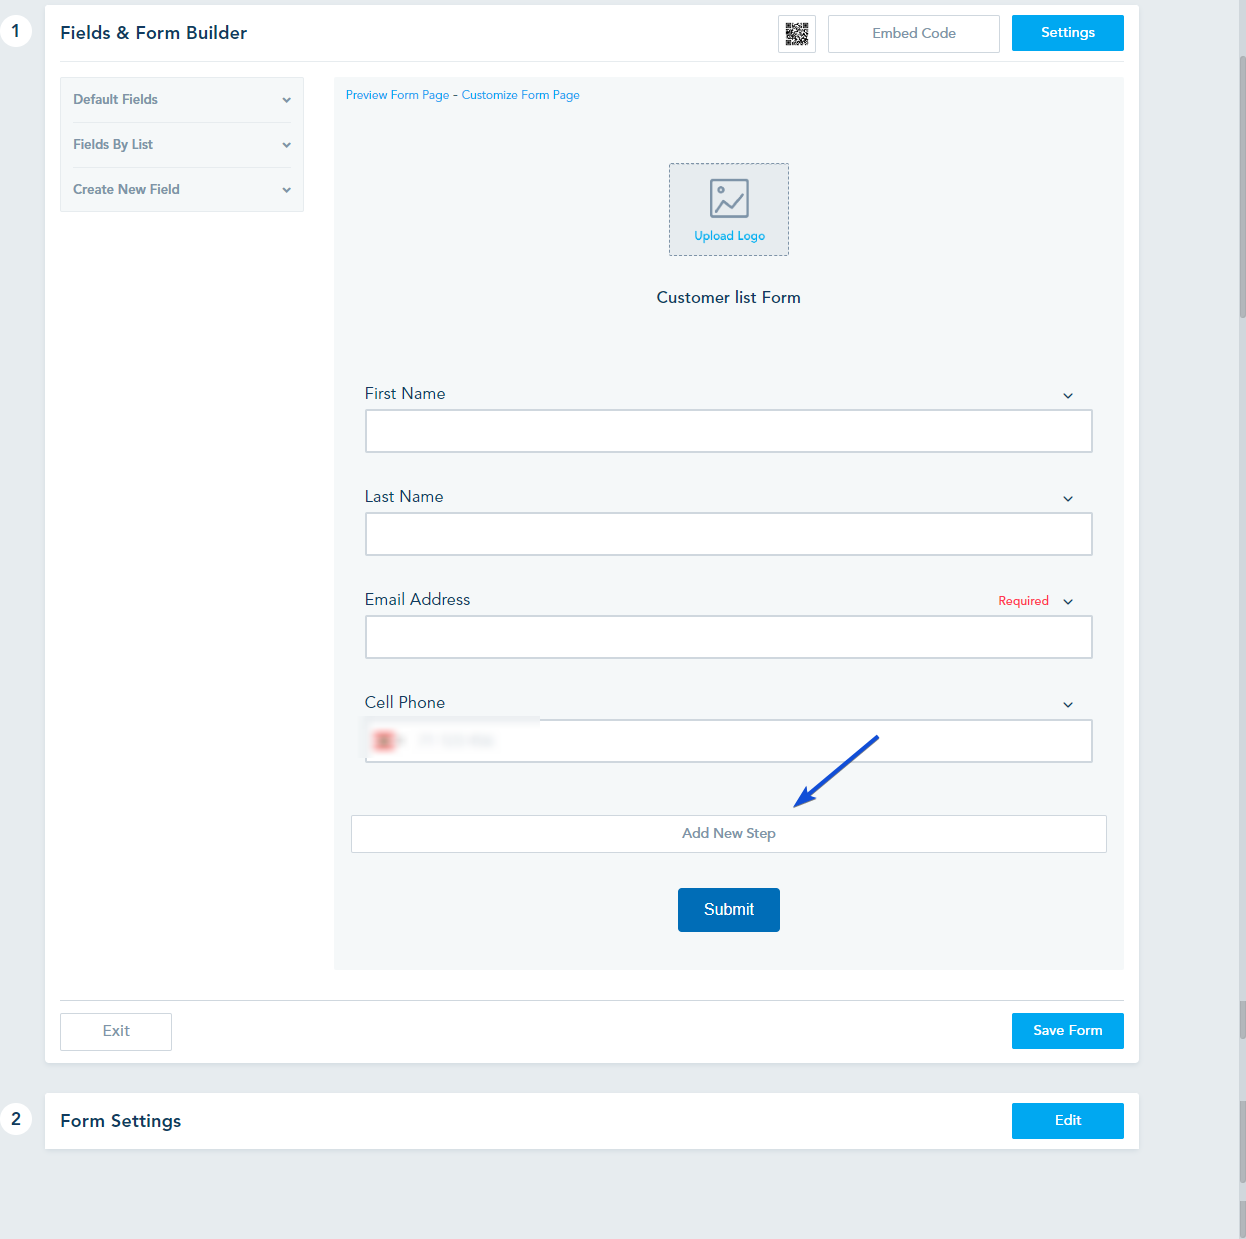
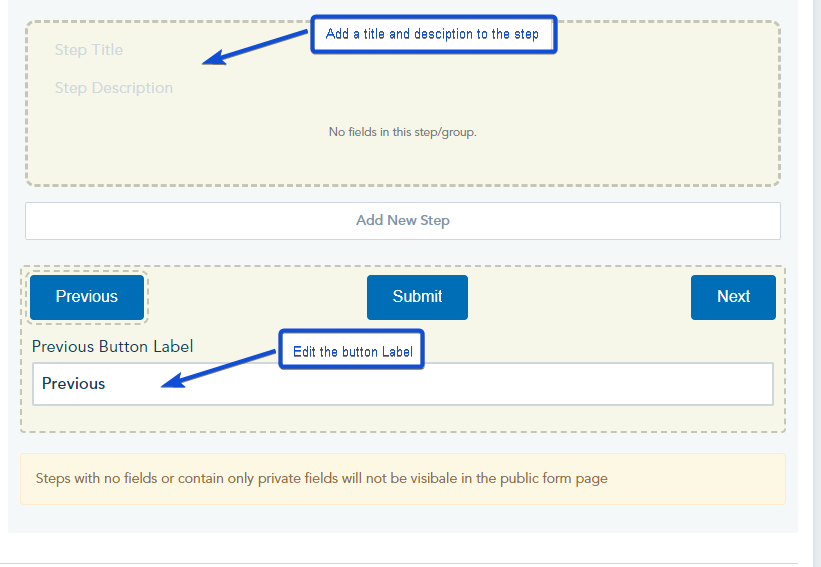
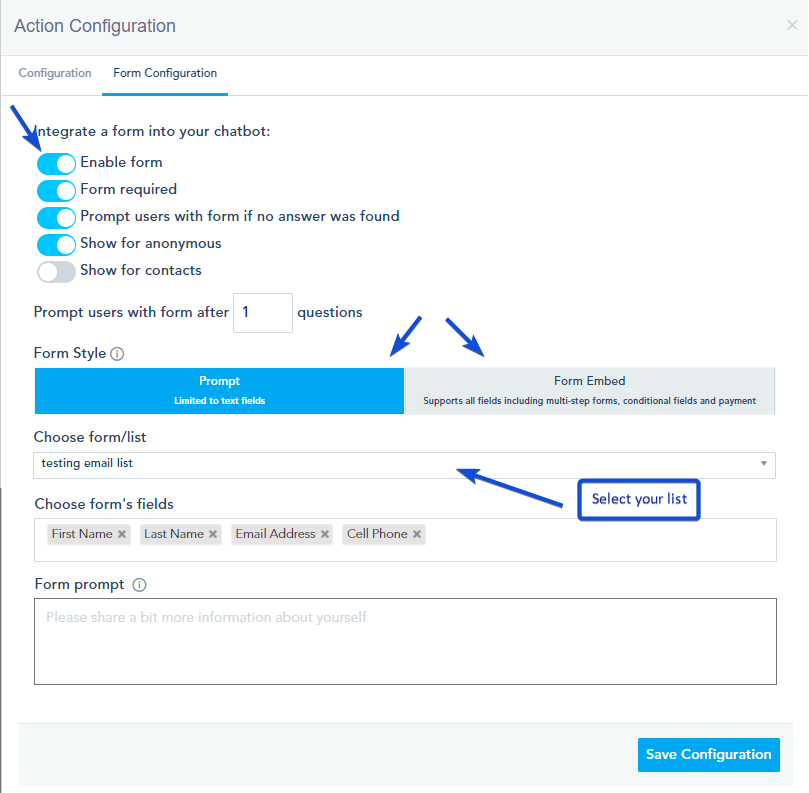
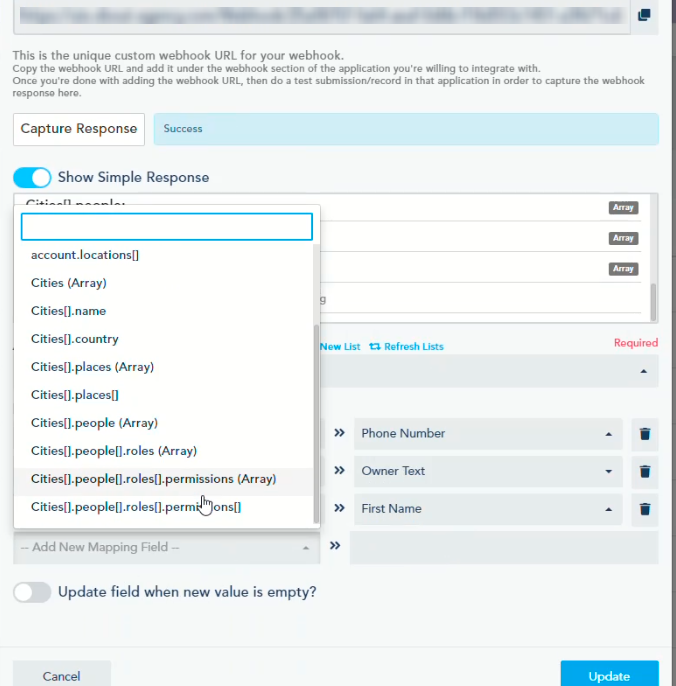
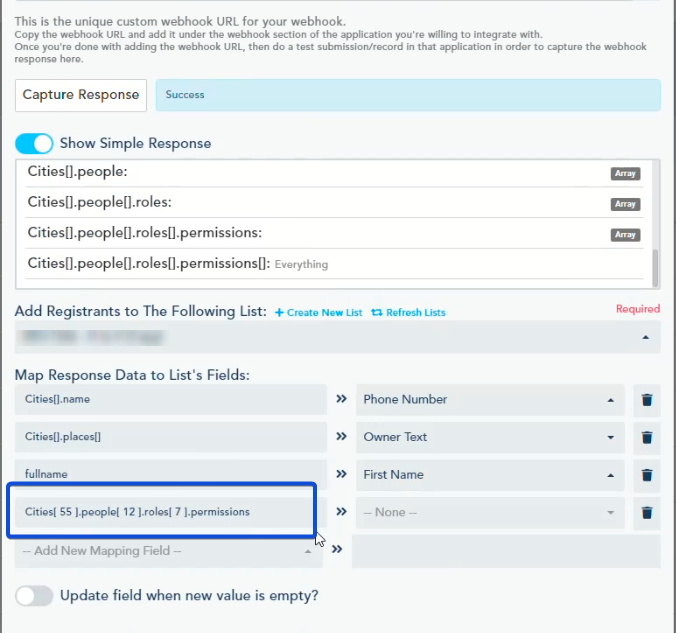
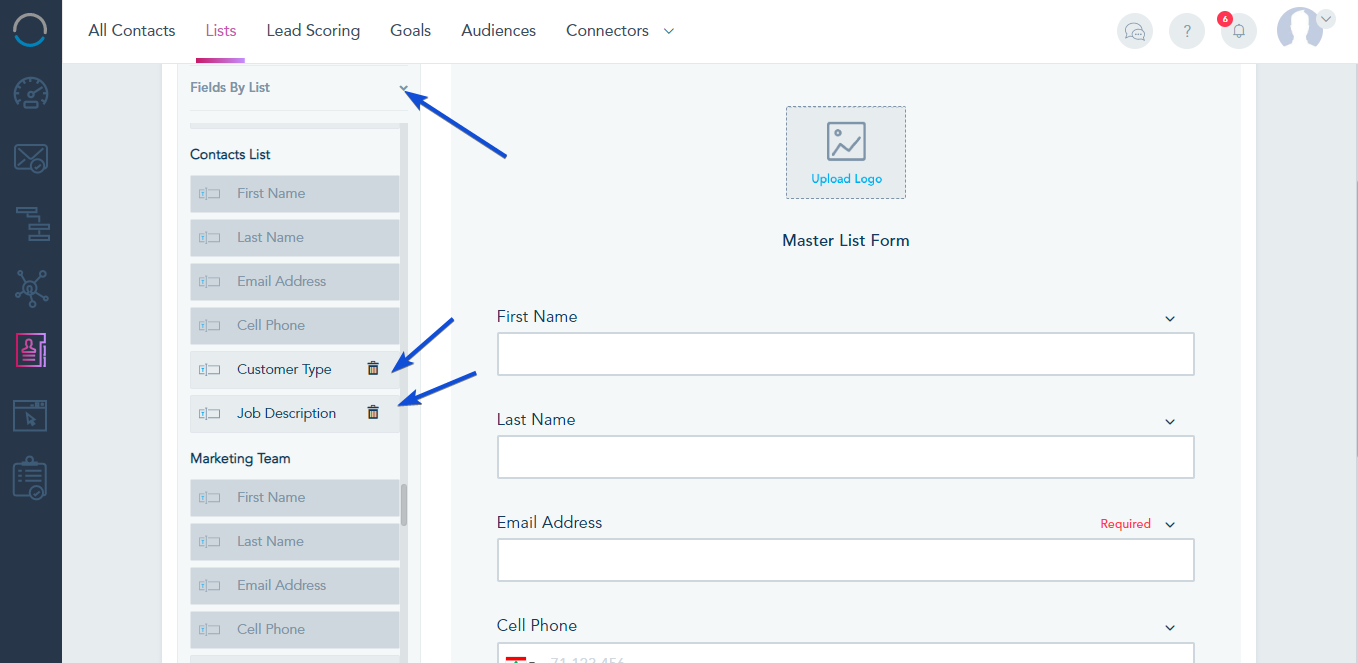
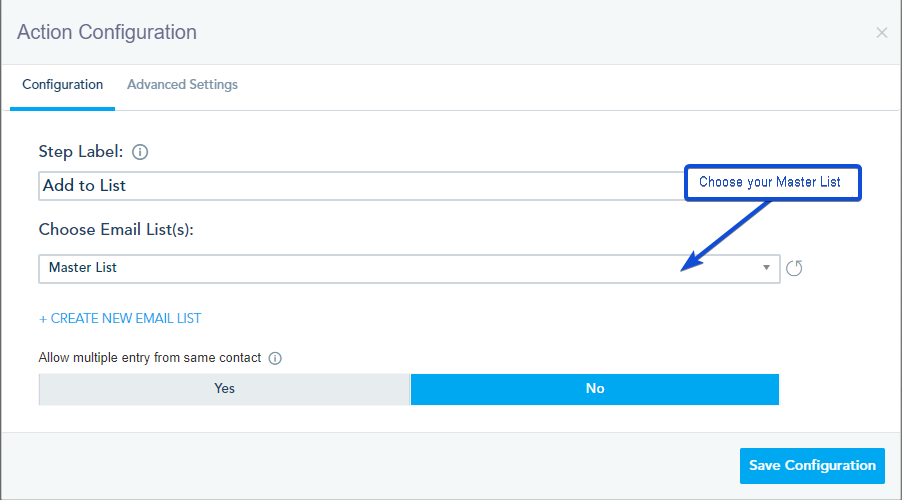
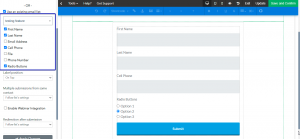
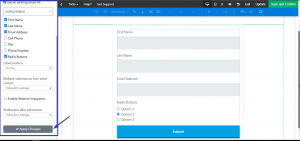
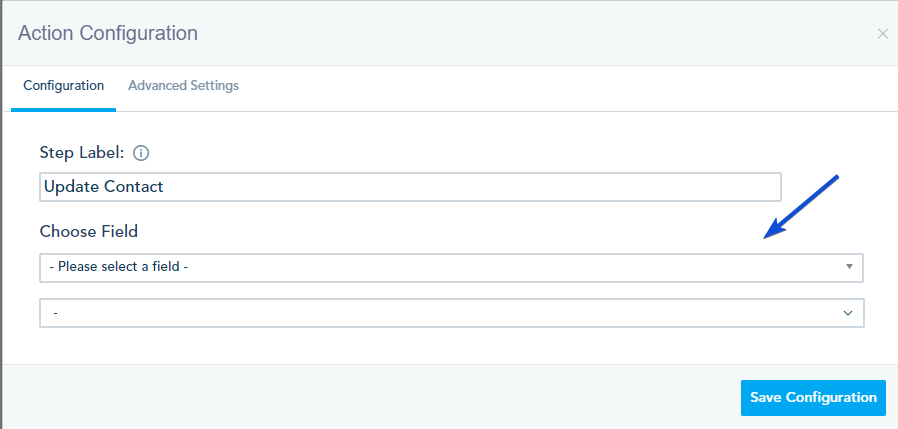
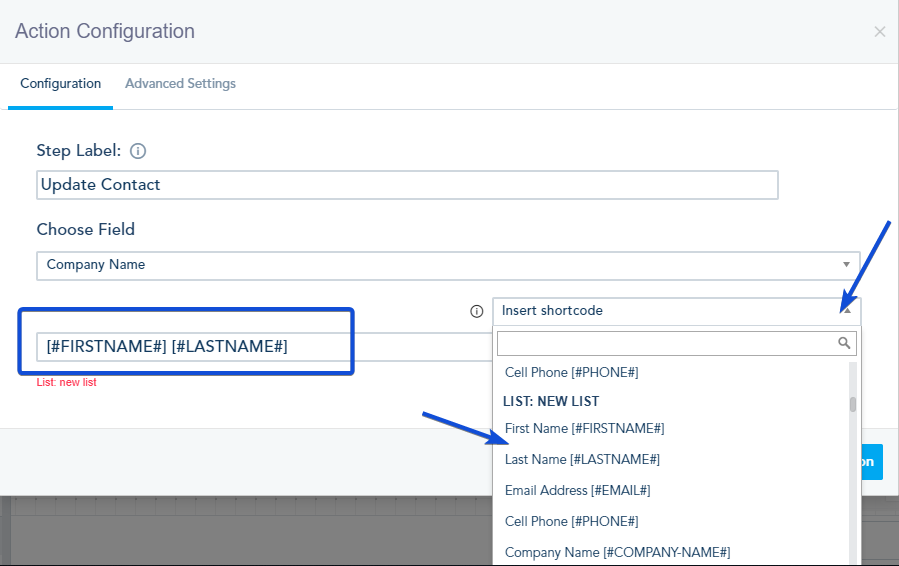
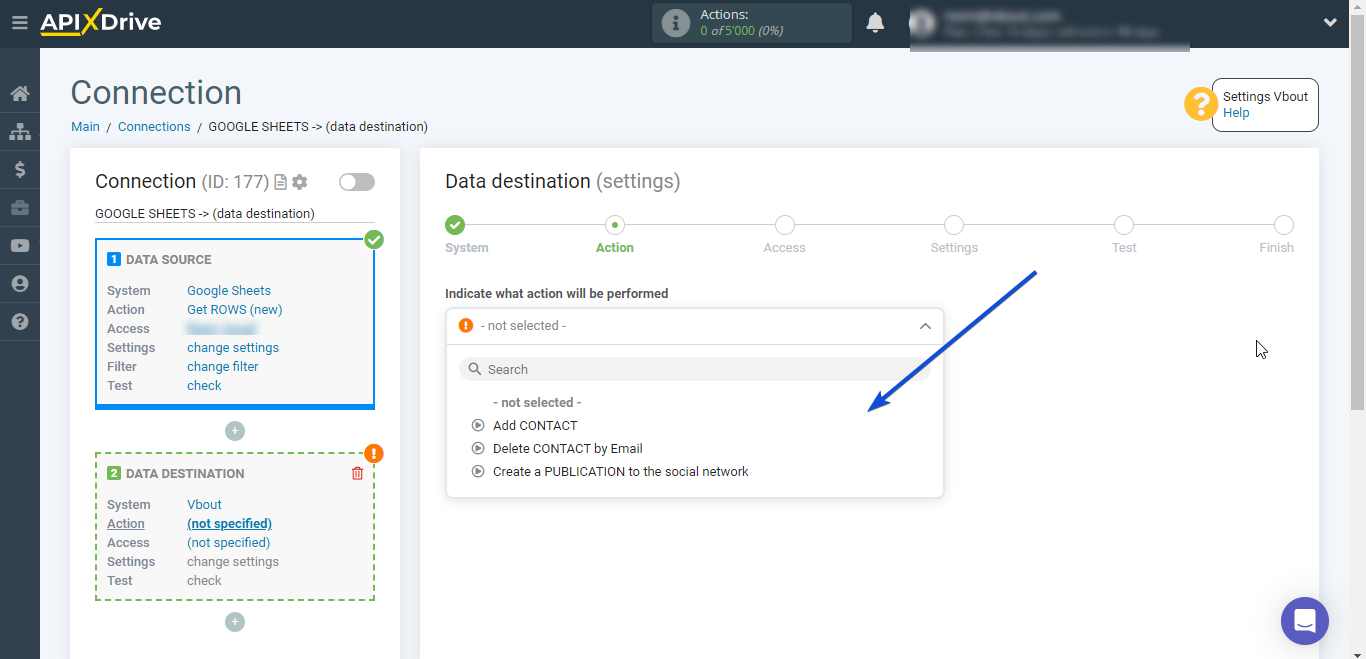
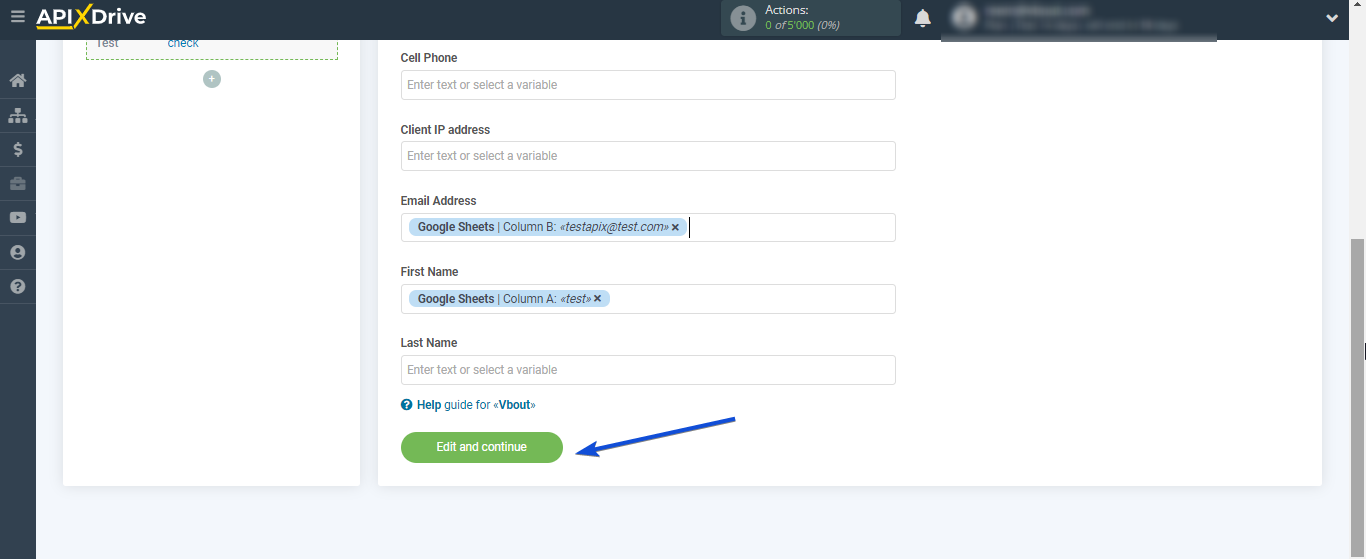
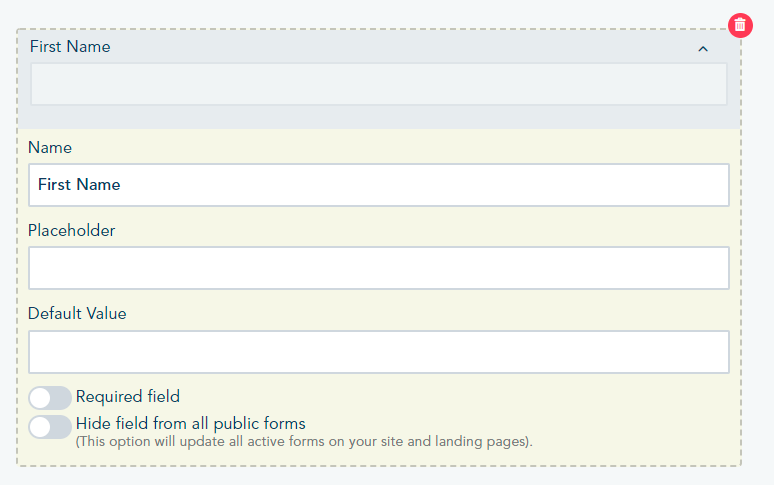
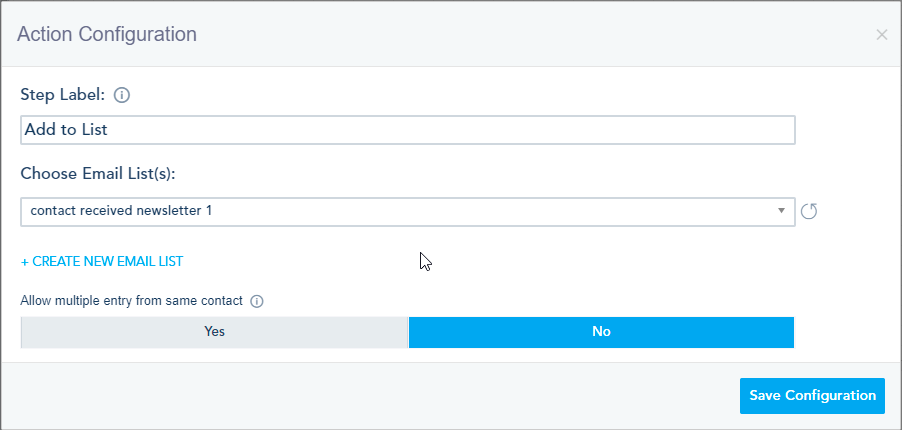
Fields: Choose the list to add your registrants and the fields you need them to fill. Also, you can add a default tag to your registrants.
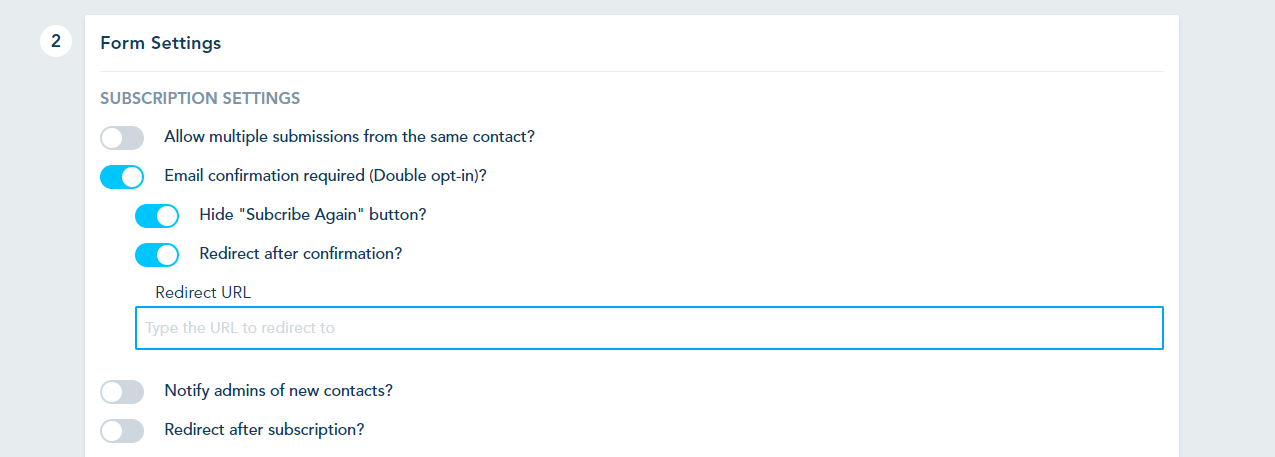
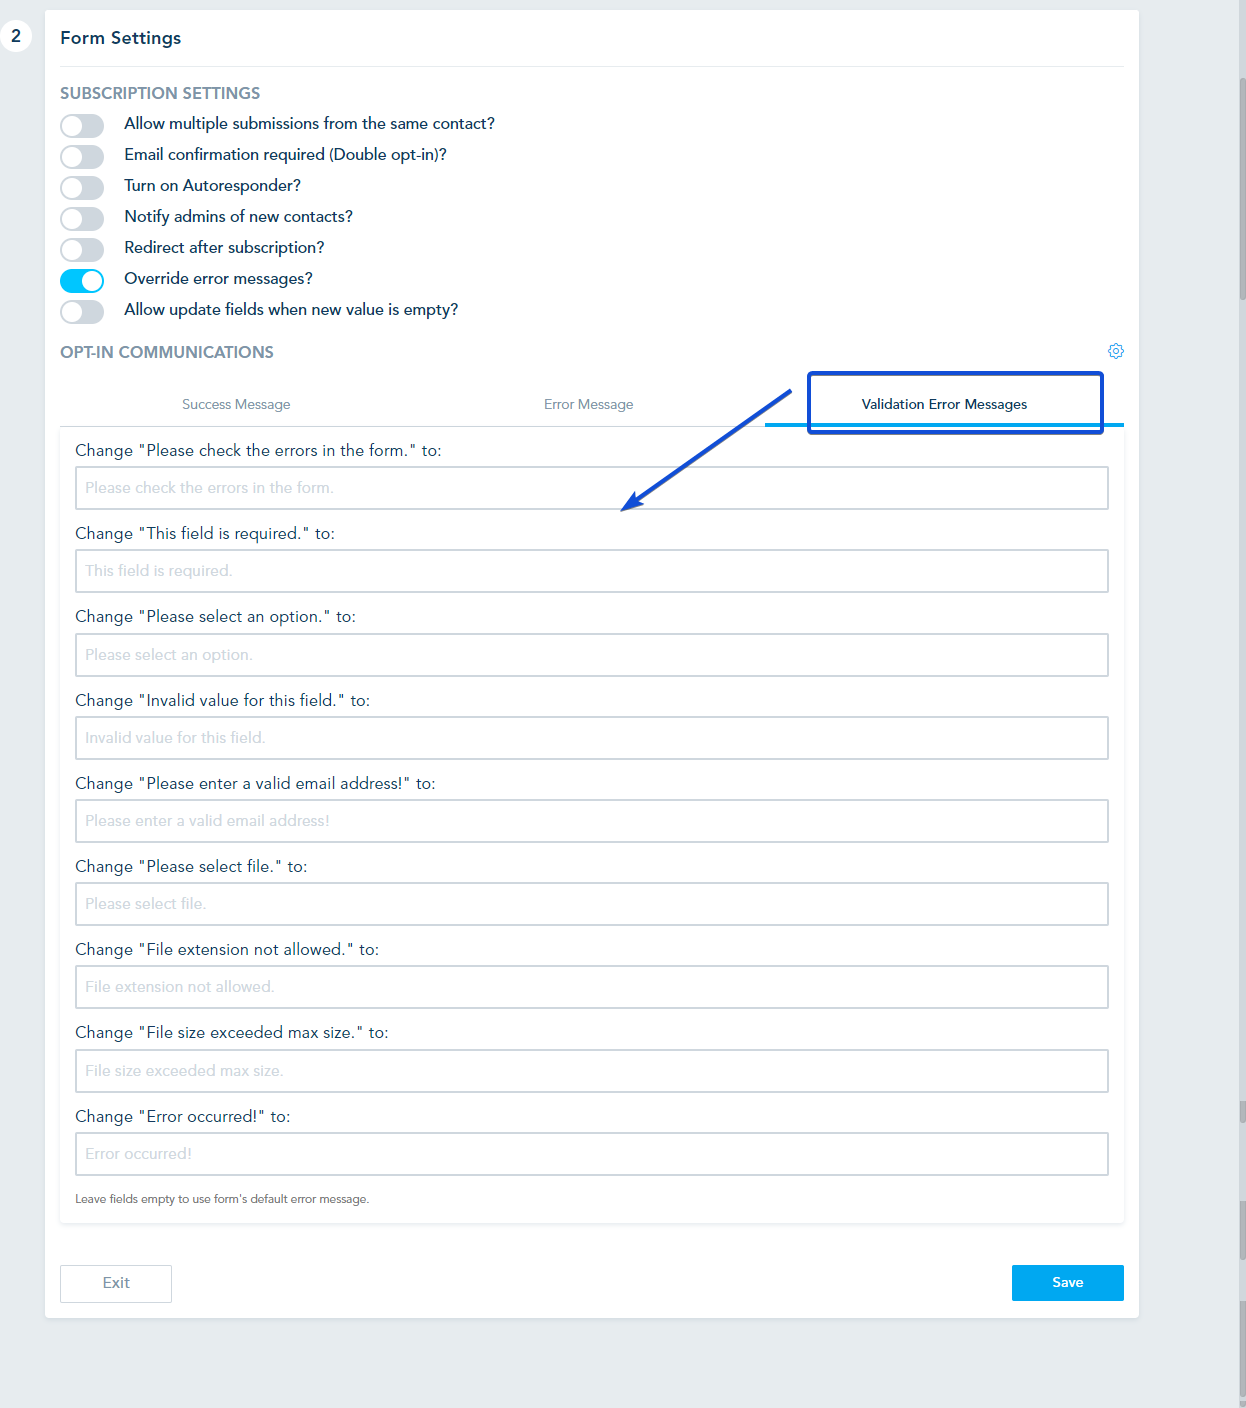
Reminders: Choose to send a confirmation email and how to remind guests about upcoming bookings.

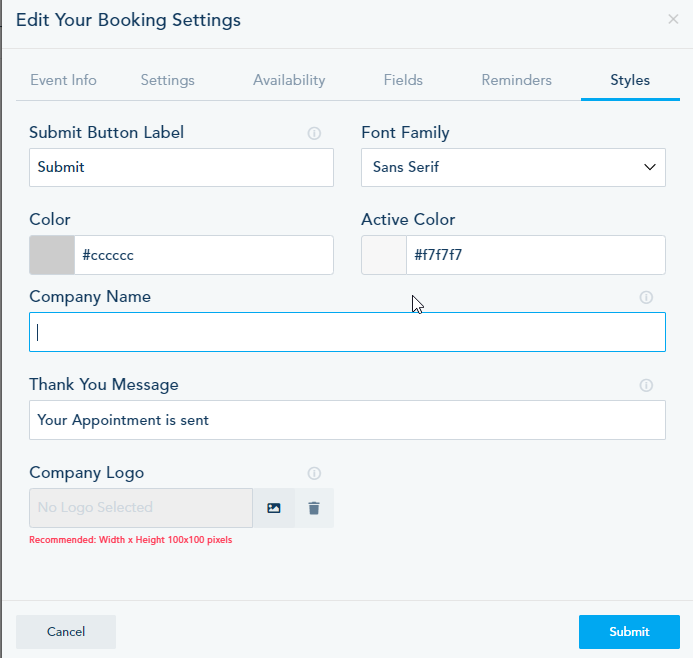
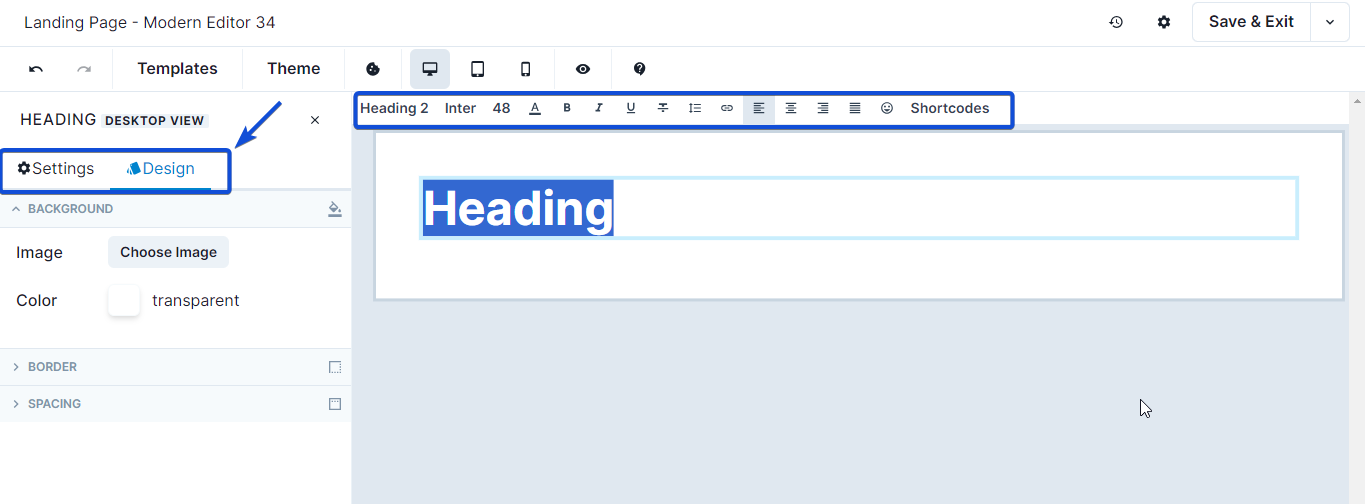
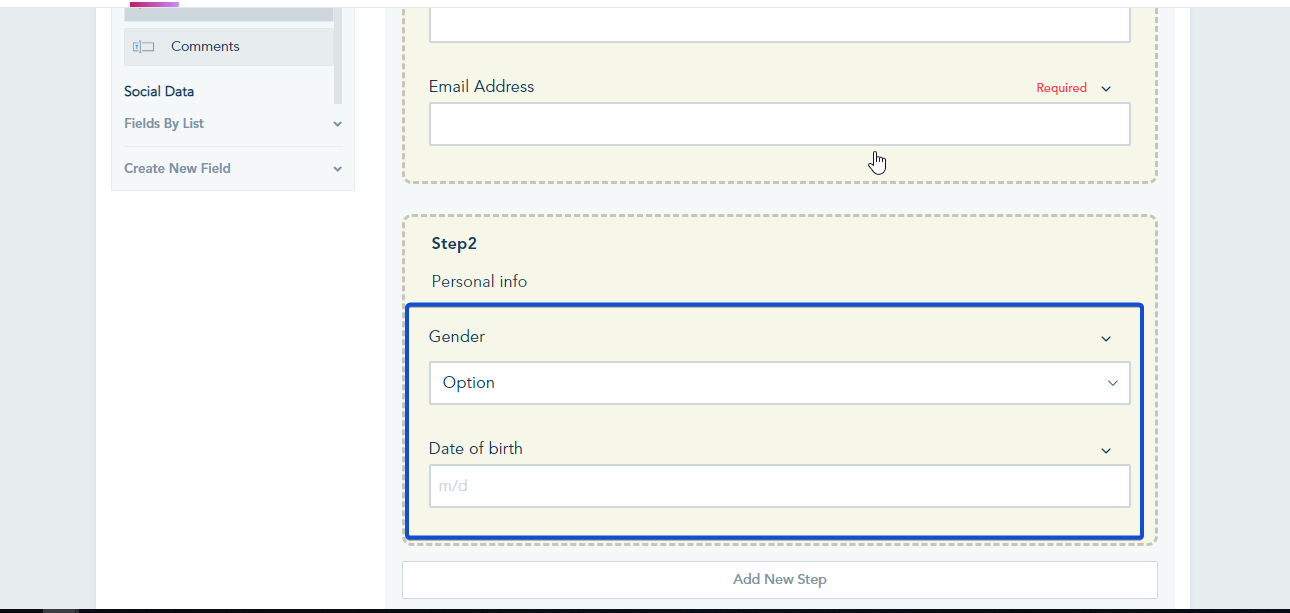
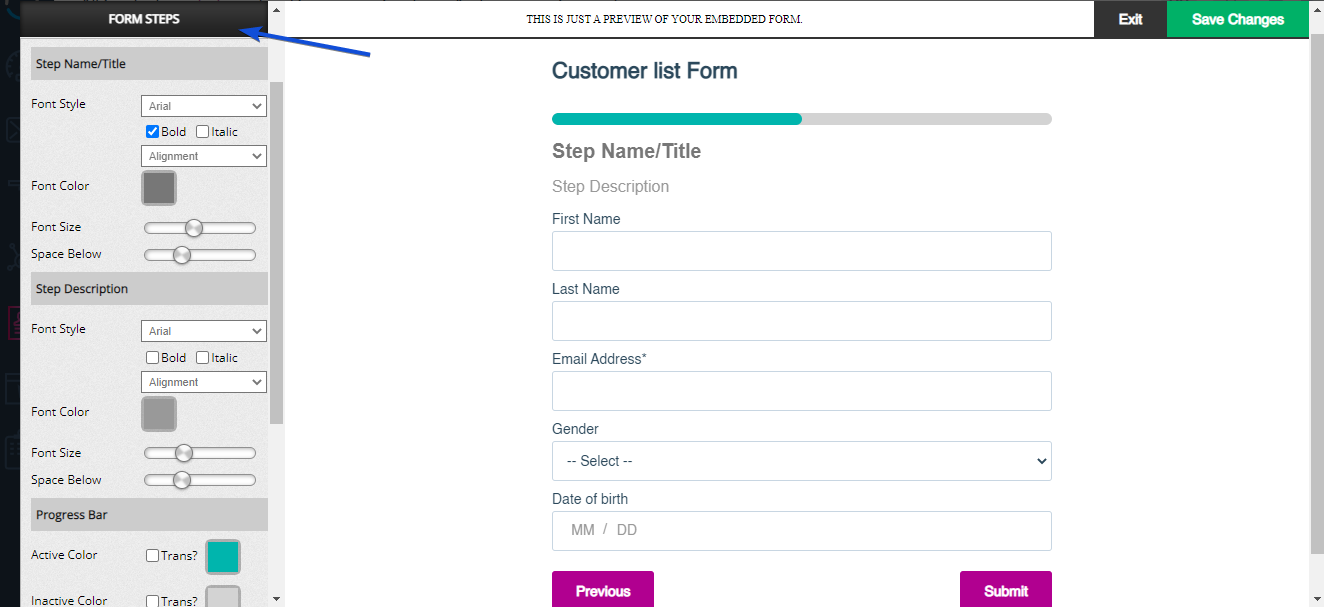
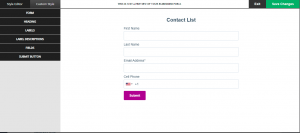
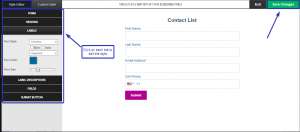
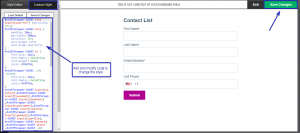
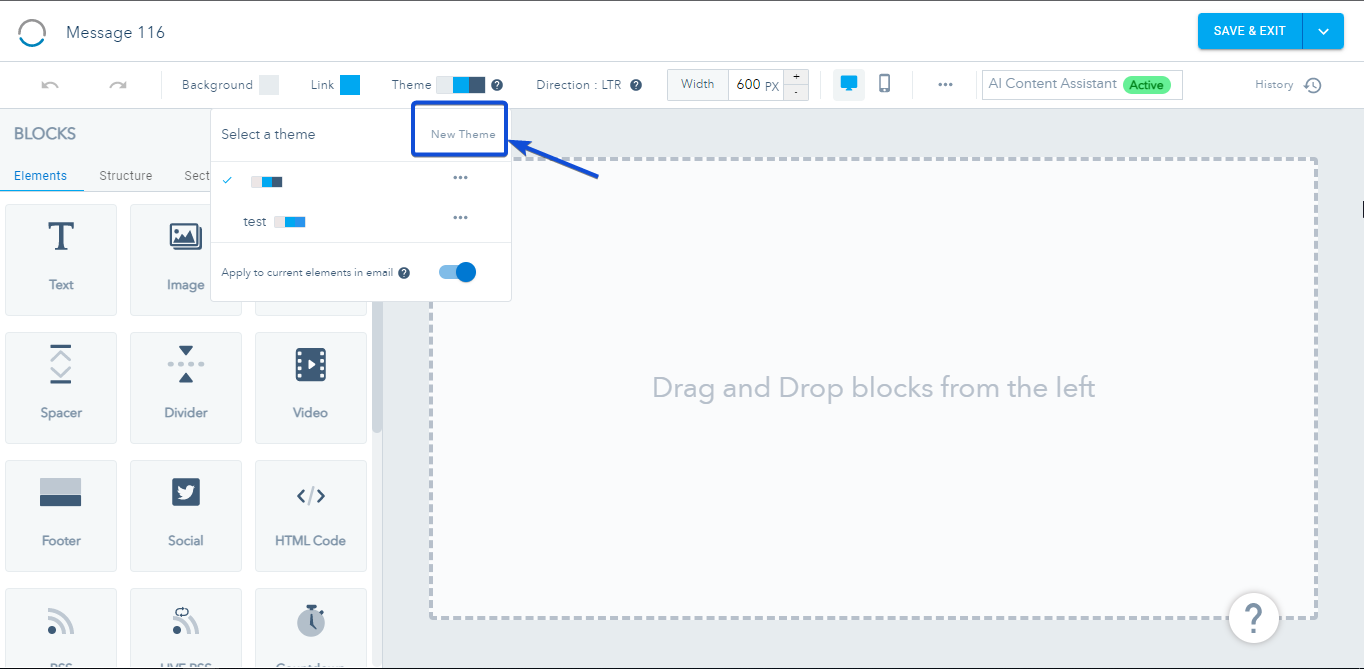
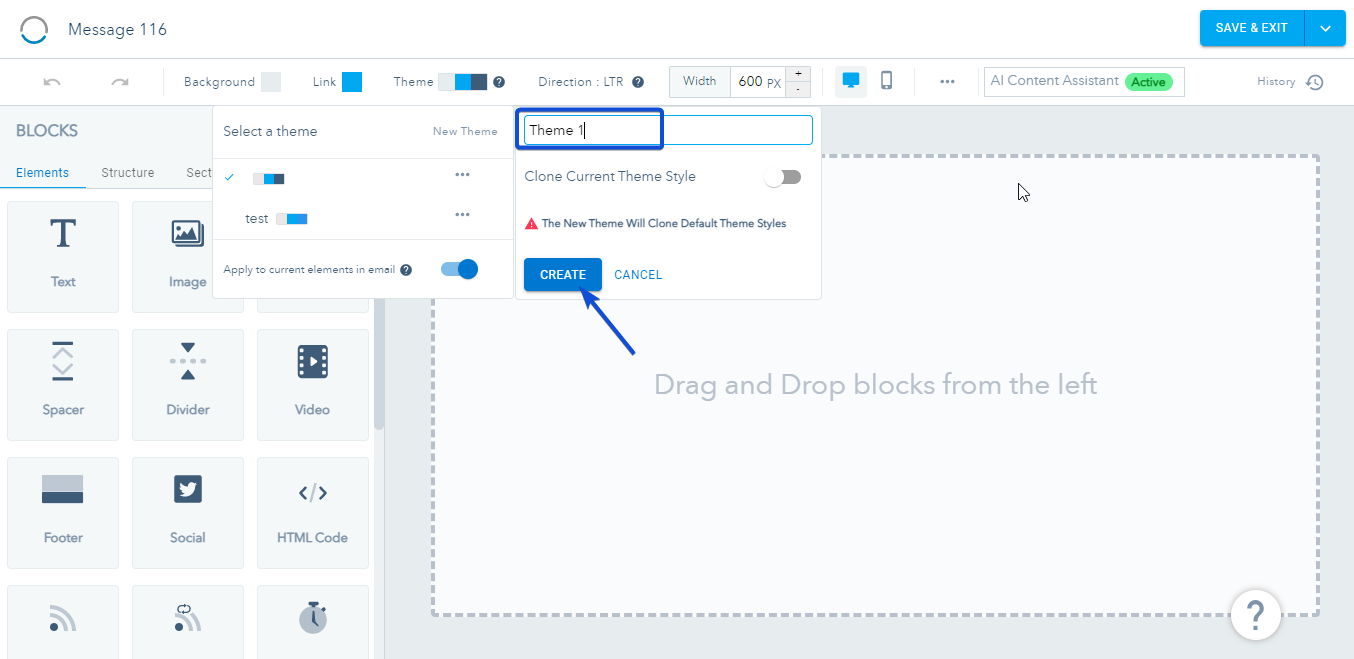
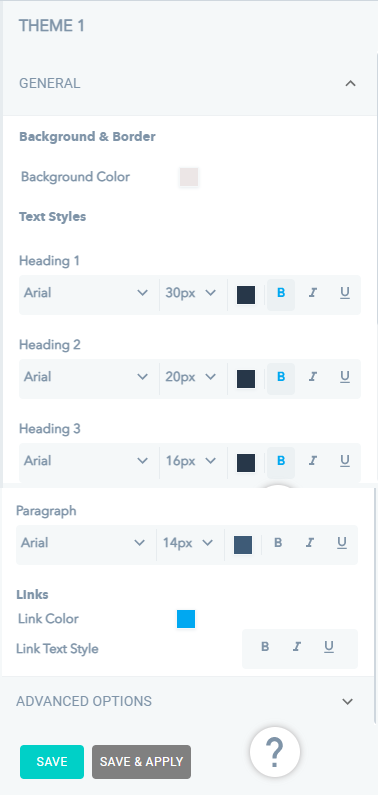
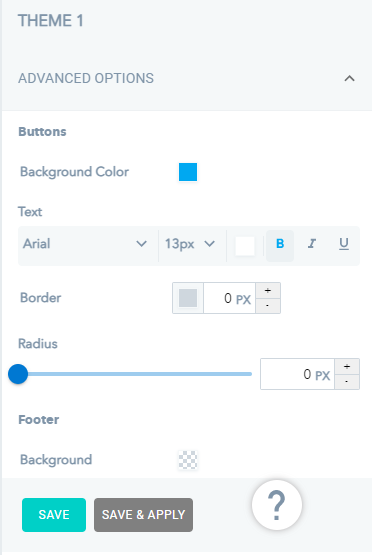
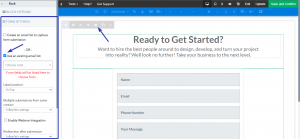
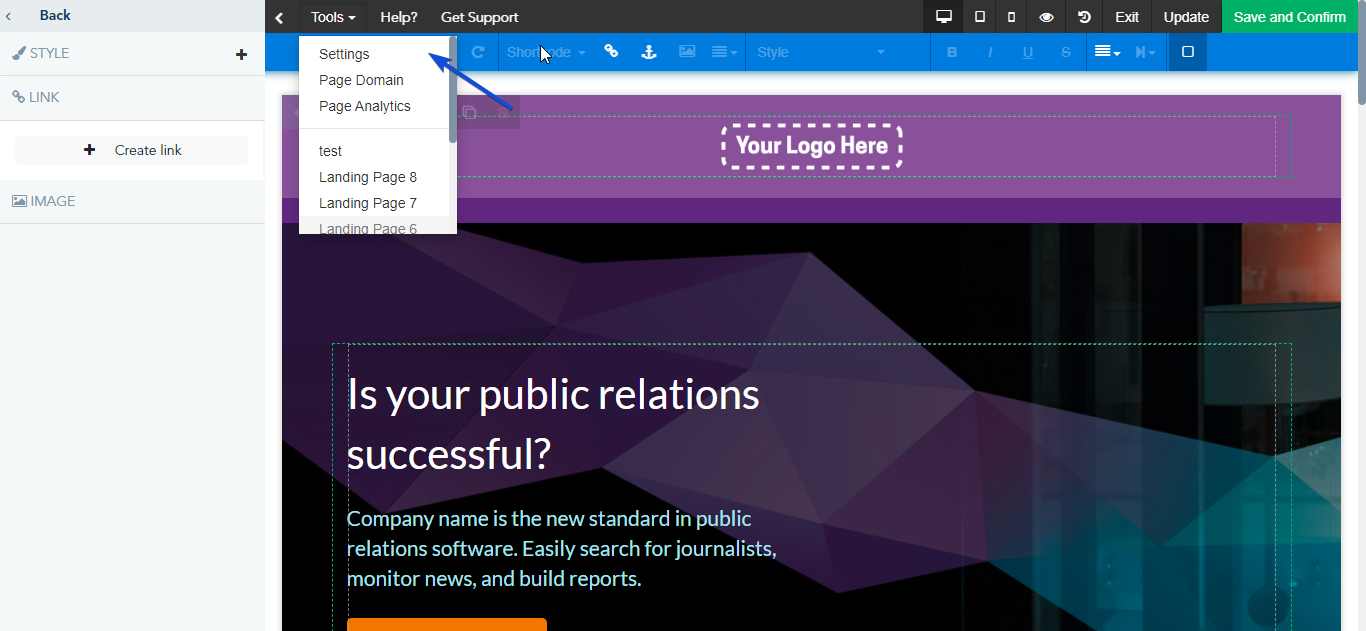
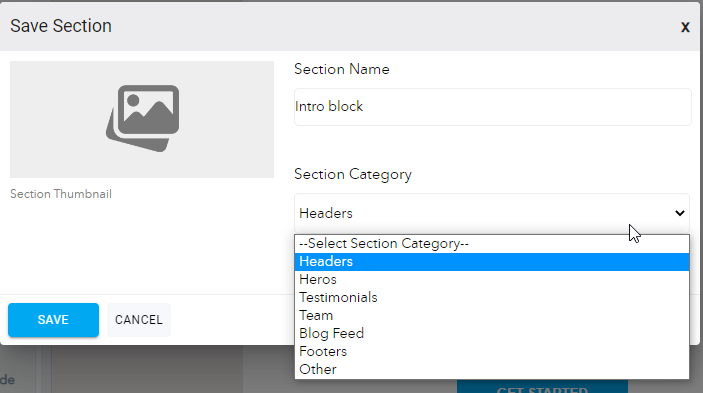
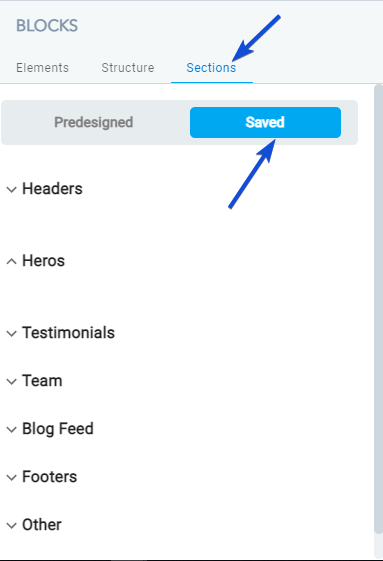
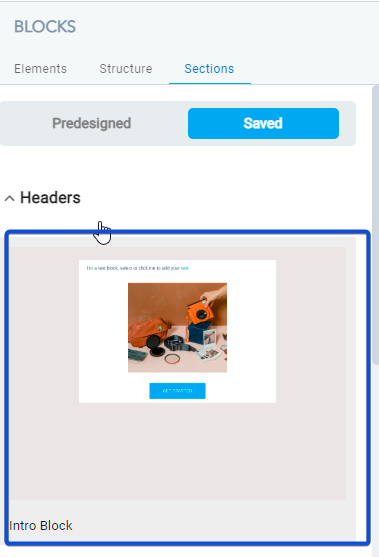
Styles: Edit the page where the prospects will book.
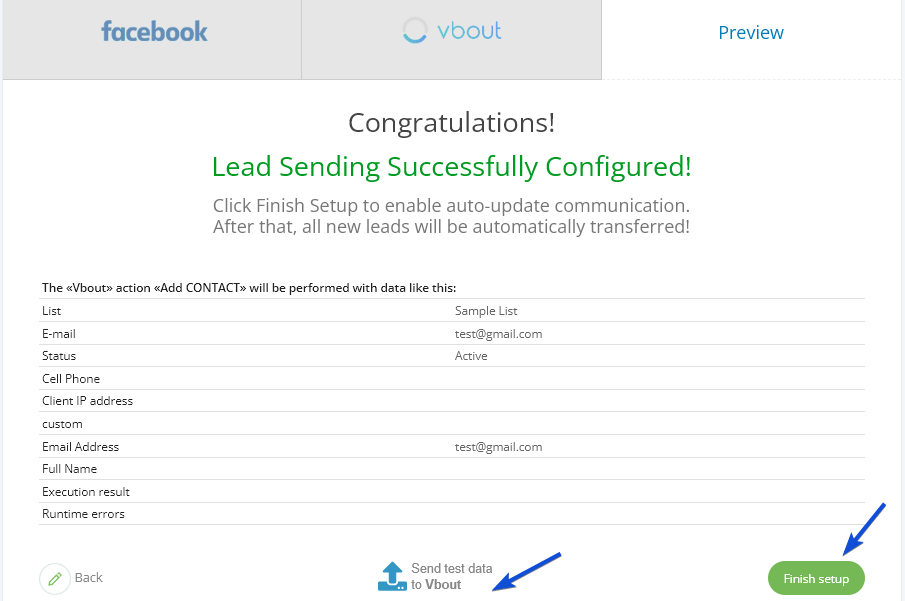
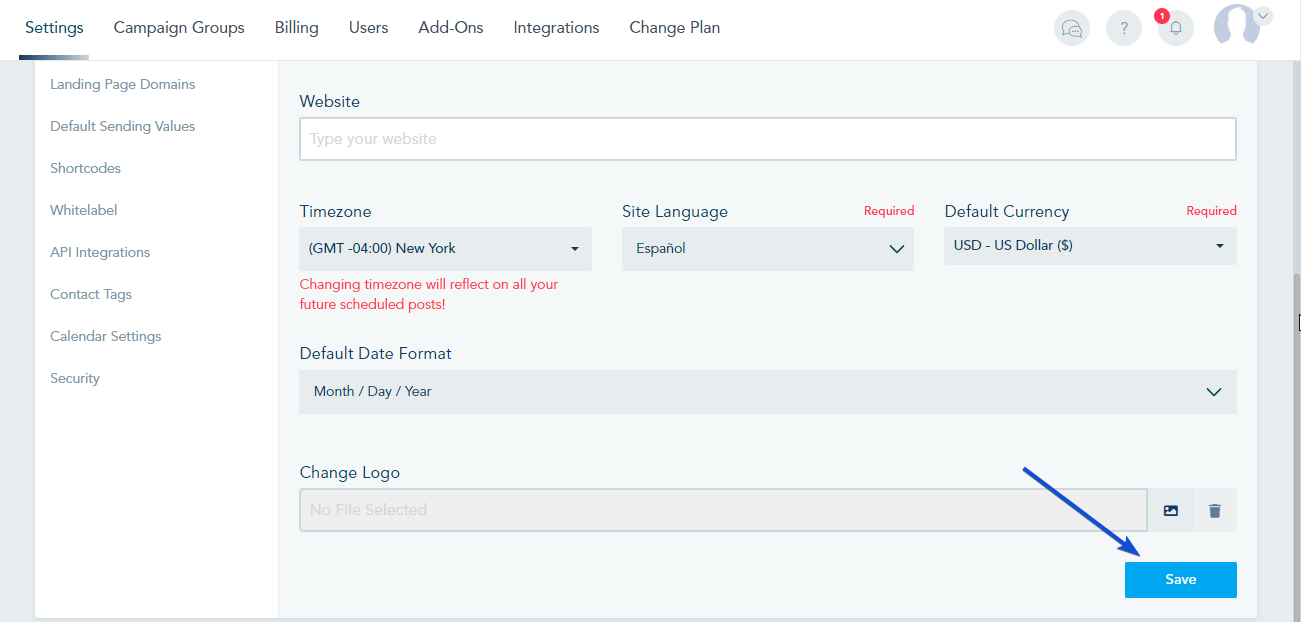
Once done, Click on Submit to save your settings.
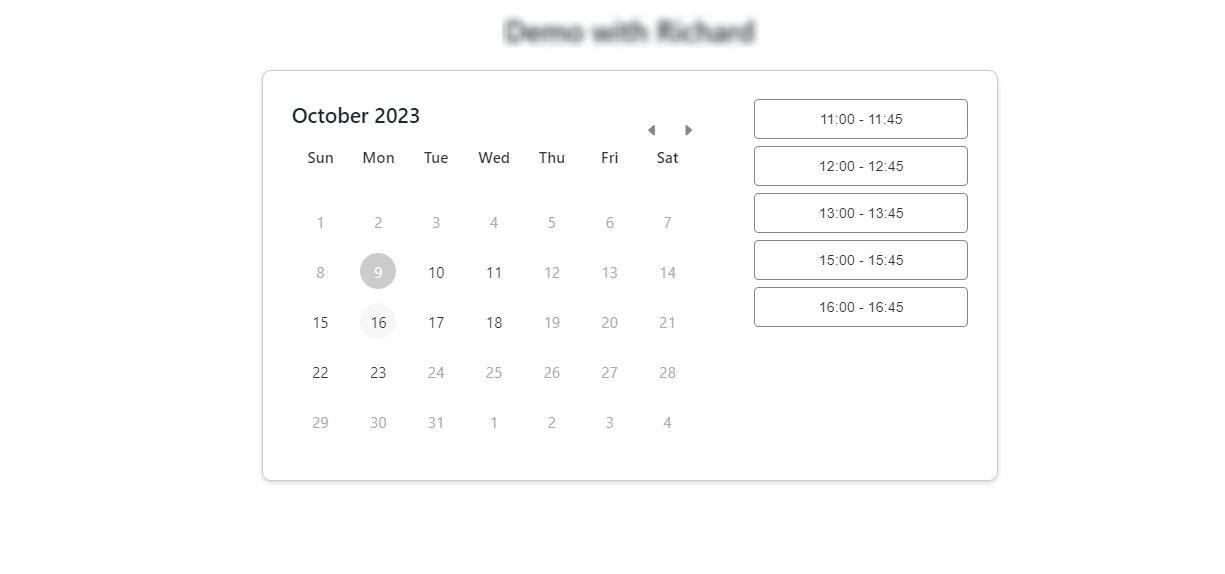
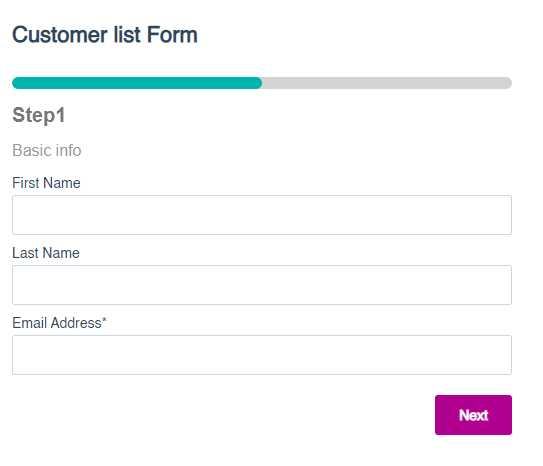
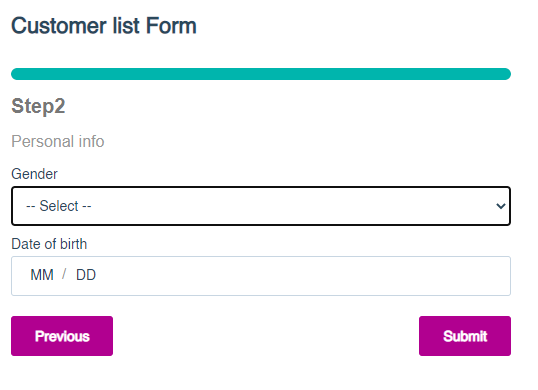
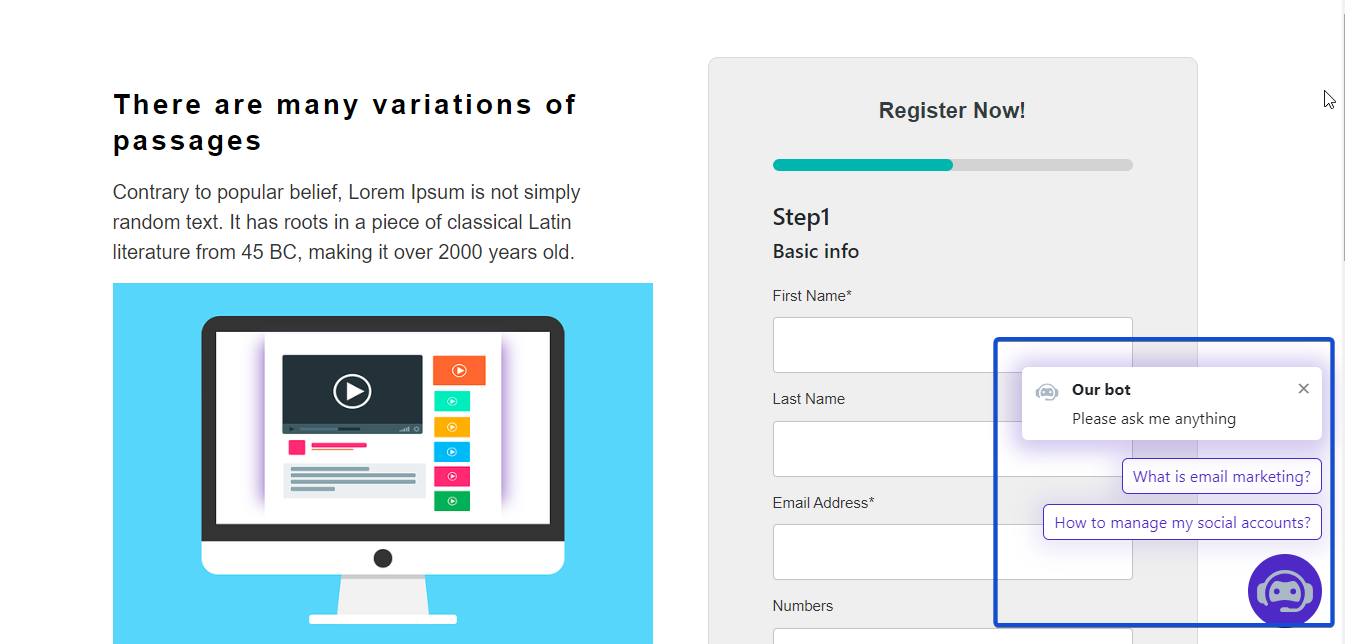
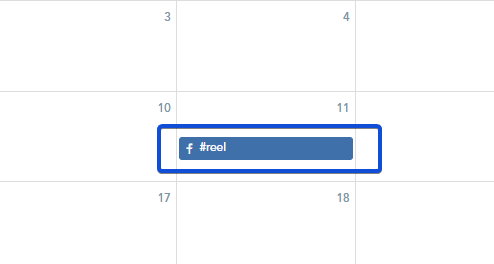
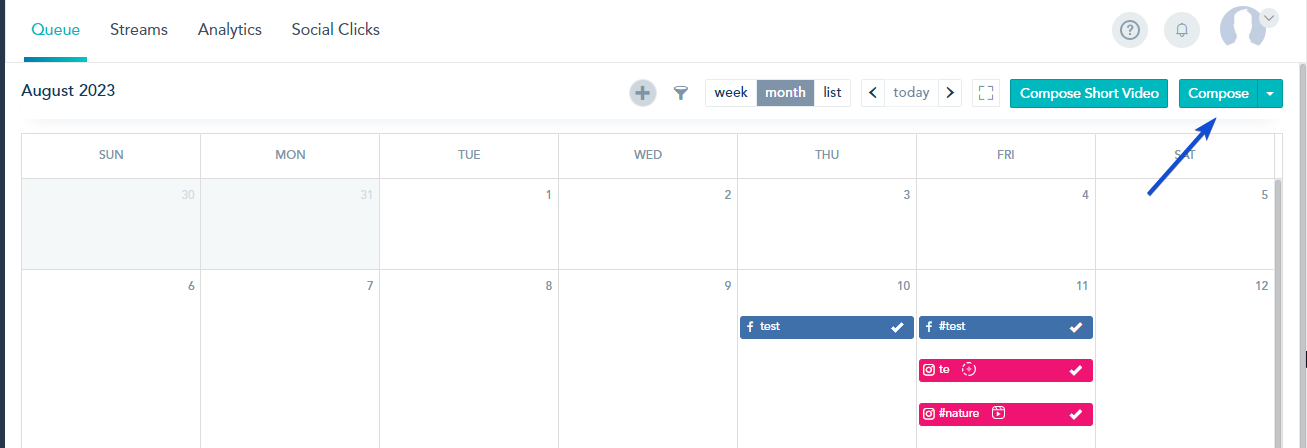
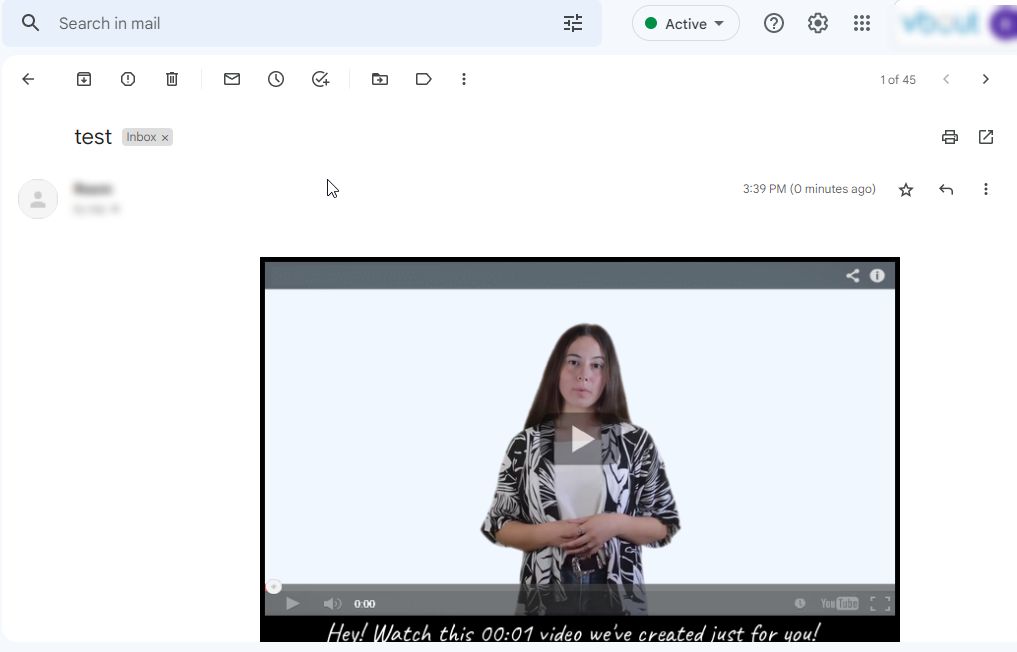
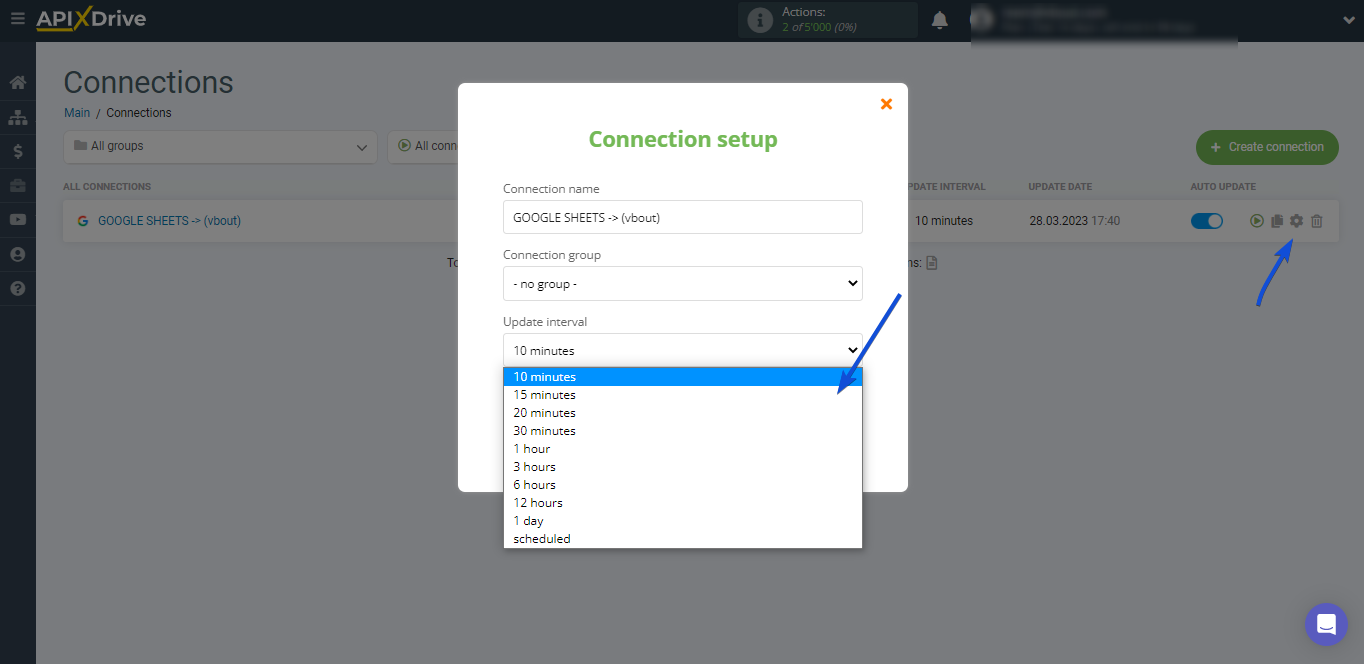
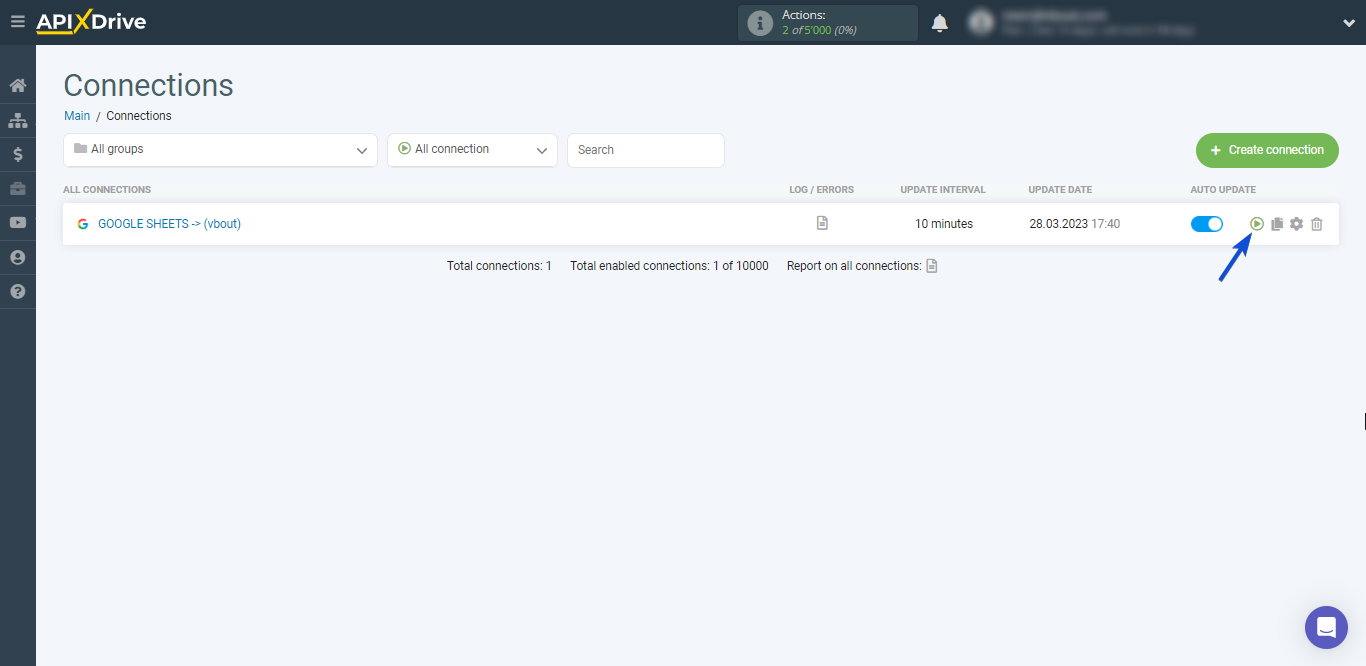
You can share your calendar link for people to schedule a meeting, your calendar will show as below.


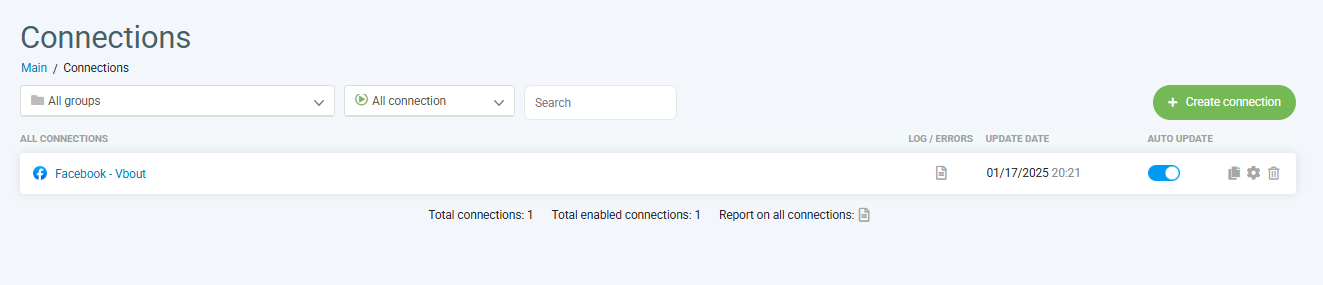


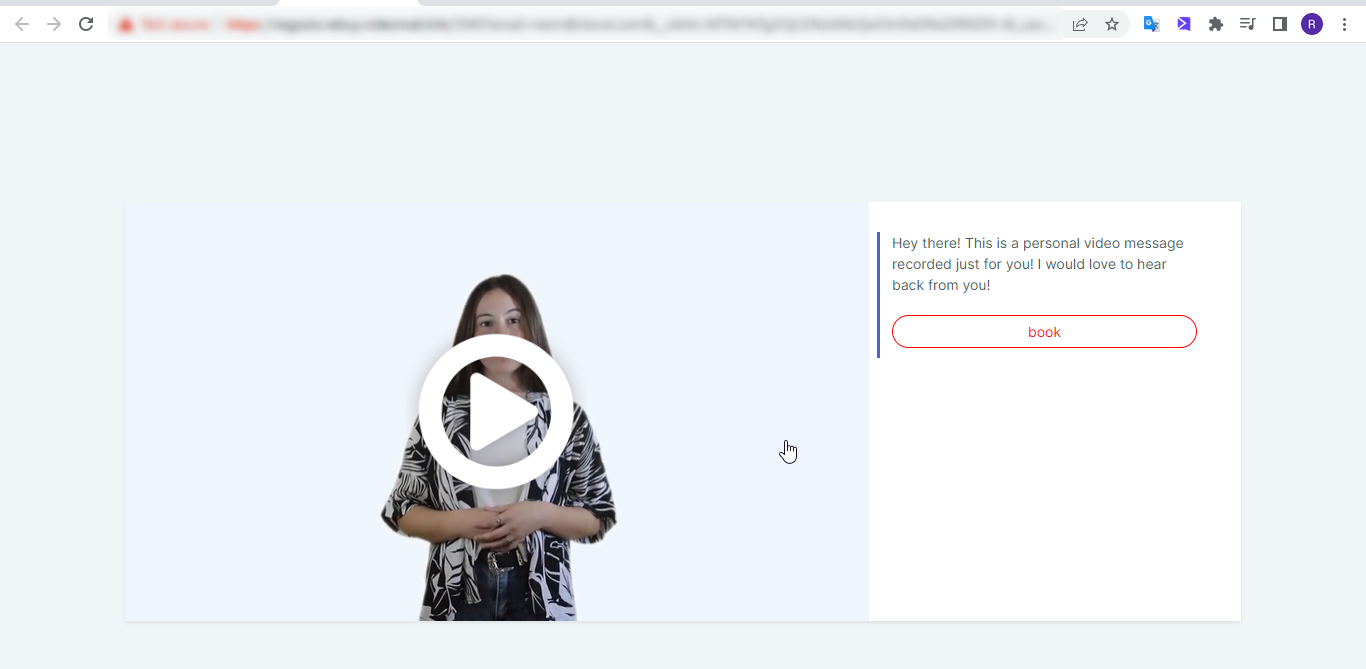


