Email validation lets you check and validate the quality of your contacts’ email addresses, so you can control how those emails are handled. It can help you detect, with high accuracy, hard bounces, spam traps, and fake email addresses by verifying and cleaning up your email list.
This feature will be available when installing the Enhanced Email Validation Add-on and is based on a monthly credit count.
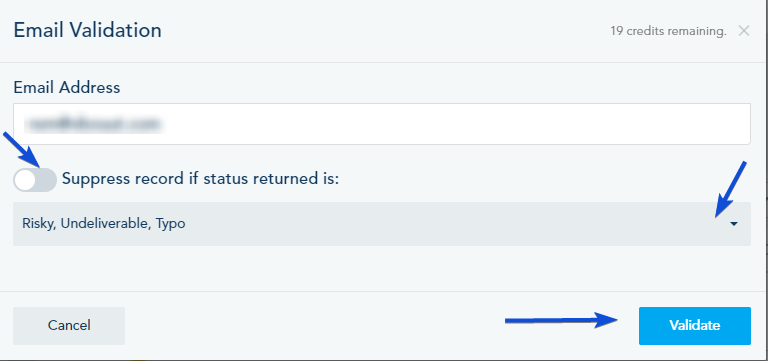
You will have the option to unsubscribe these contacts based on the email validation status response.
The returned statuses are: Valid, Neutral, Risky, Undeliverable, and Typo.
Valid: The email server is ready to accept emails to this email address
Neutral: The email is a temporary address to receive letters and expires after a certain time period.
Risky:
- The email account is suspended, disabled, or limited and cannot receive emails
- The SMTP response is invalid or the destination server reported an internal error.
- Some anti-spam technology is blocking the verification progress.
- The email address is maintained by an ISP or a third party that neither clicks nor opens emails.
Undeliverable:
- The email server is dead, and no connection to it could be established.
- The email address does not exist
- The domain email server is not installed or is incorrect so the emails are not deliverable.
- The delivery failed
- The delivery failed because a relaying problem took place
Typo: There is a syntax error in the email address
You can use the Enhanced Email Validation from different views within the platform.
Email Validation while importing contacts:
When mass importing your contacts, you have the option to validate your contacts’ email addresses.
In Mass Import settings, turn on the Enhance Validation option.
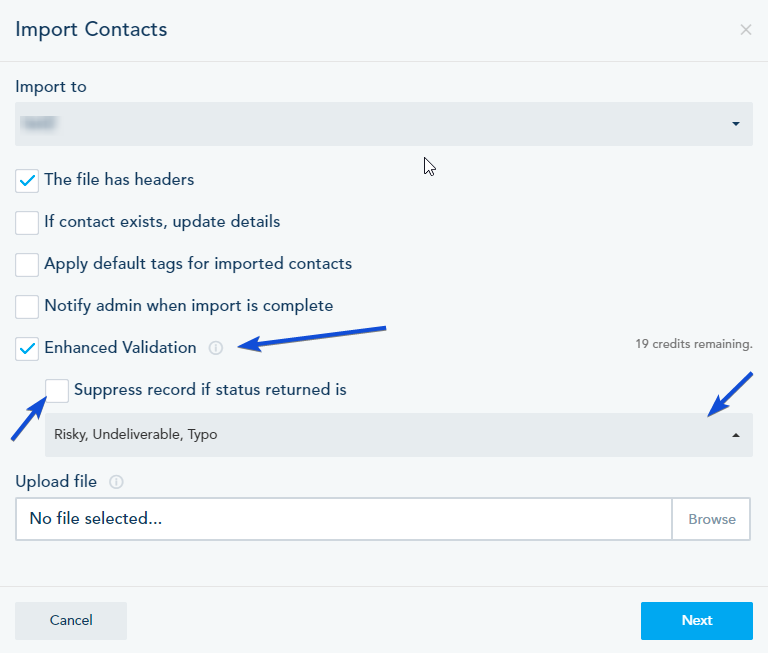
You can select the status to unsubscribe the contact.

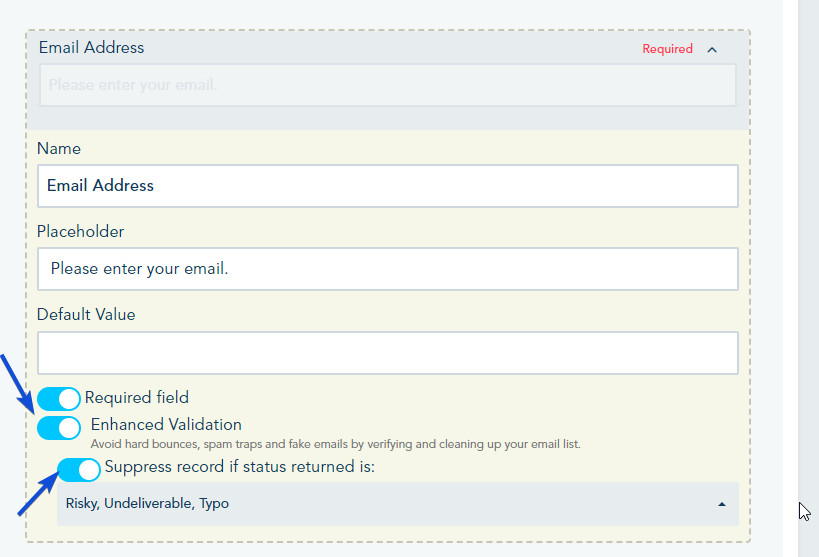
Email Validation in Form
You have the option to enable enhanced validation when the contact signup to your form.
In the Form builder, turn on the Enhance Validation option.
Email Validation of a List:
Go to Lists, choose Batch Validation from the drop-down menu next to the list.
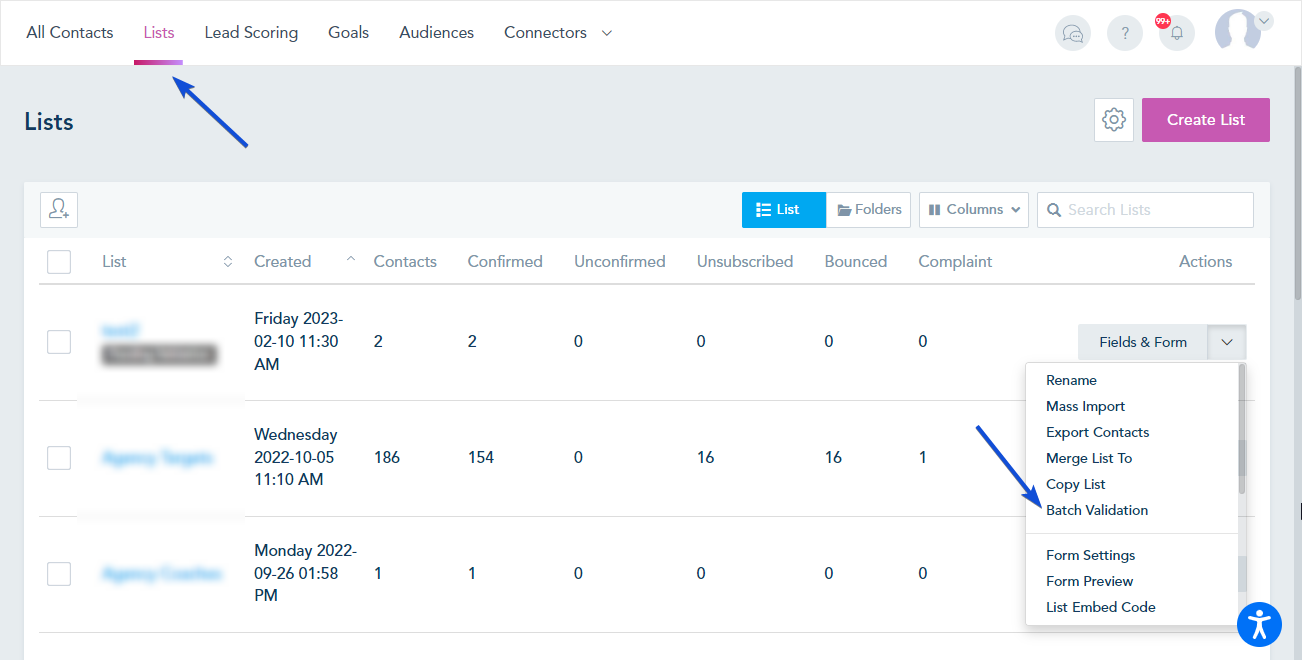
Choose your options and, click on Validate.

Email Validation of a Contact
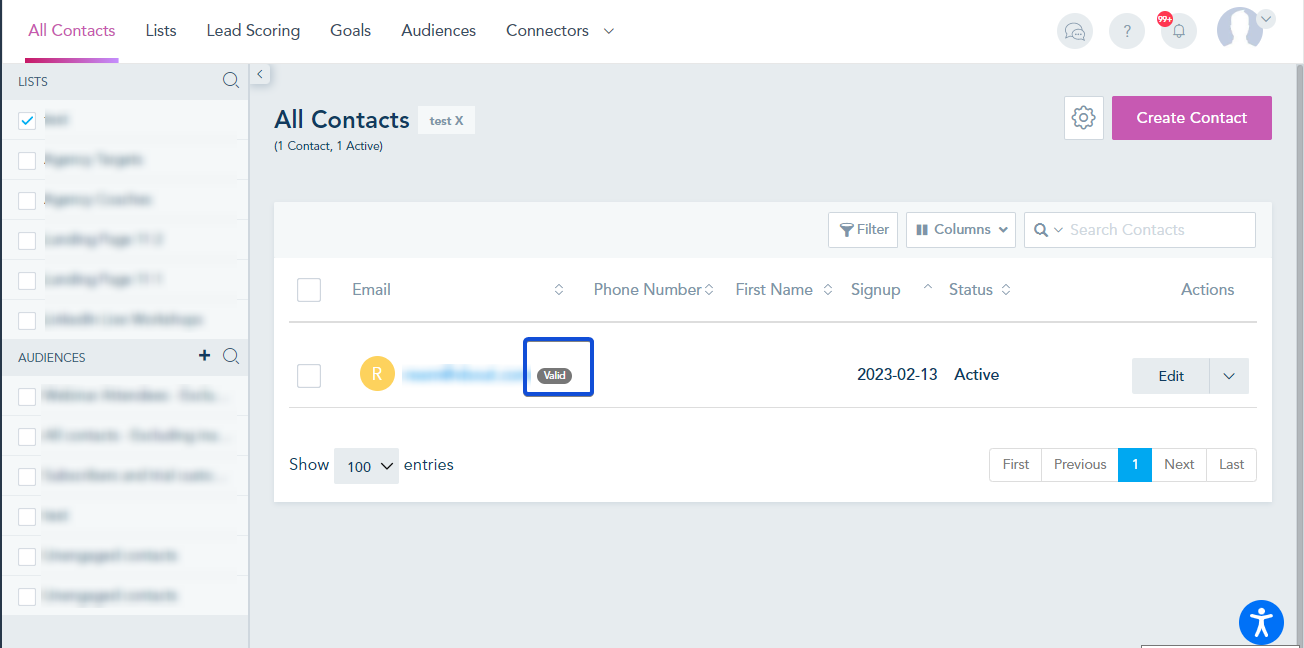
From the All Contacts page, choose Email Validation from the drop-down menu of the contact.
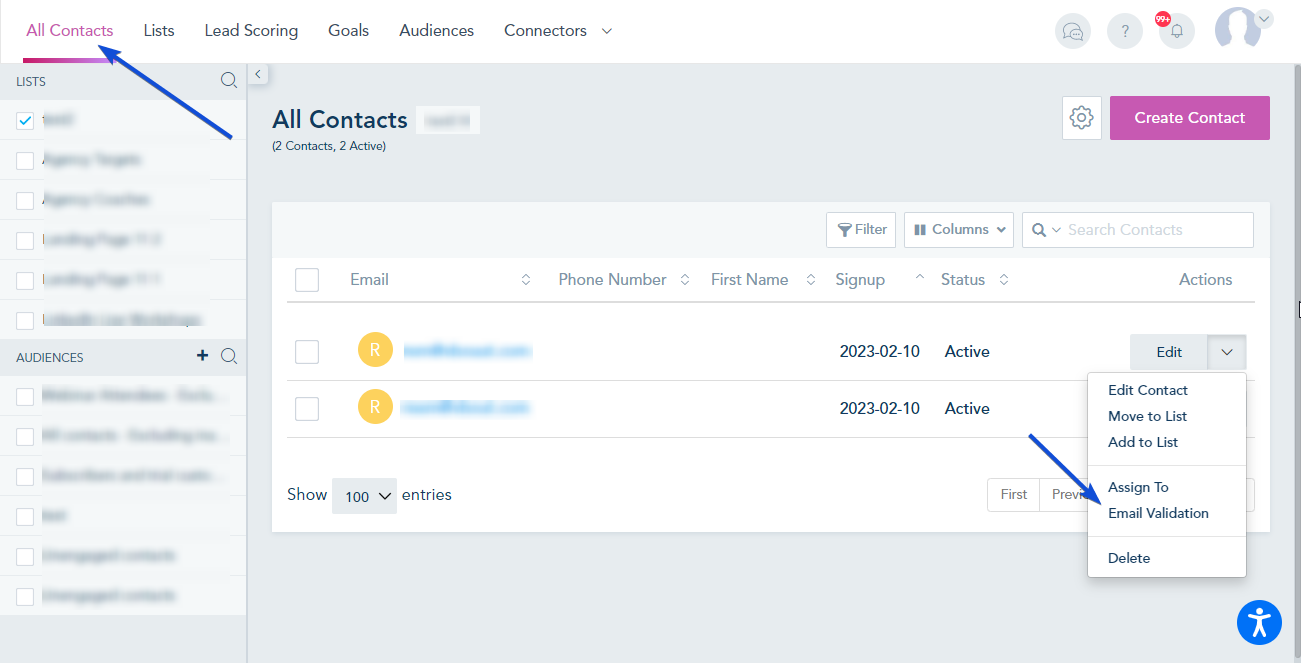
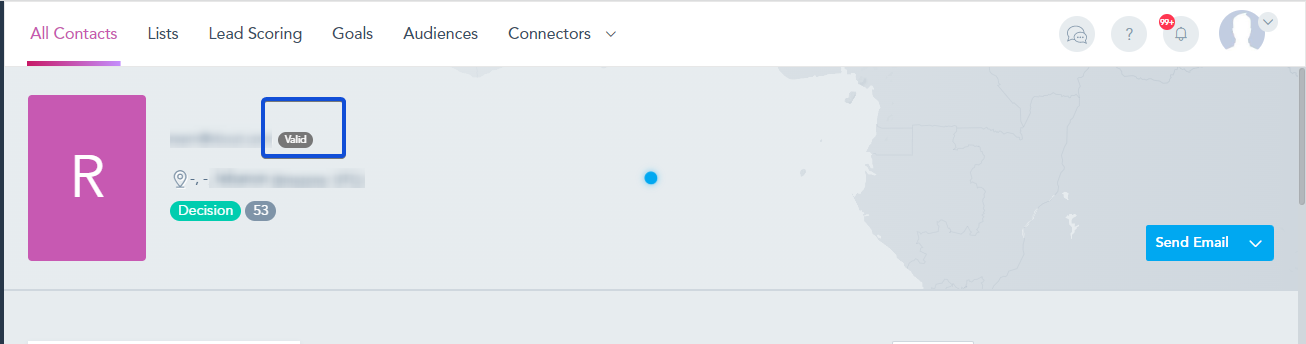
Also, you can choose Email Validation from drop-down menu inside the Lead profile.

Choose your options and, click on Validate.
Once the validation process is completed, you can see the email status on the All Contacts page and inside the Lead profile.