
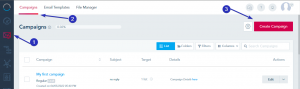
To create a new email campaign, go to Email tab -> Campaigns, and click on Create Campaign. The wizard will walk you through the 4 stages of the campaign creation:
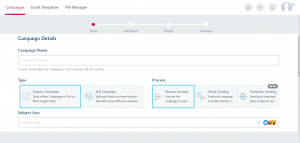
- Setup: This is where you specify the campaign details like the campaign name (used internally), subject line, the type (Regular vs A/B testing), and other details. If you are setting up an A/B testing campaign, follow the additional options prompted on the screen to complete the AB testing criteria.
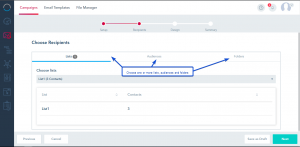
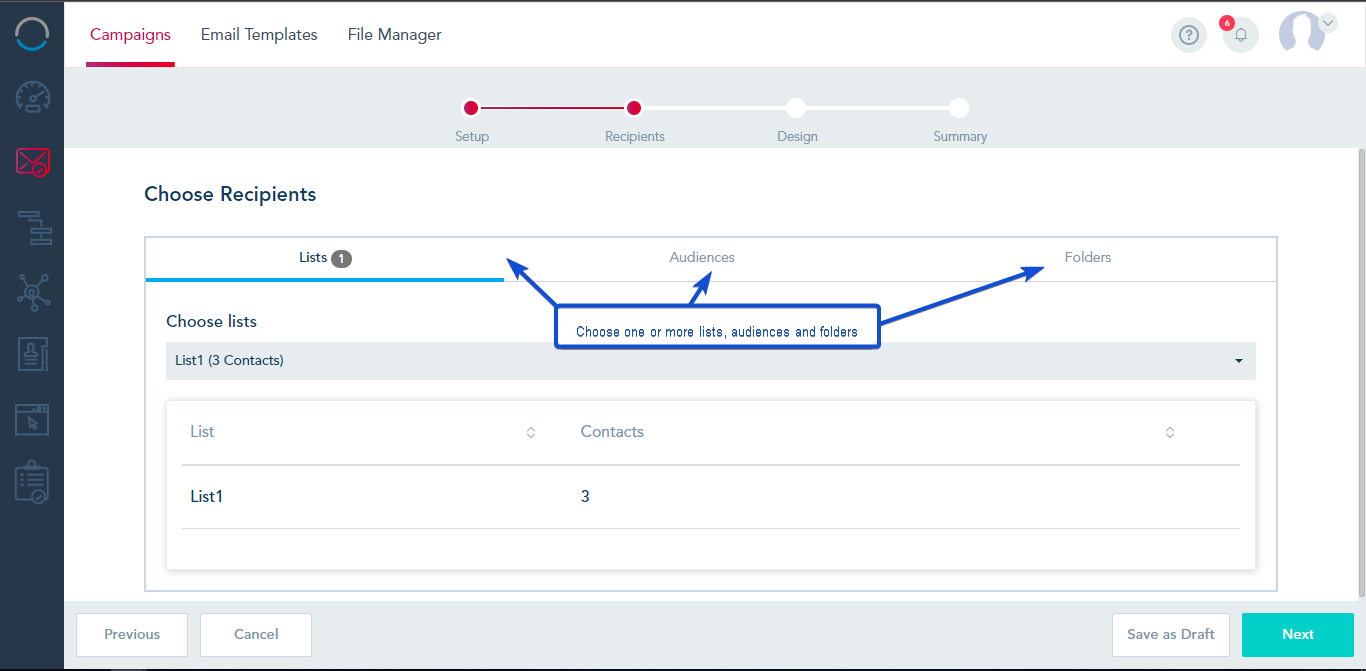
- Lists: On this step, you can choose who are you targeting between your Lists, your Audiences, and your Folders. You can always choose a combination of all. If duplicates were detected, the system will send the contact one email only.
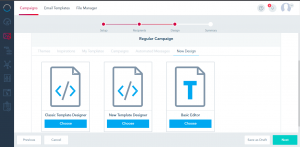
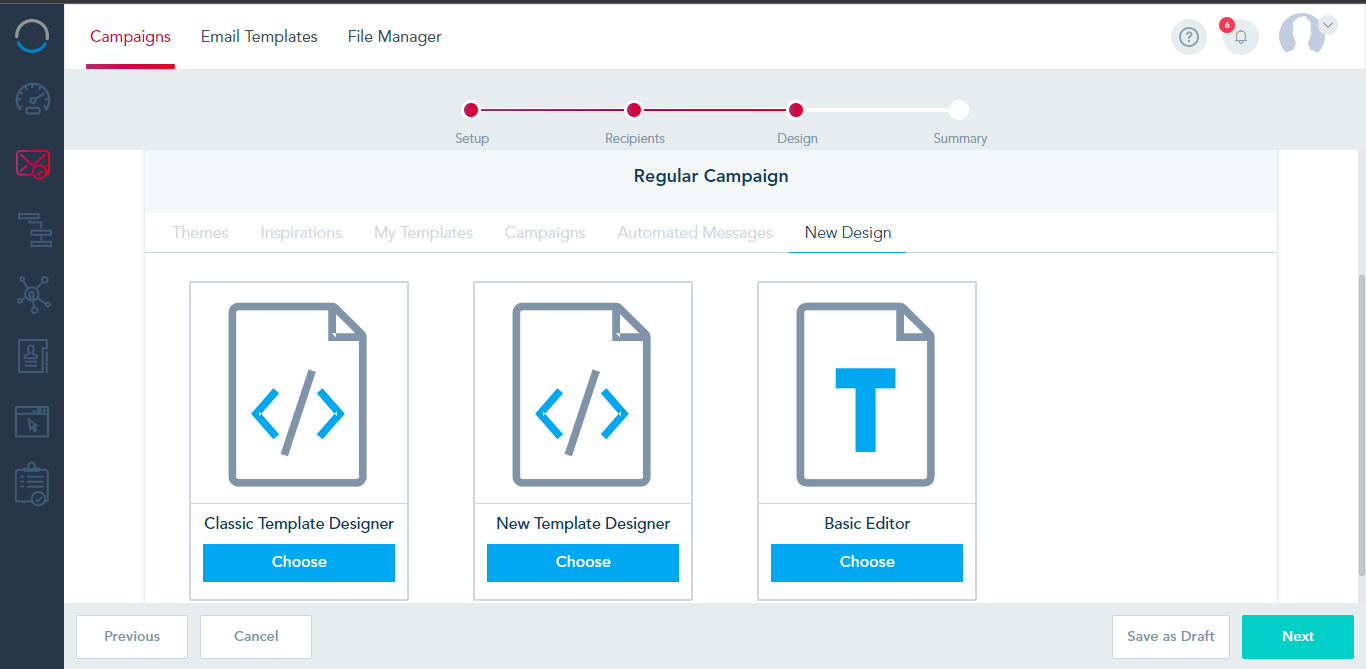
- Design: On this step, you have the option to start your email from a ready template, use a prebuilt template, recycle an old template or create a new one from scratch. If you choose New Design you will have the option to either create a simple text email via Basic Editor or to design your own via Template Designer.
- Summary: This is the last step of the campaign where you can review your setup, run a spam check on your campaign and send a draft email to yourself.


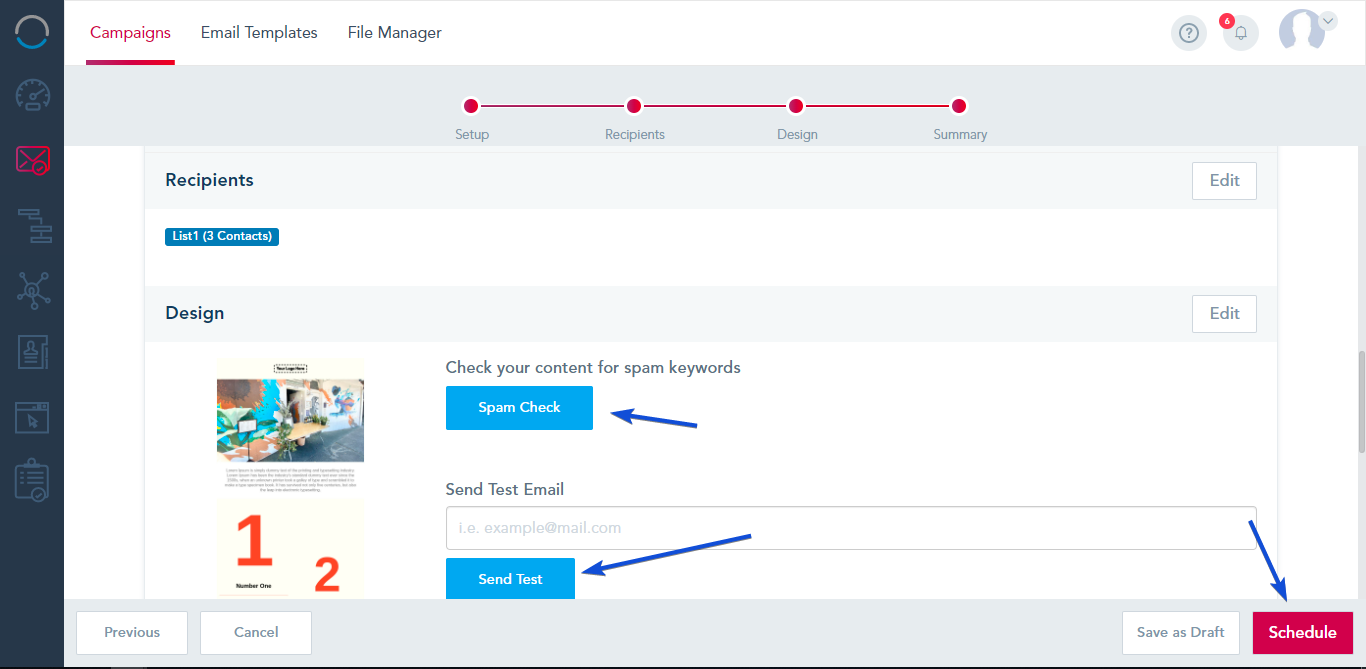
Once you confirm that the template is ready, choose to send the campaign now or sometime in the future. You will also have the option to save the campaign as a draft to continue working on it at a later time.
Note: The system always uses your account time zone to send out the campaign.