
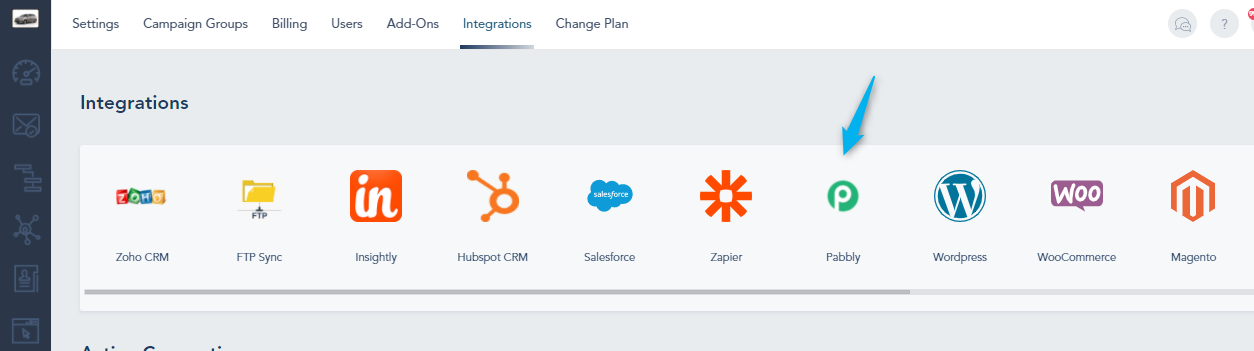
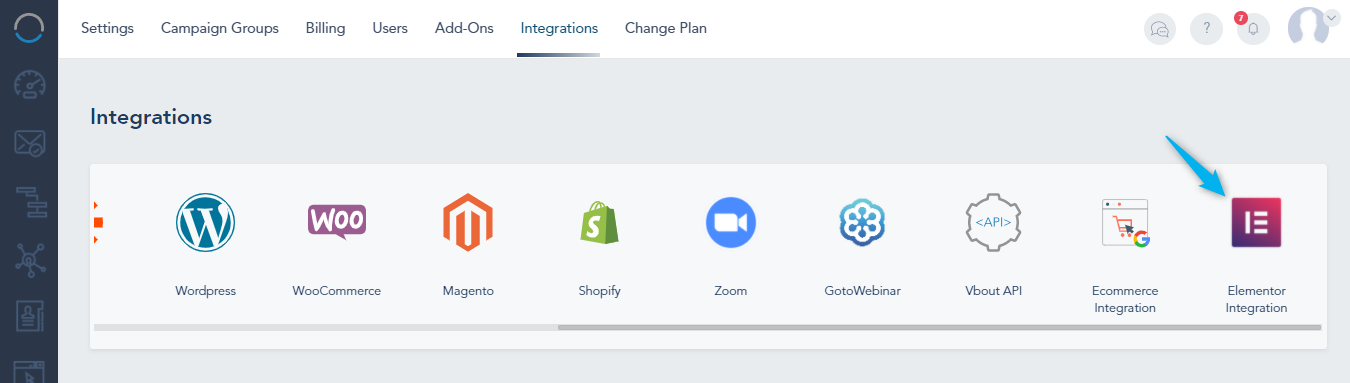
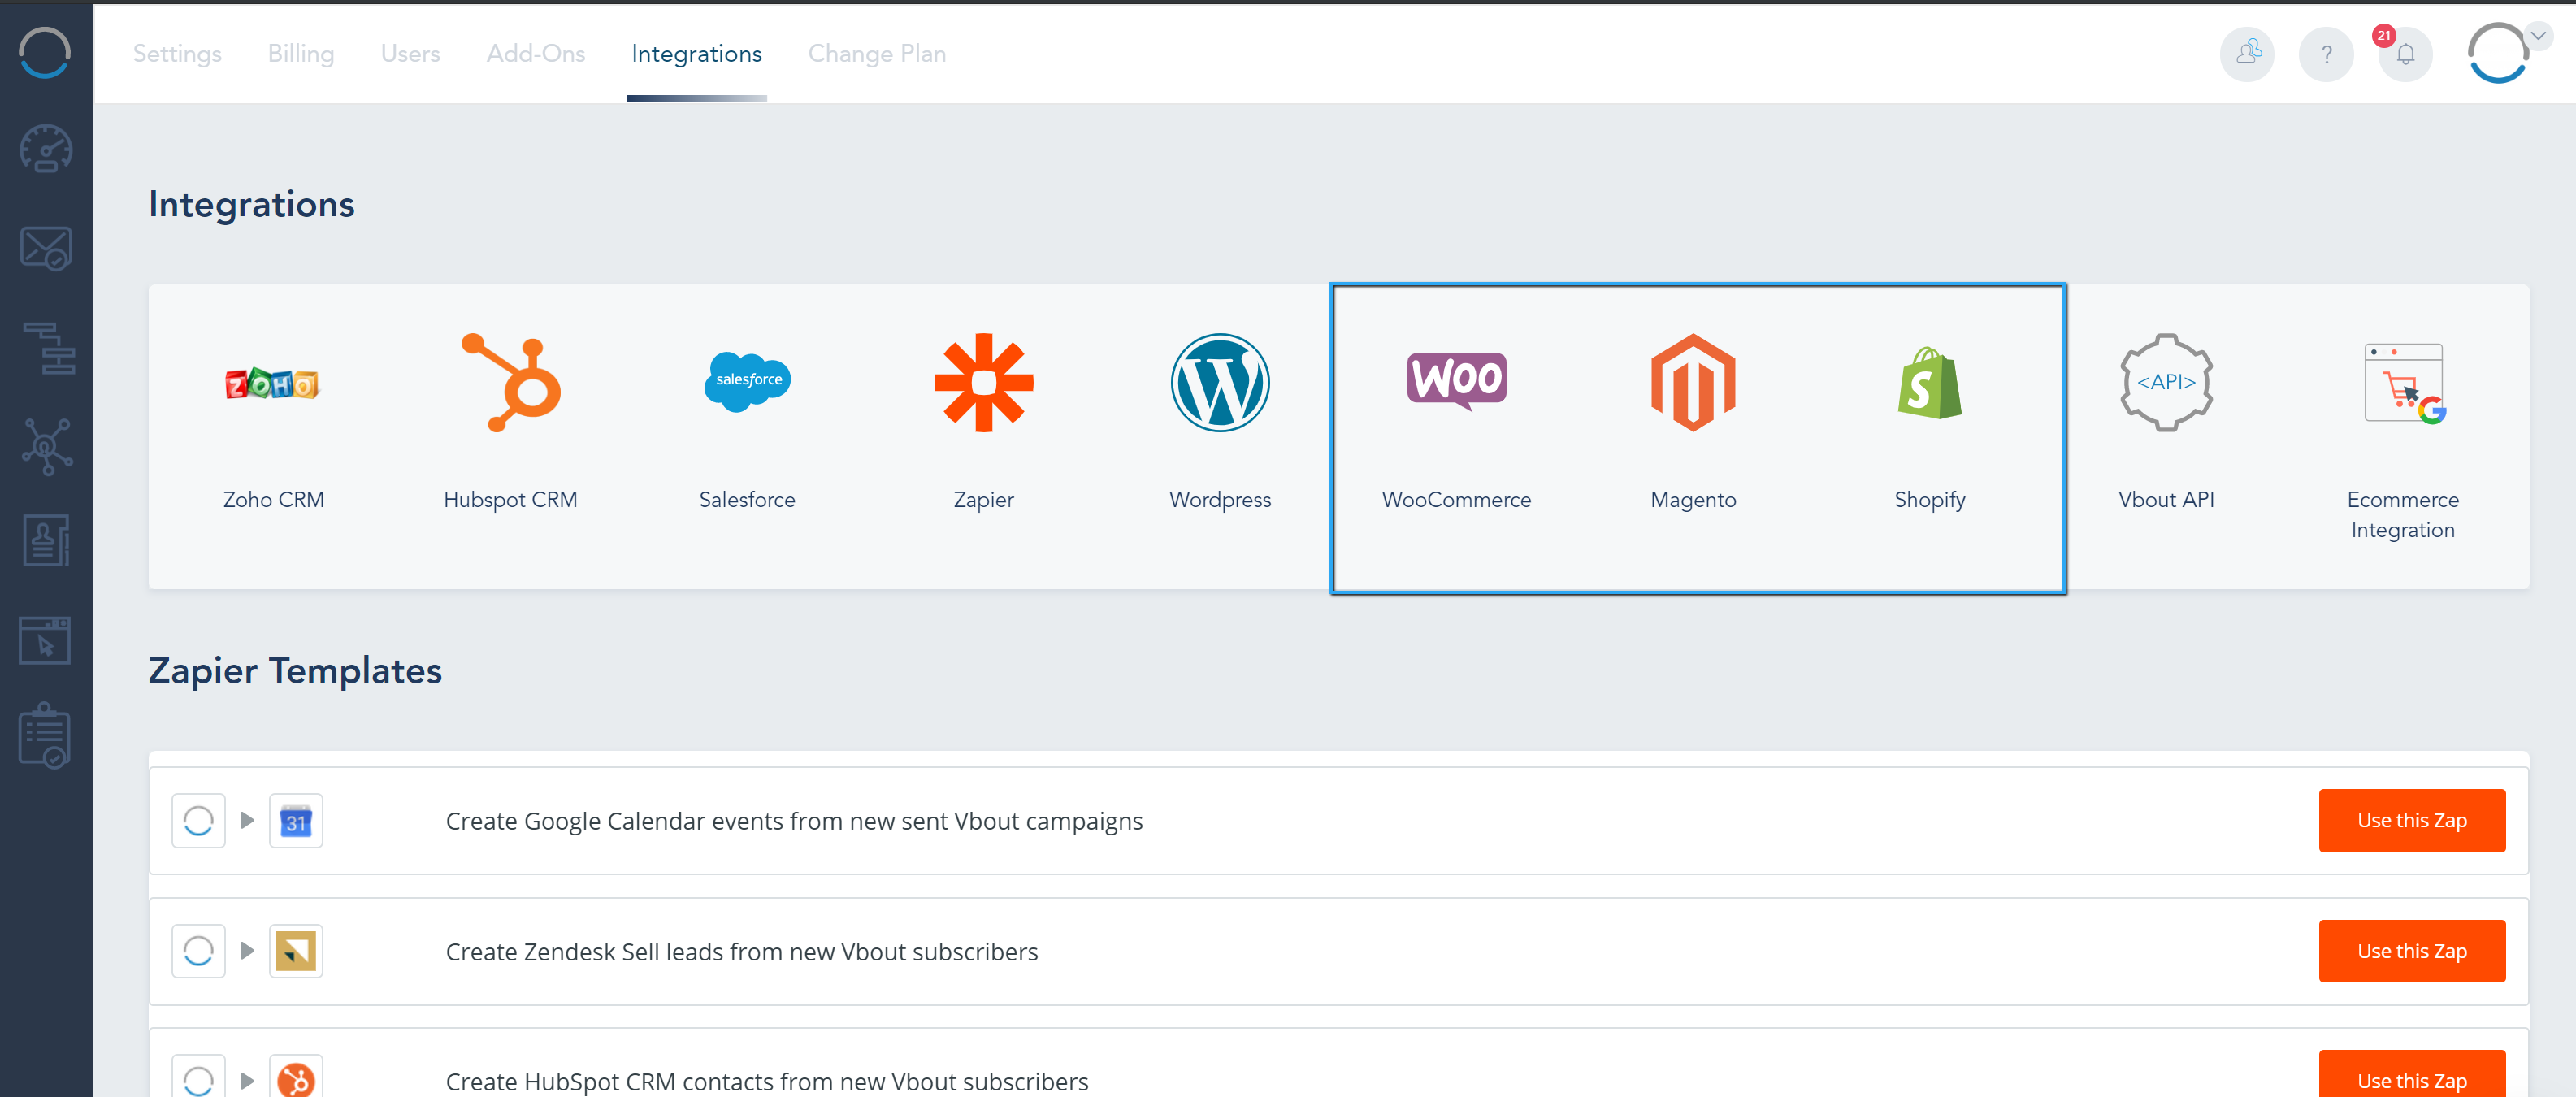
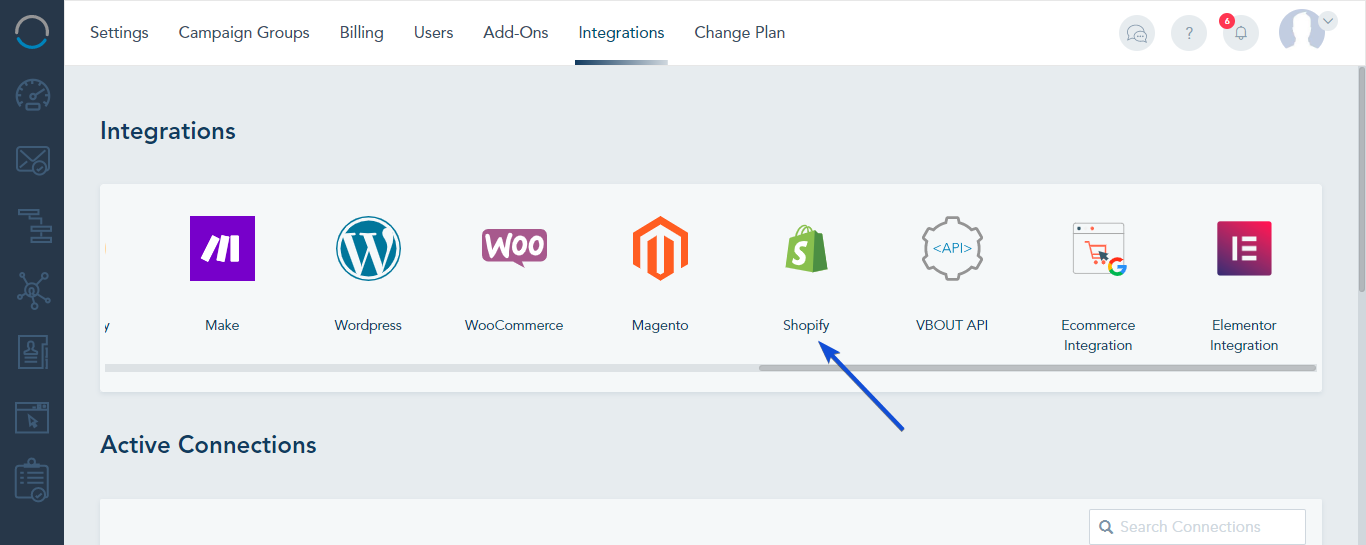
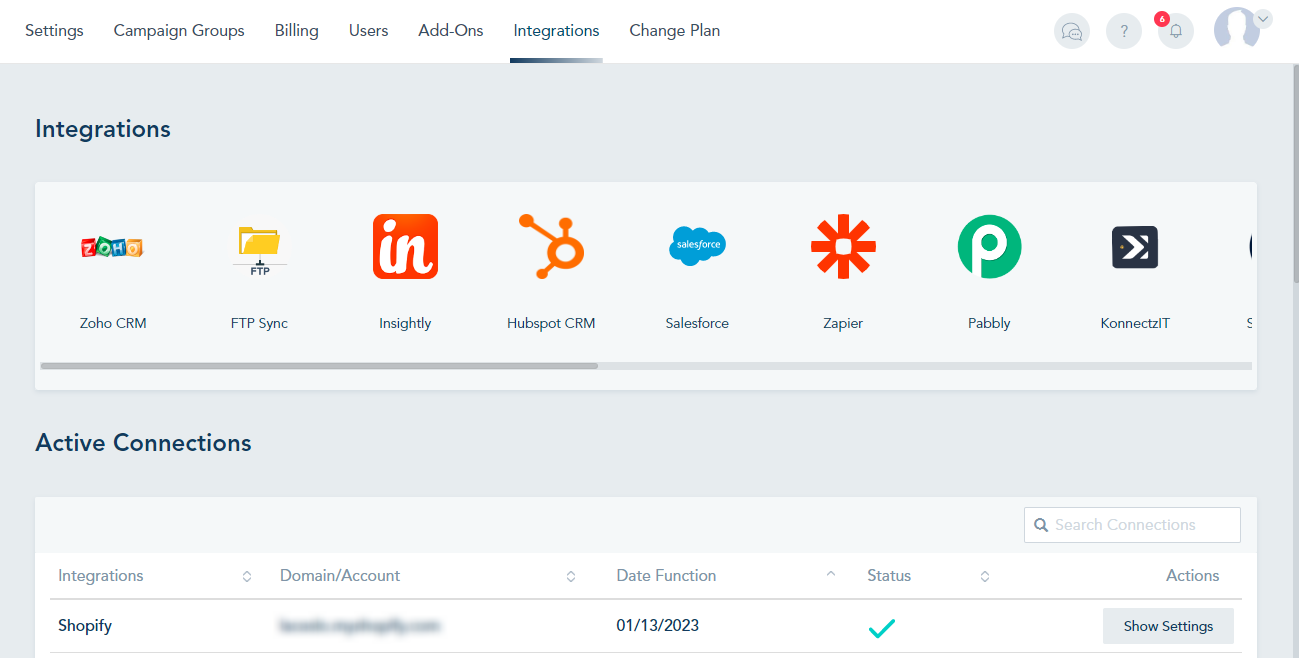
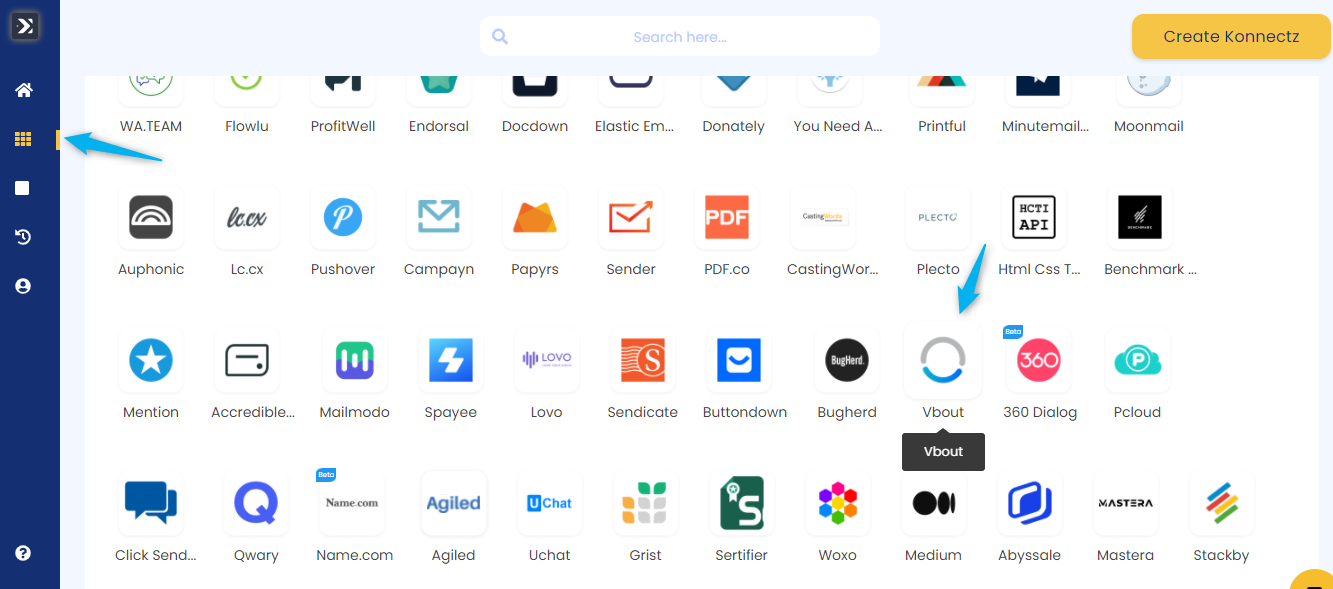
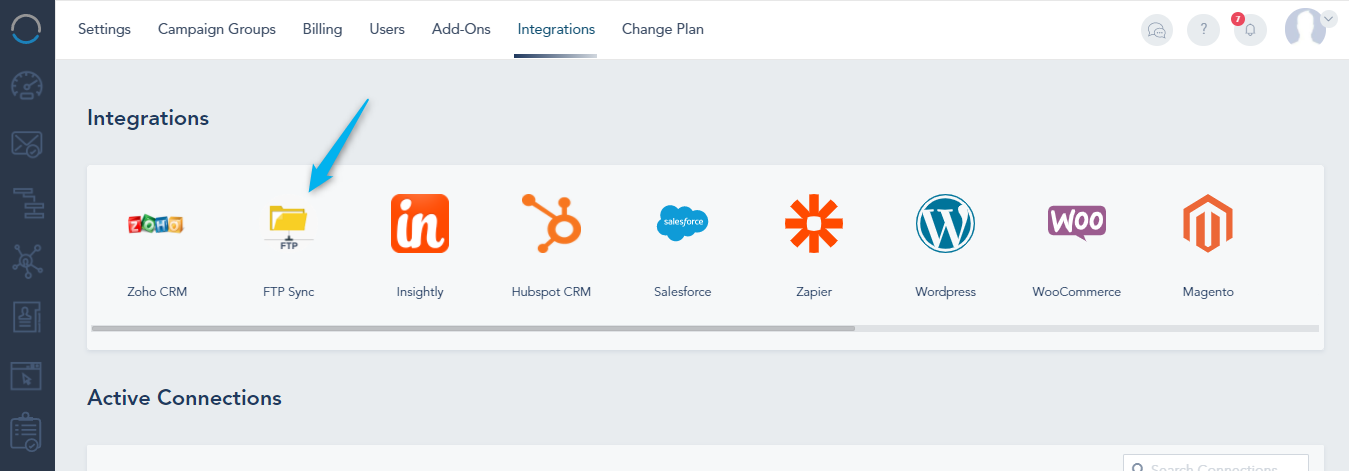
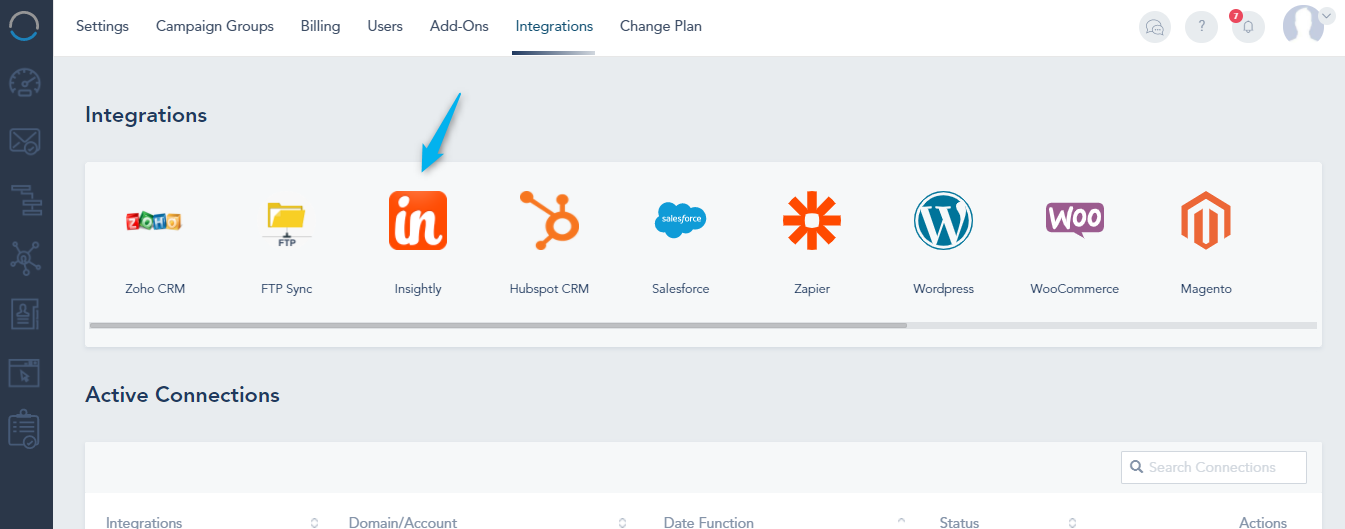
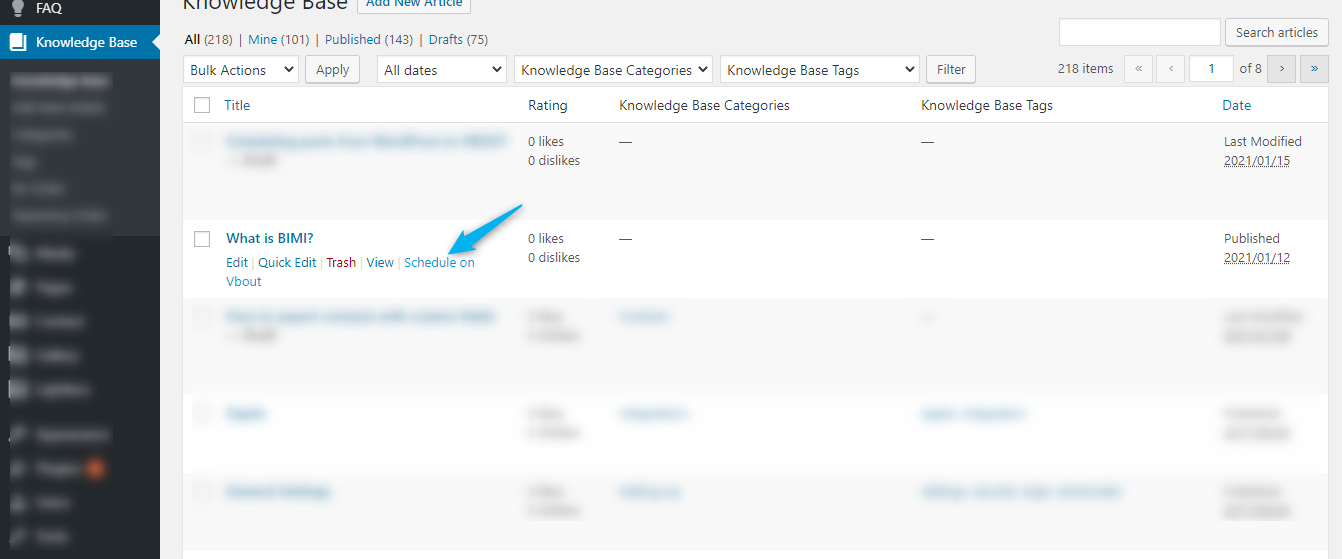
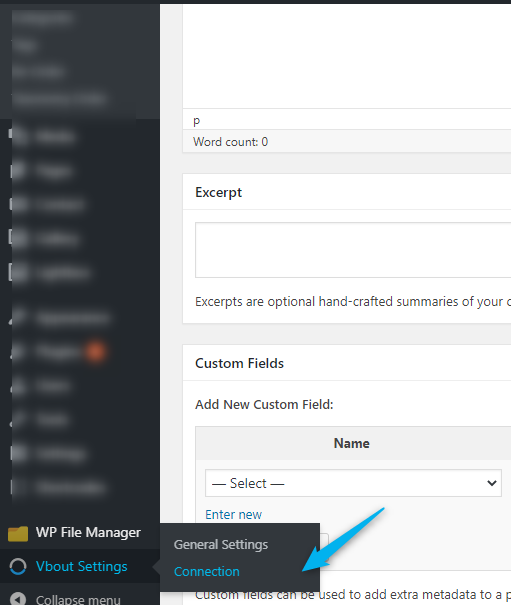
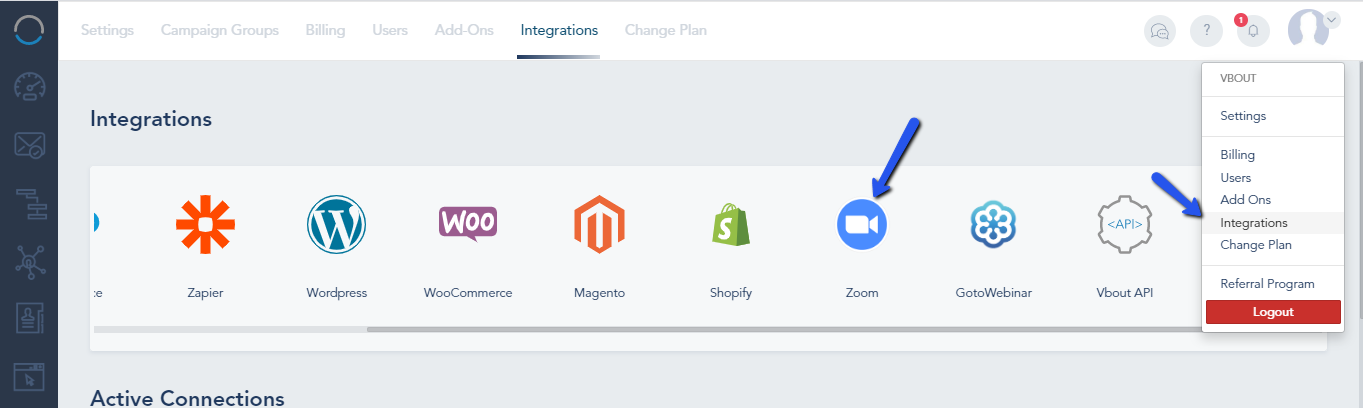
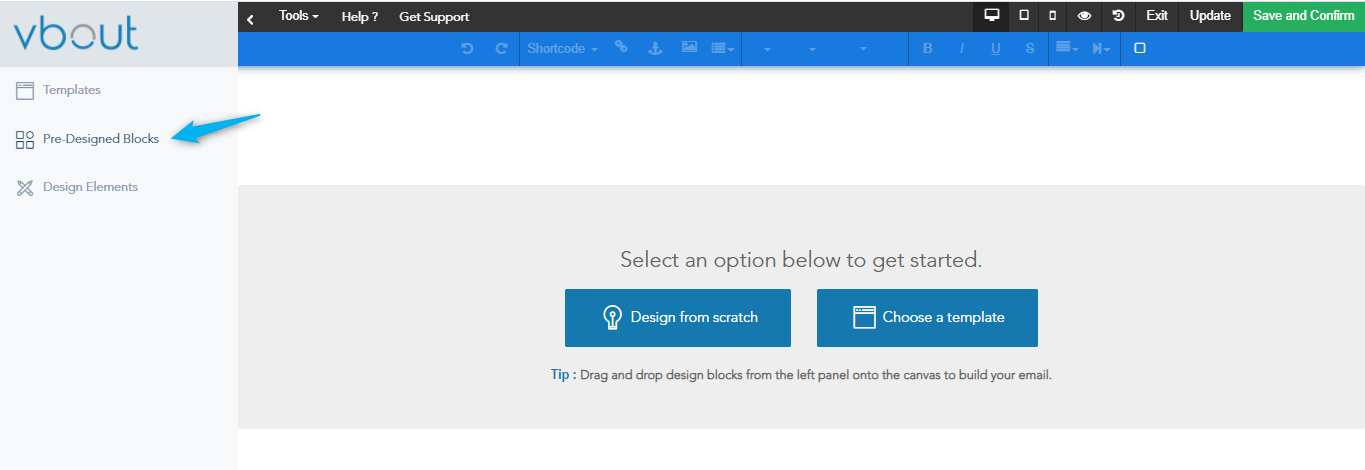
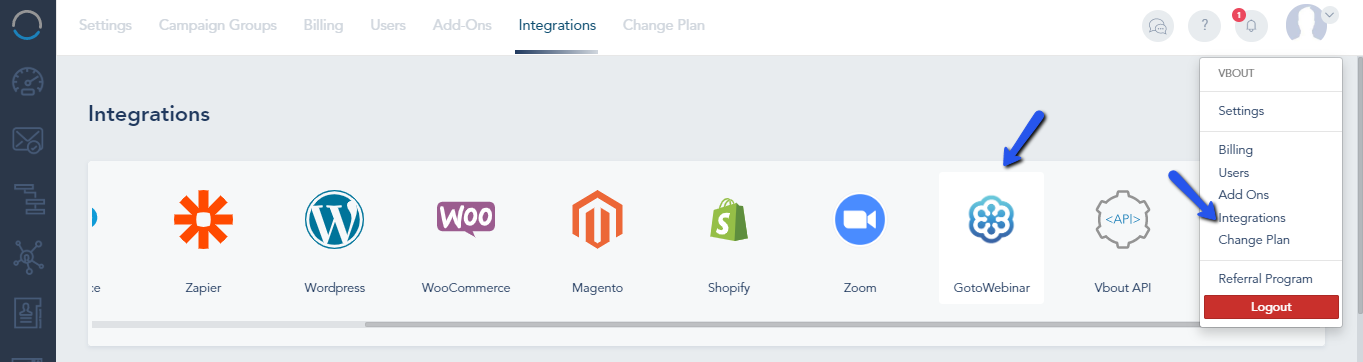
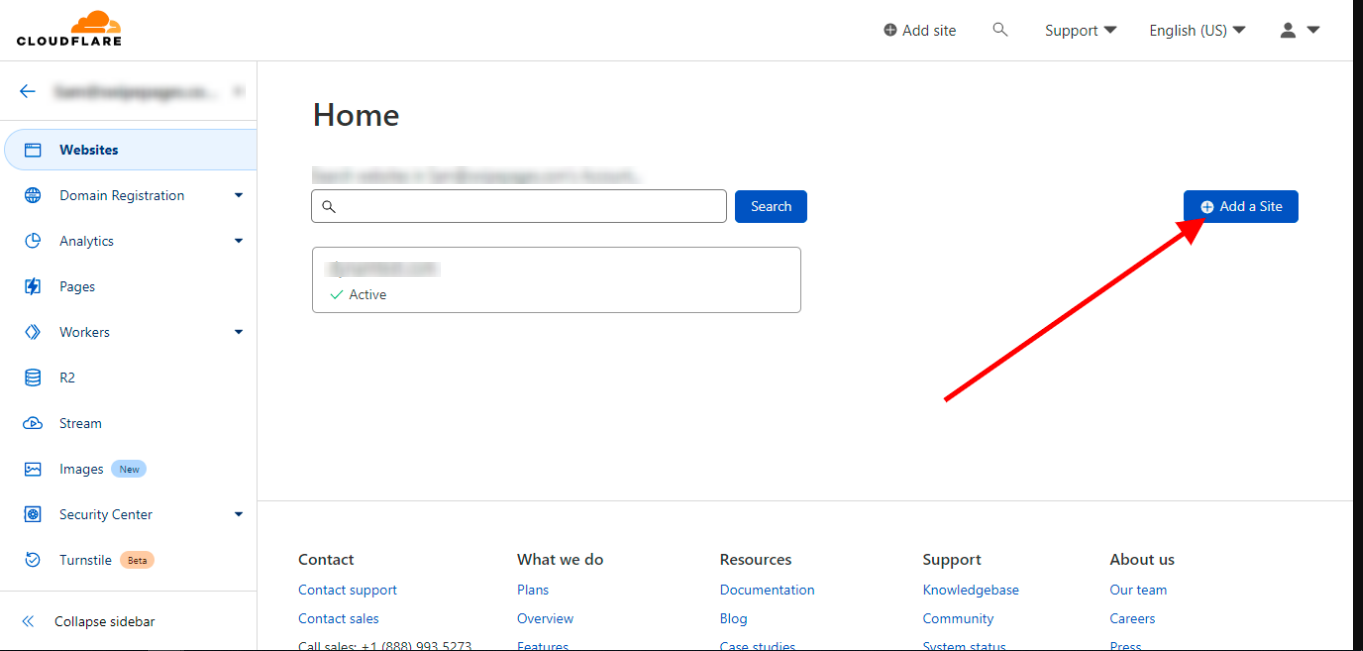
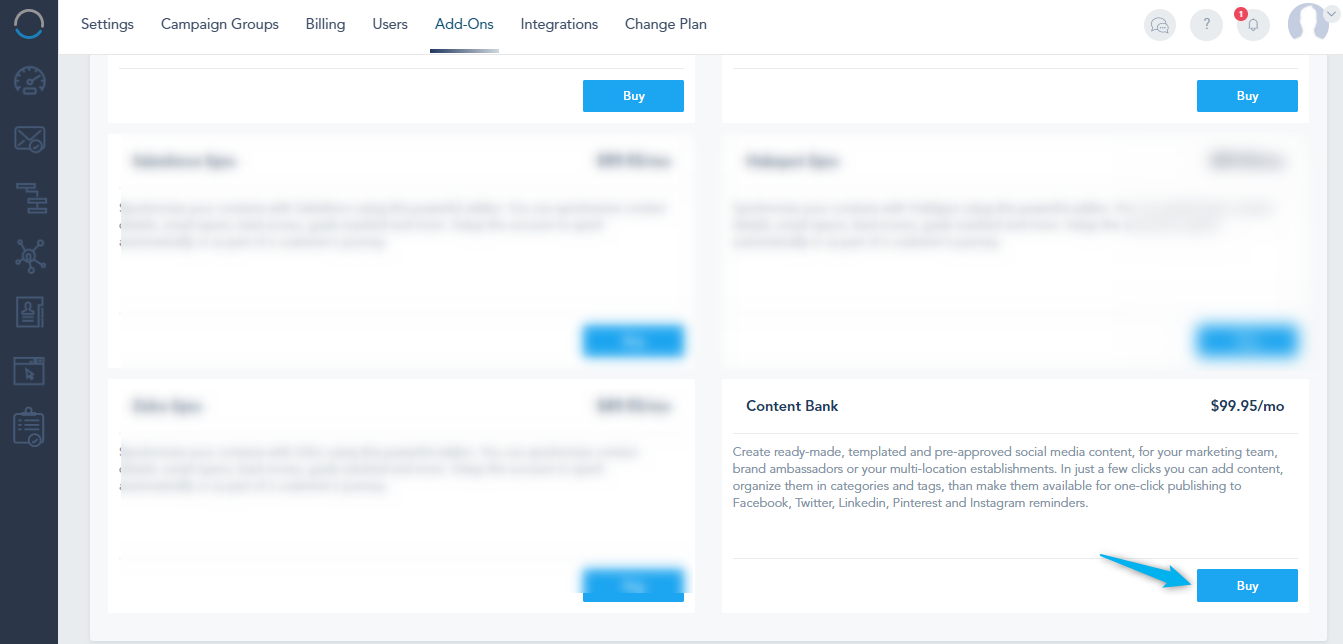
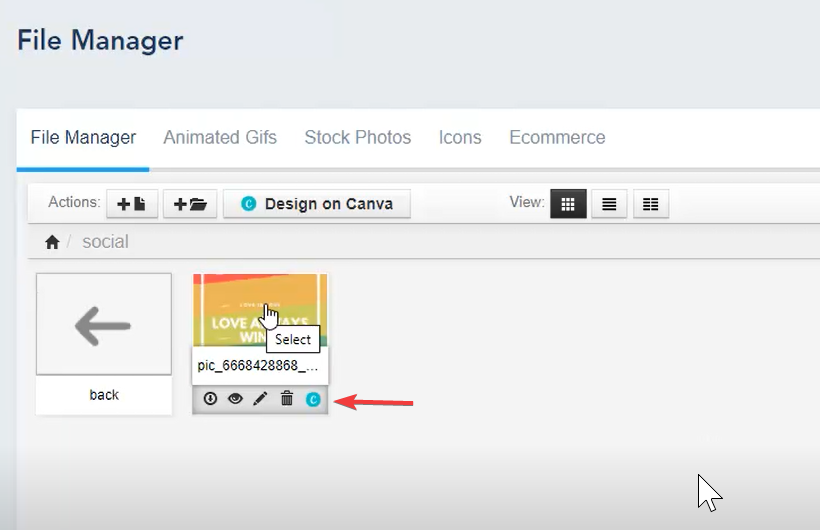
To install Pabbly’s Integration, go to Integrations, and click on Pabbly:
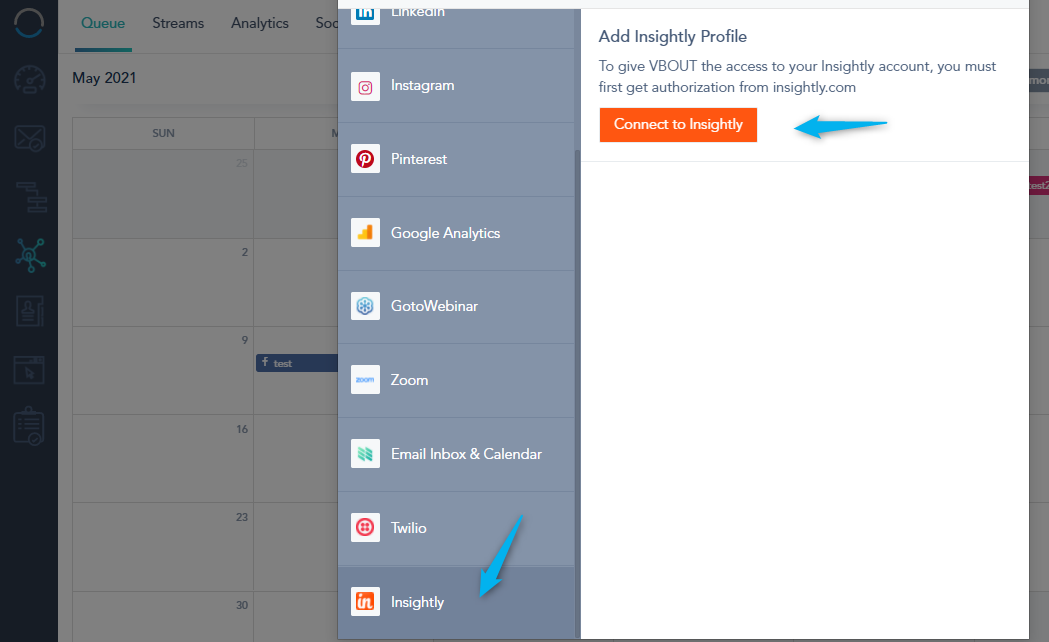
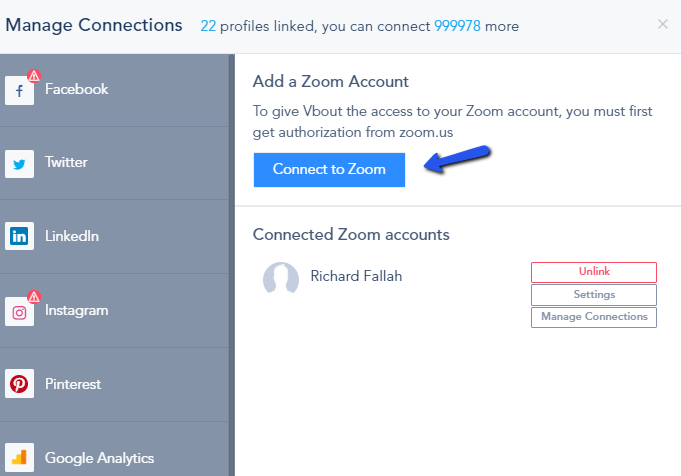
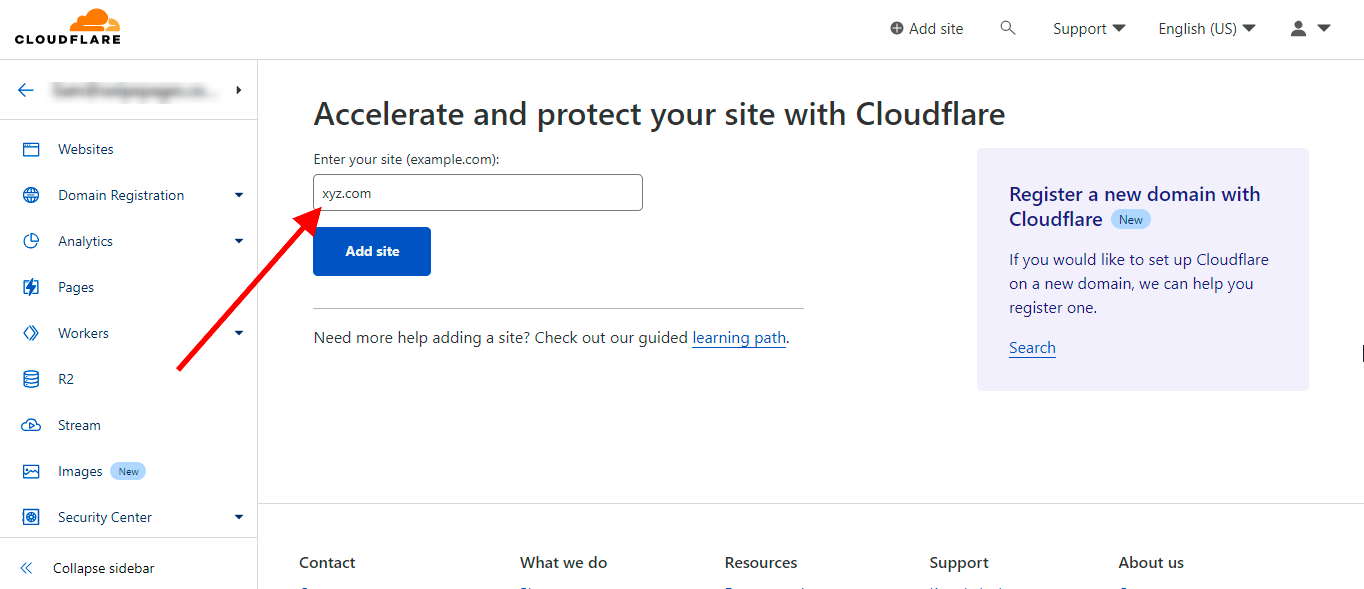
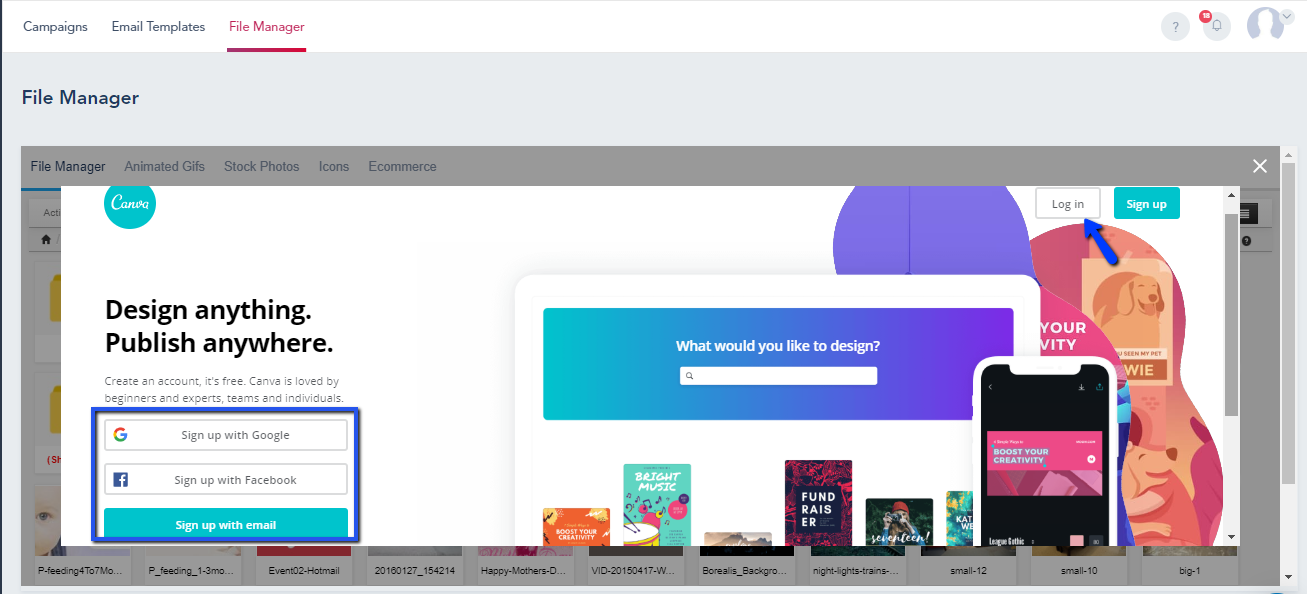
When you click on Pabbly, a new tab will be opened where you should login:
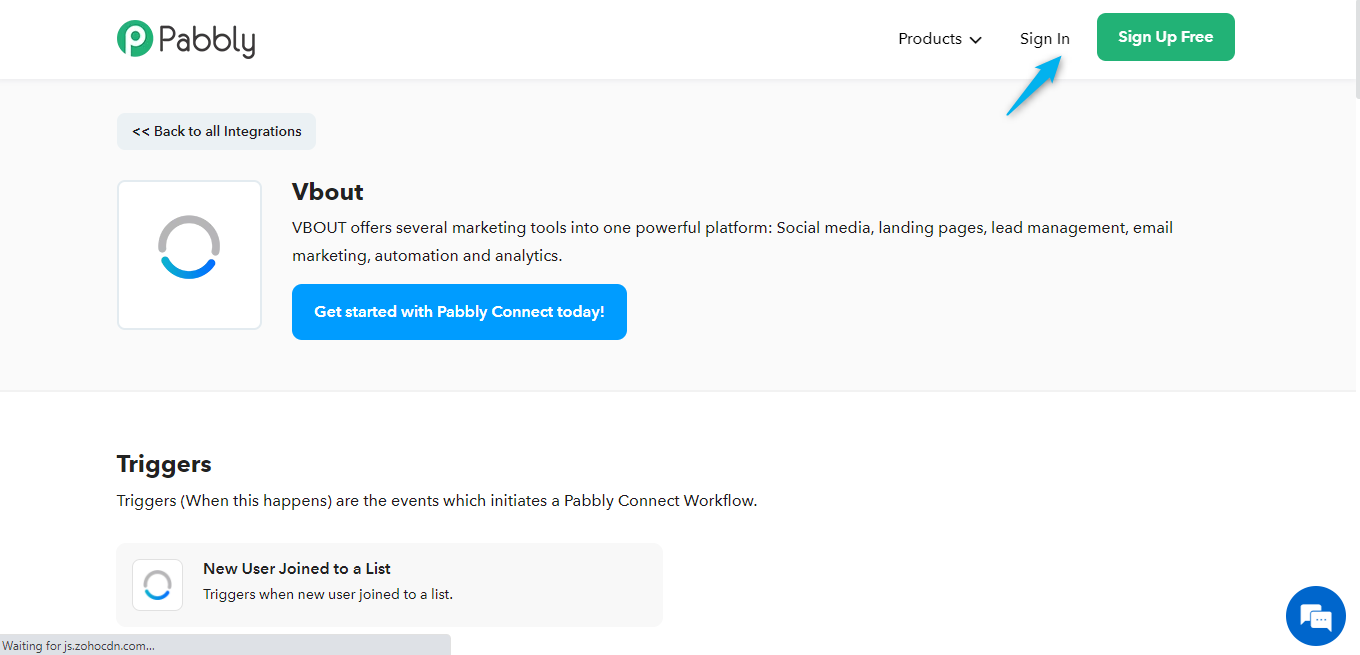
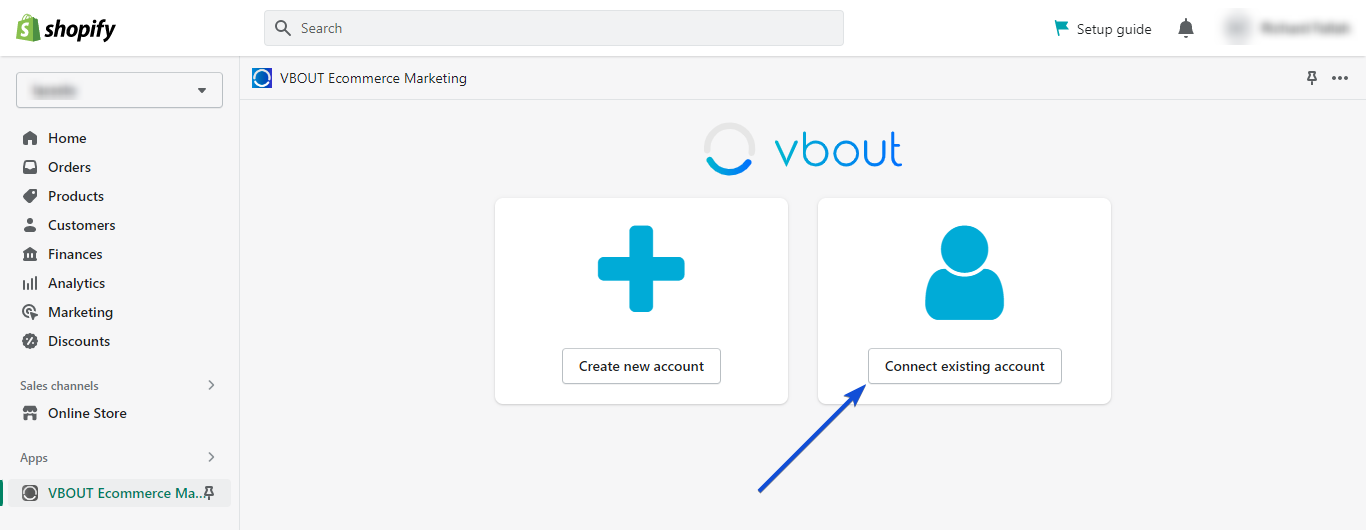
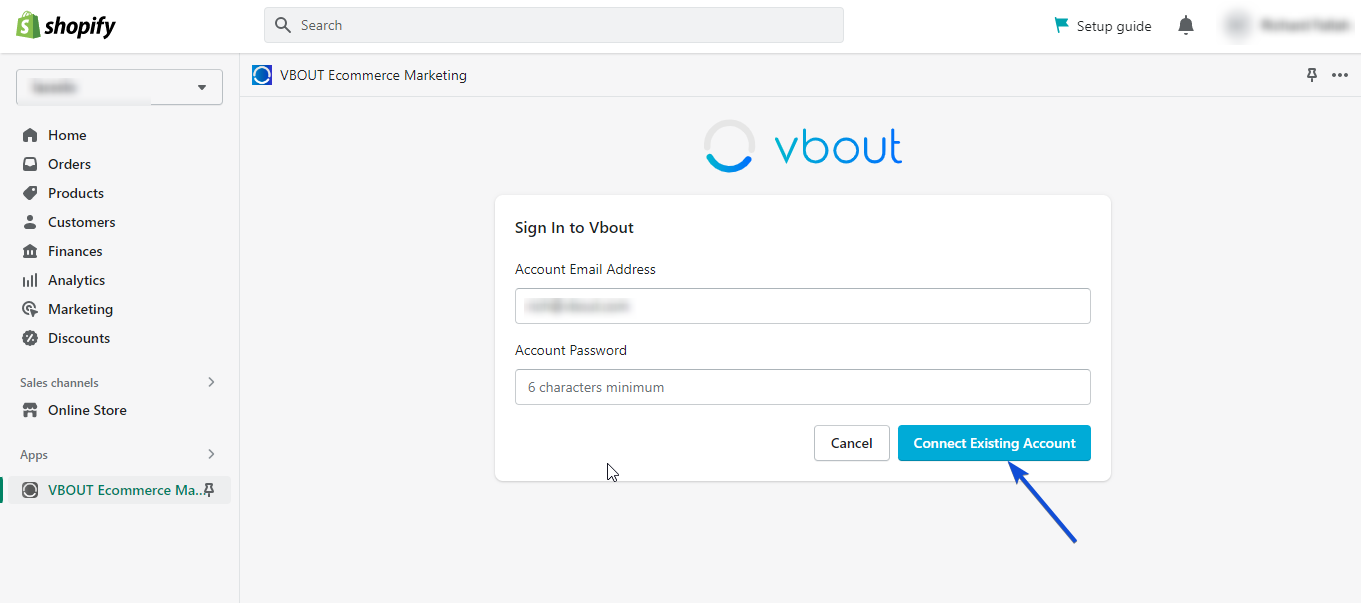
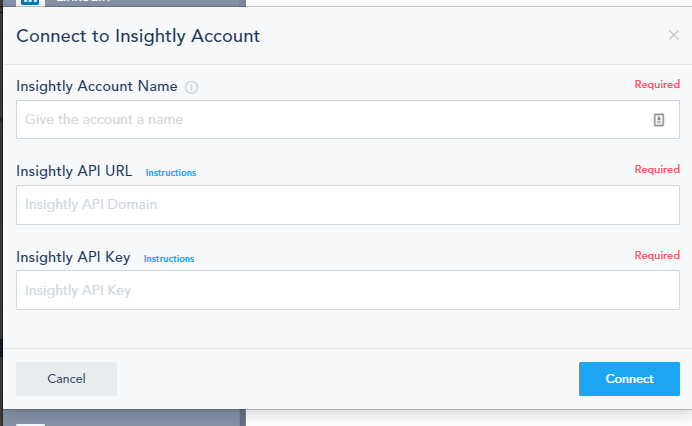
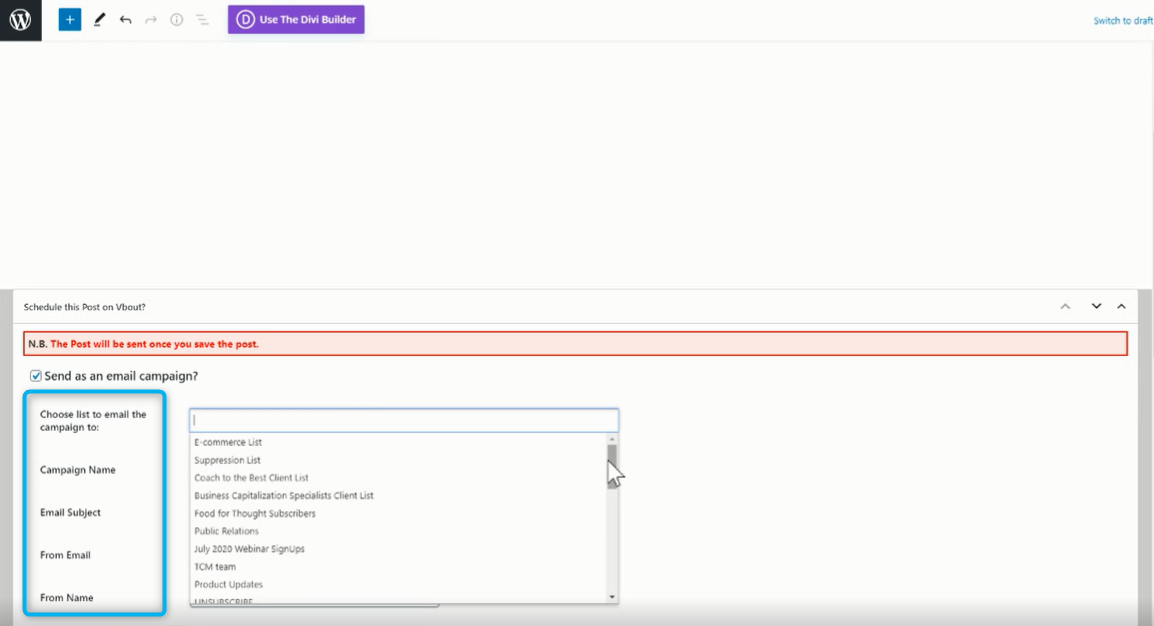
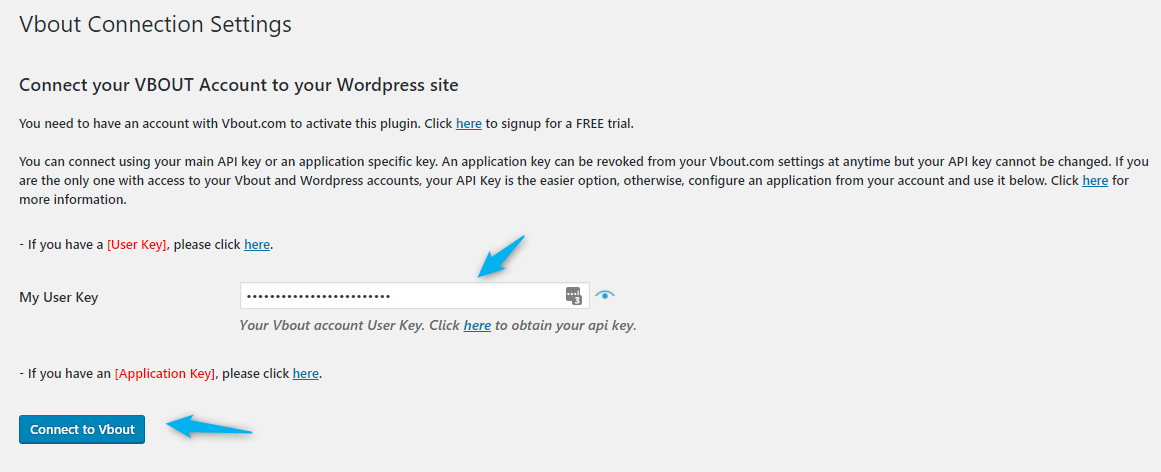
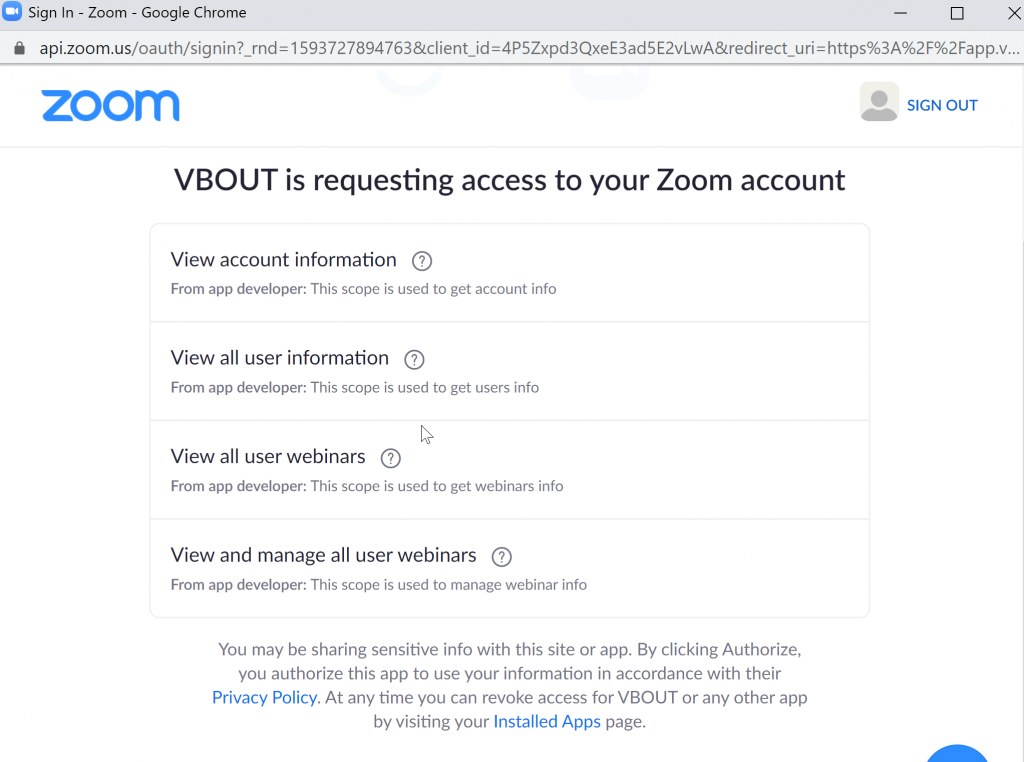
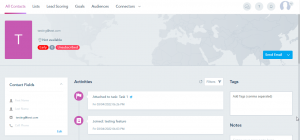
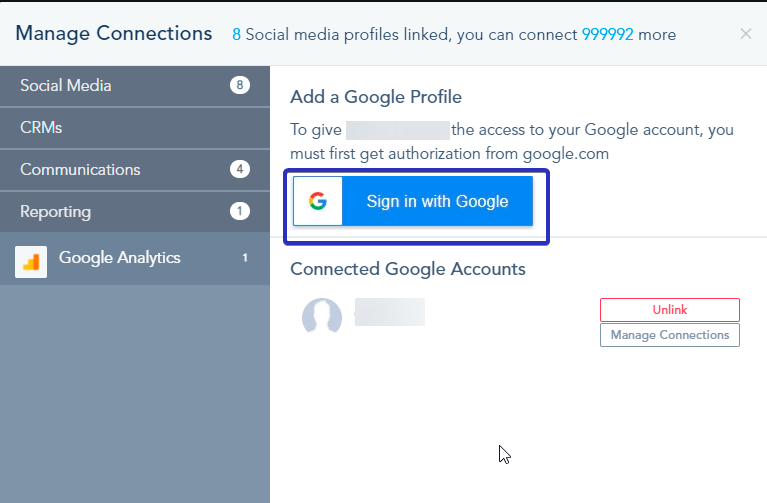
Sign in to connect Pabbly with your VBOUT account:
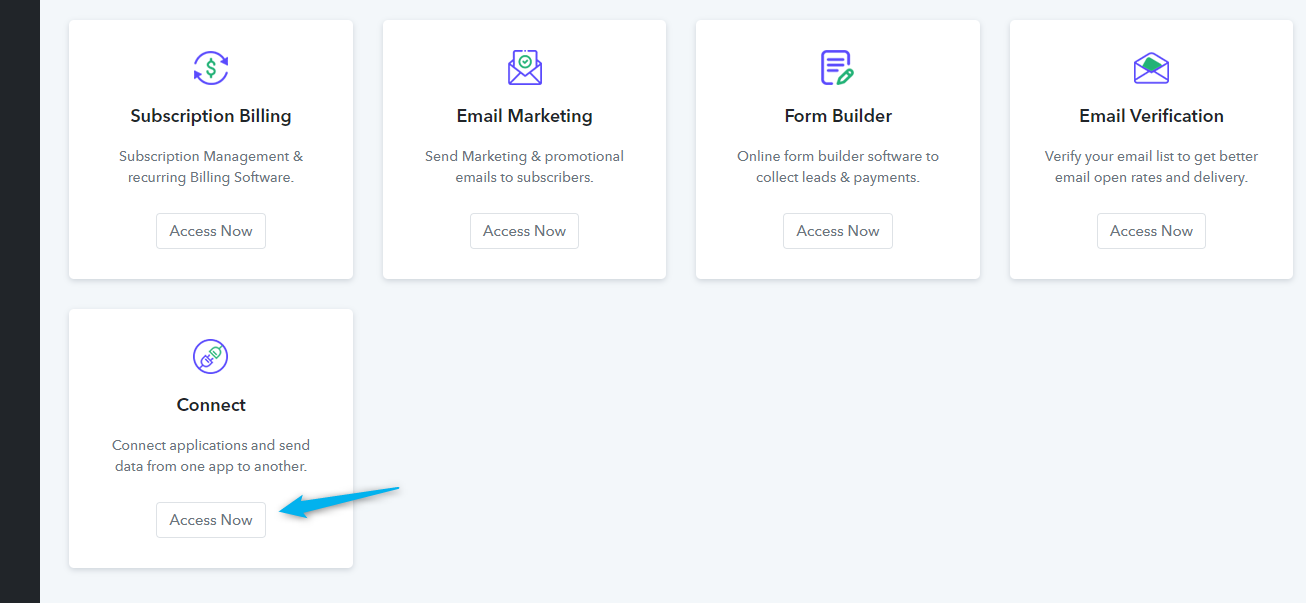
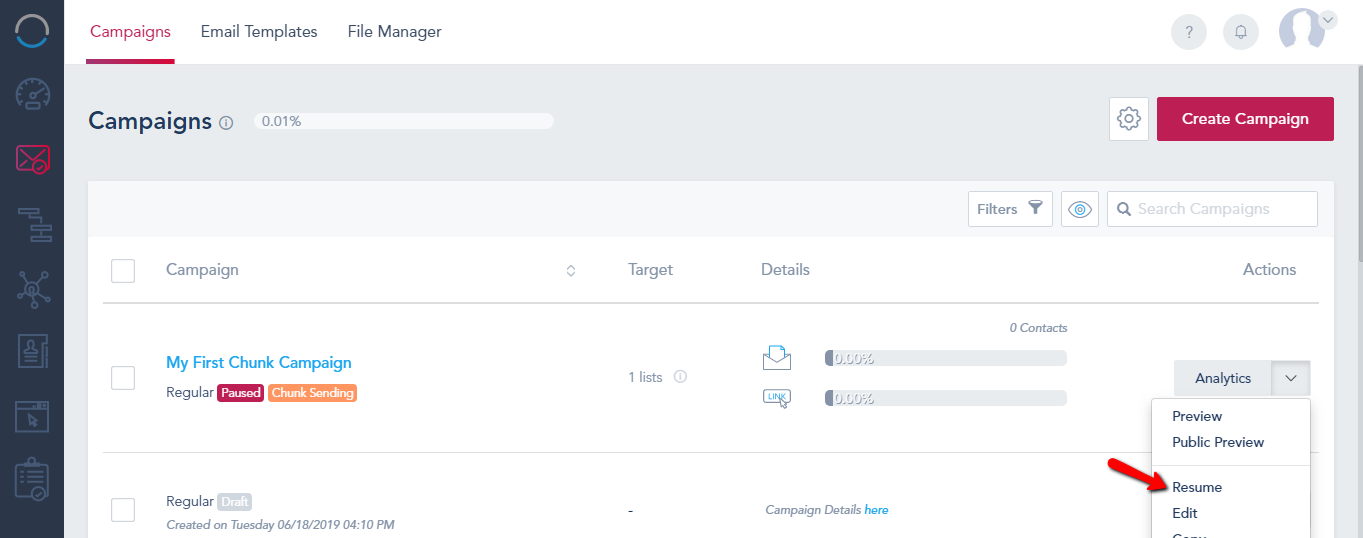
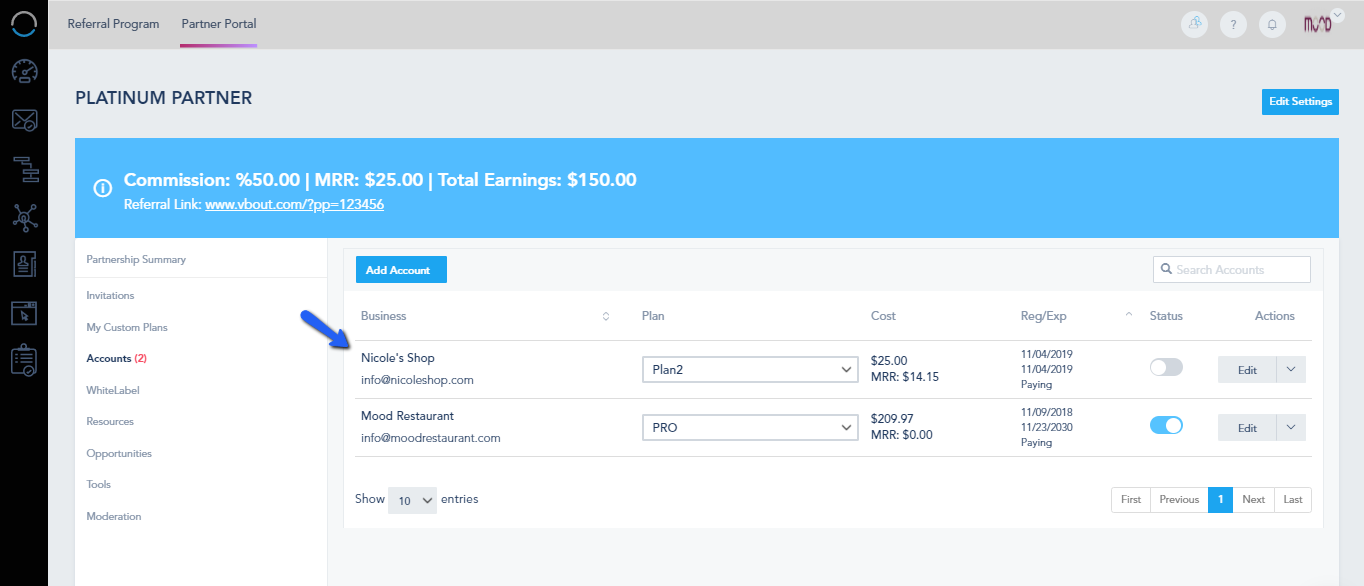
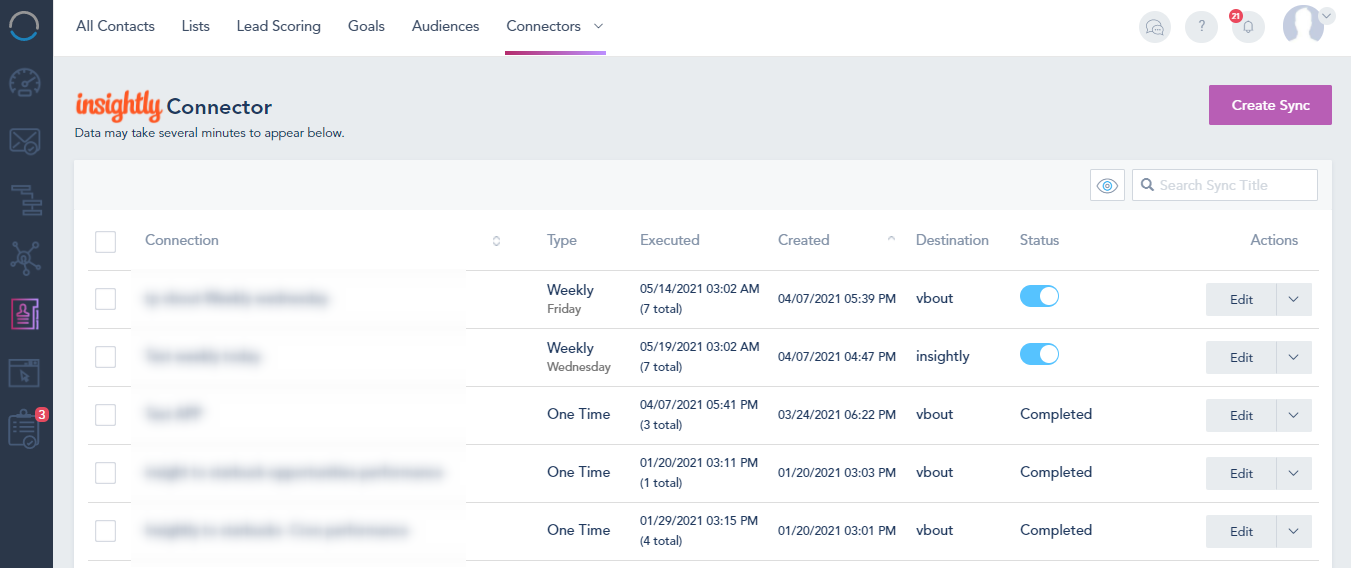
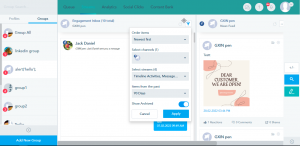
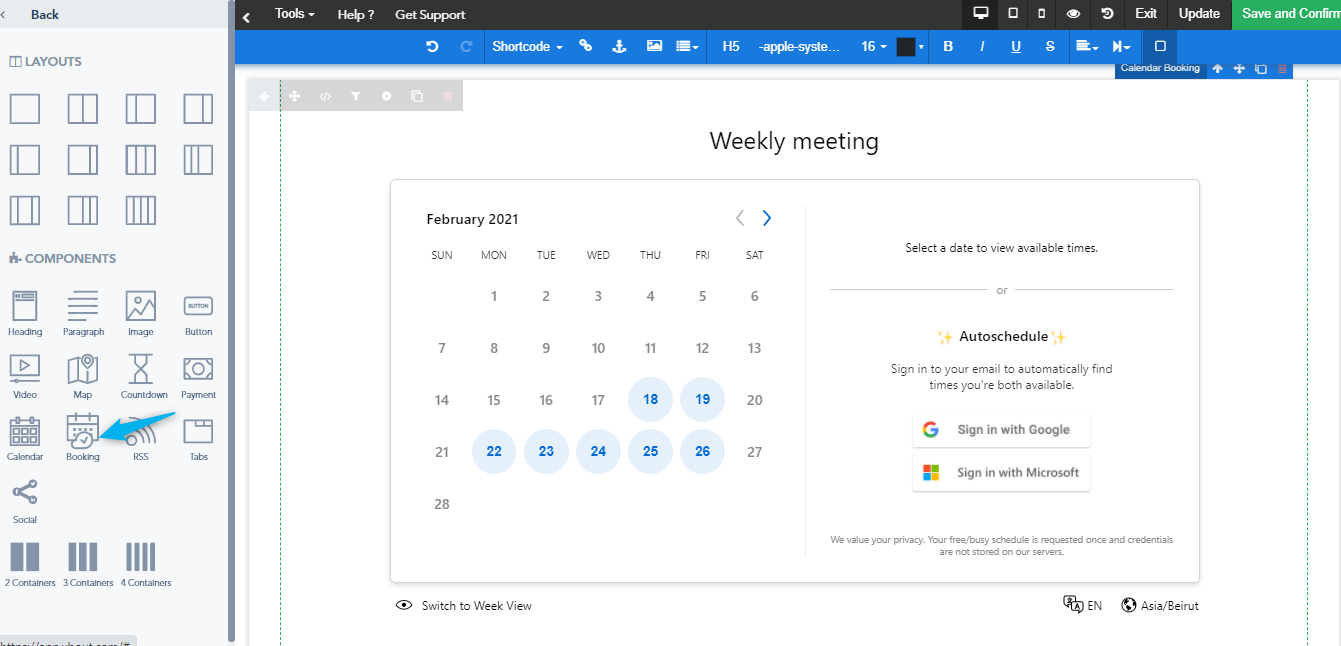
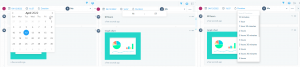
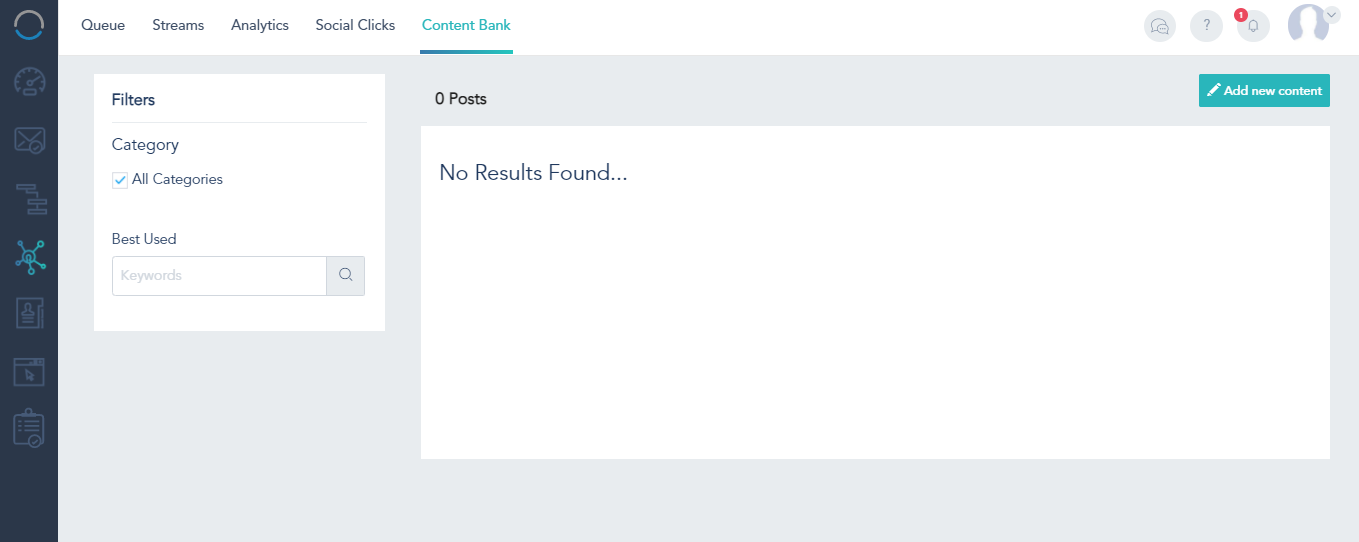
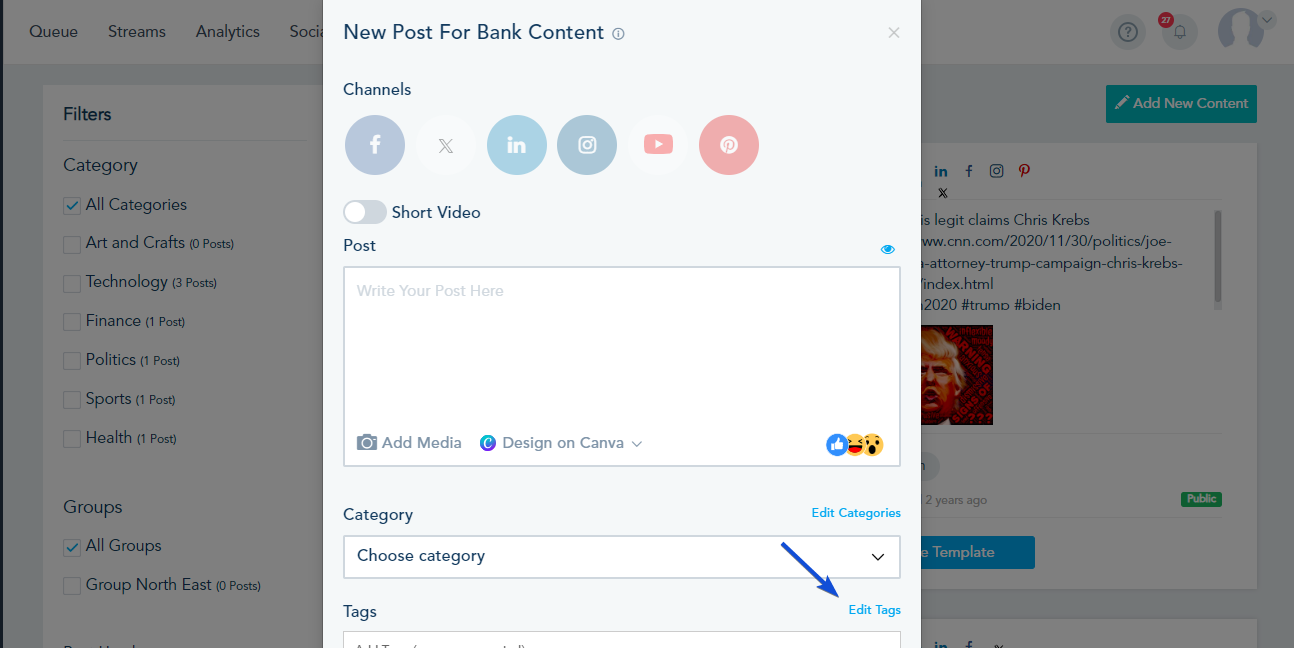
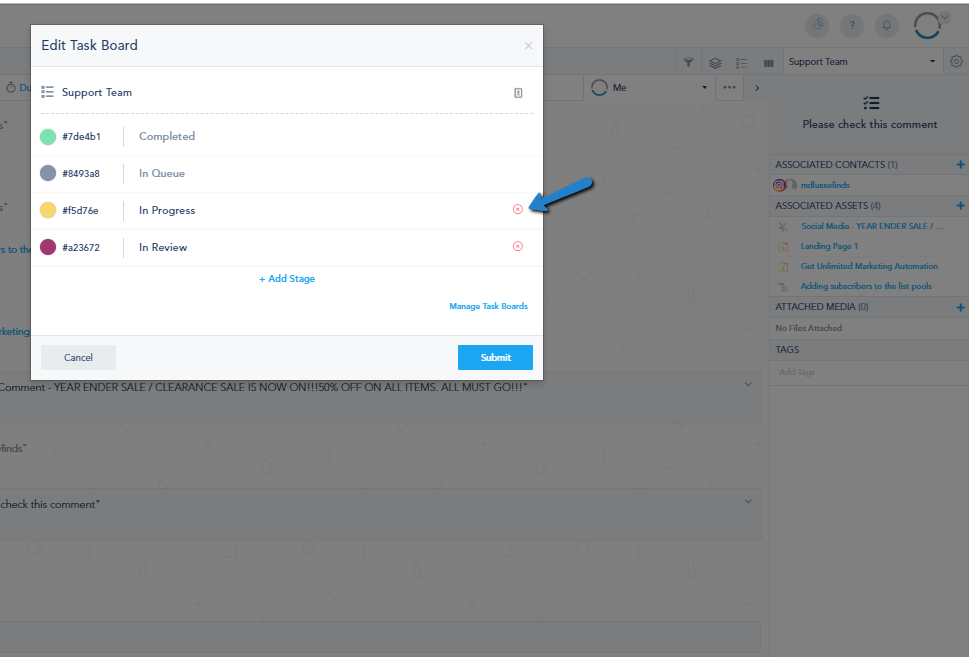
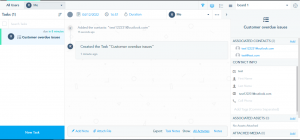
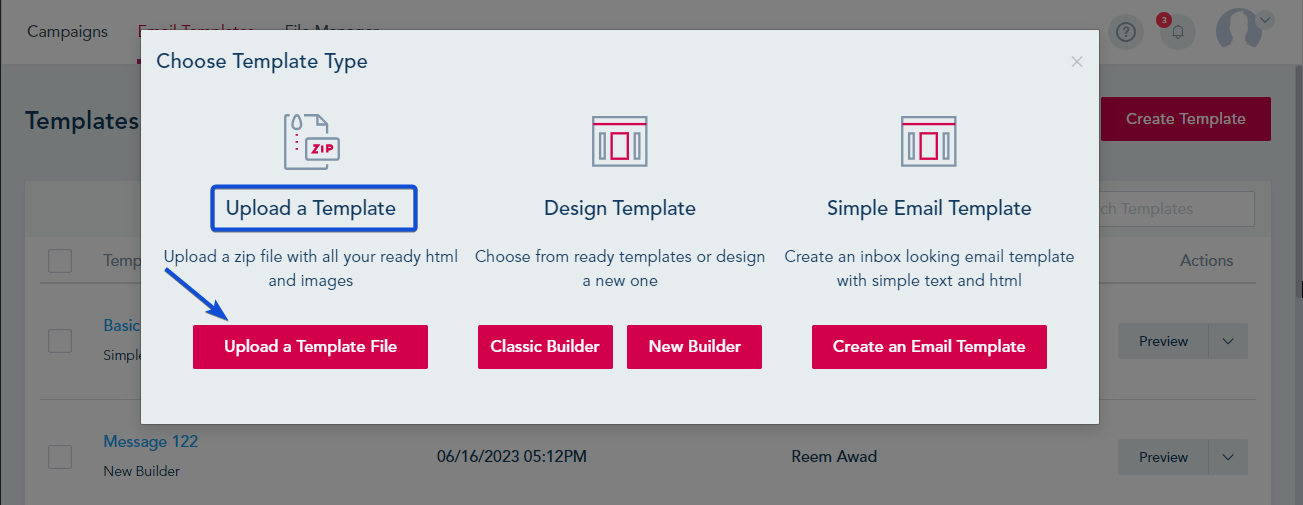
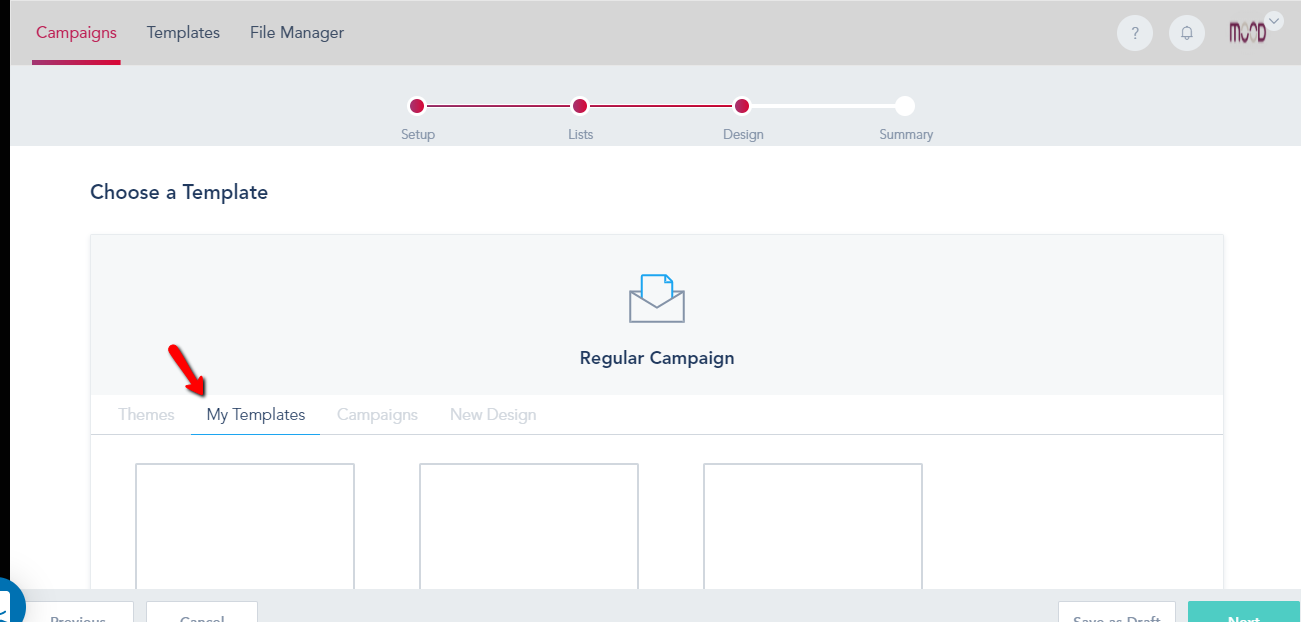
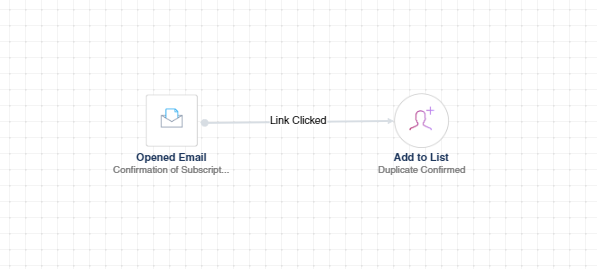
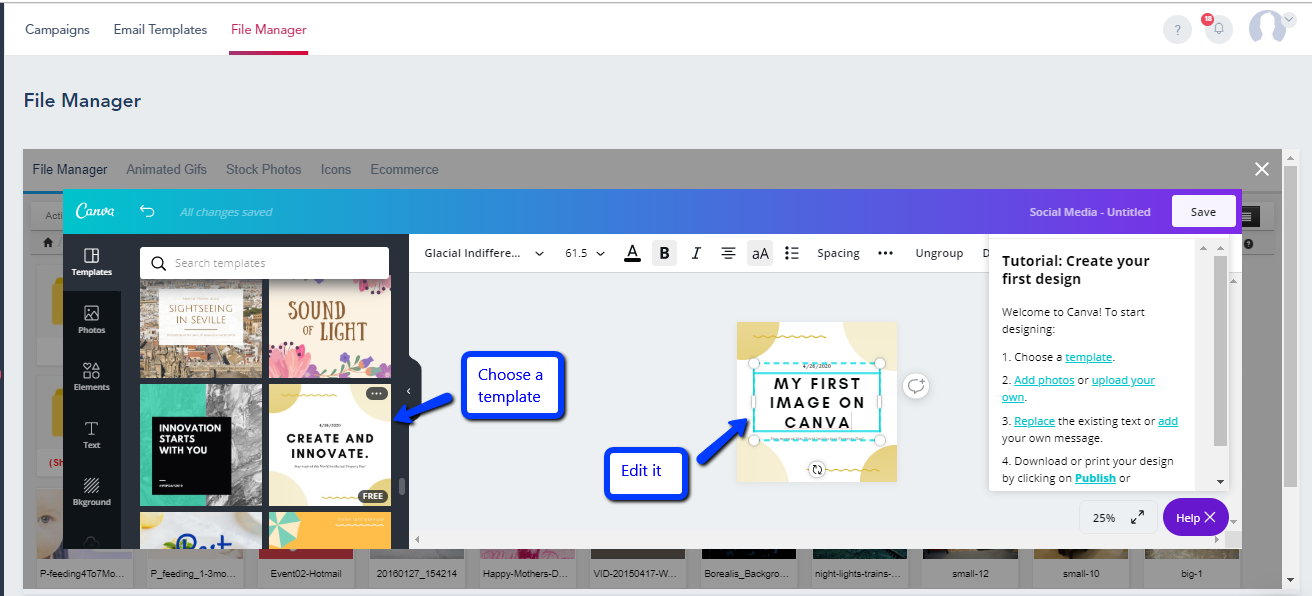
You will be able to create workflows:
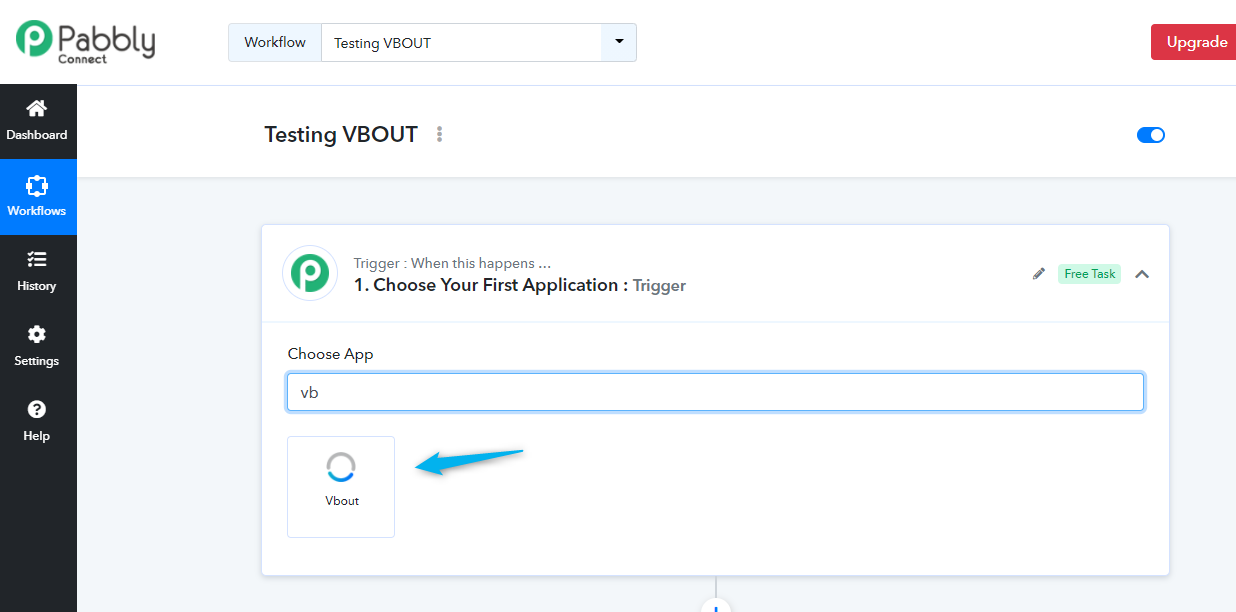
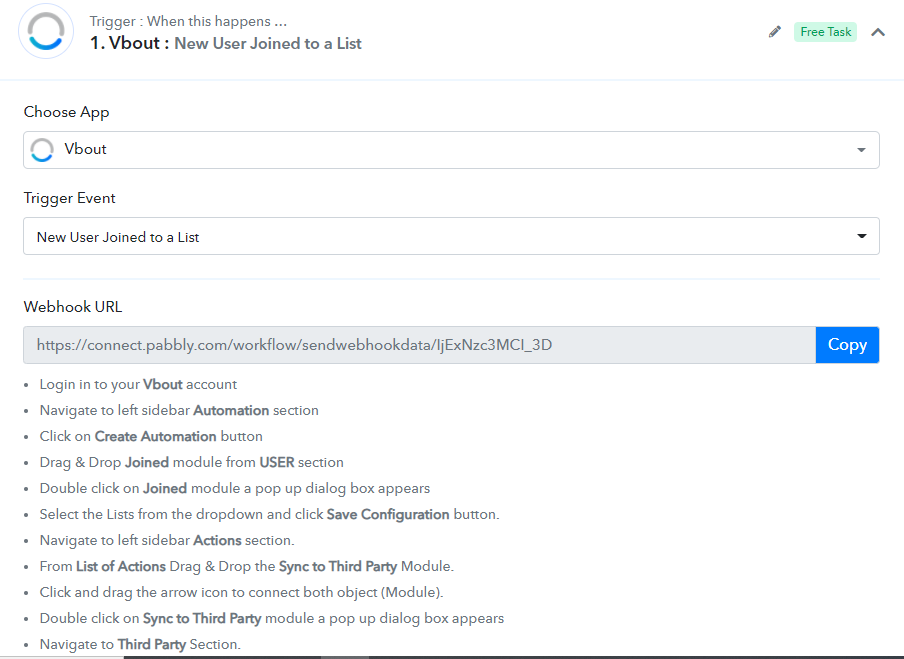
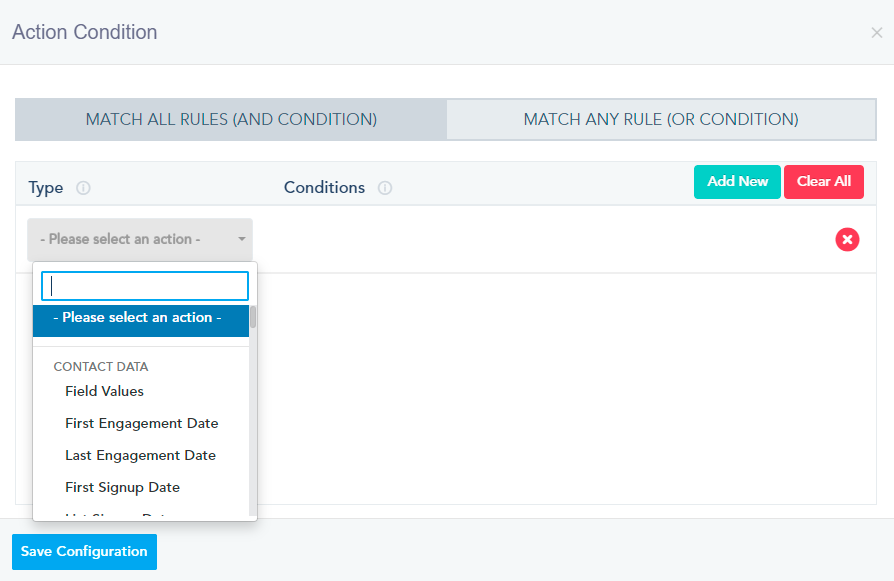
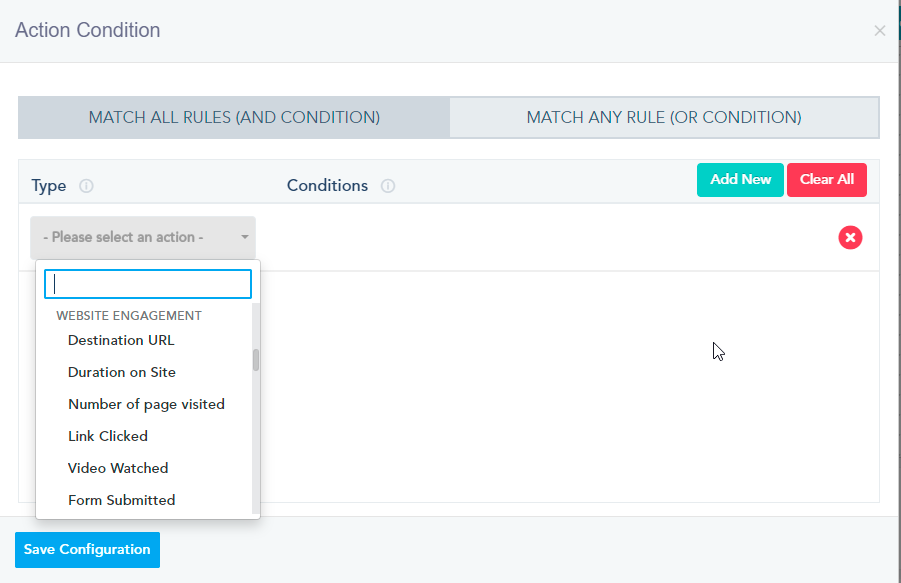
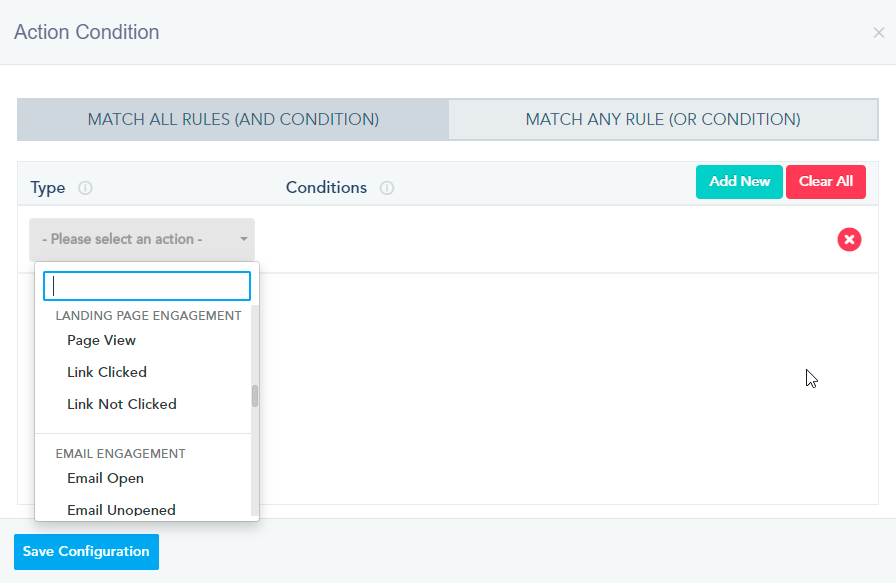
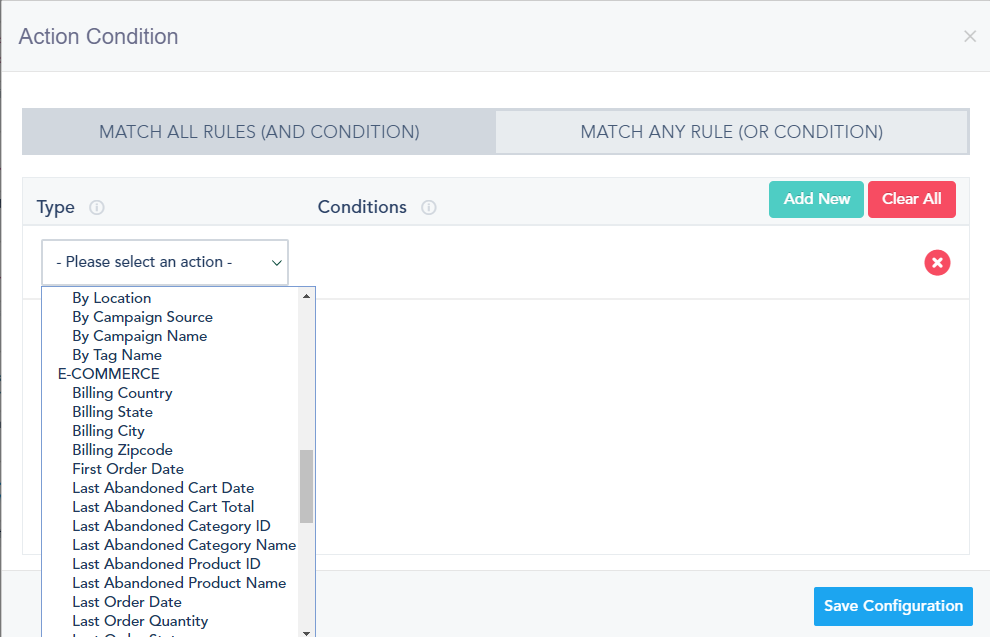
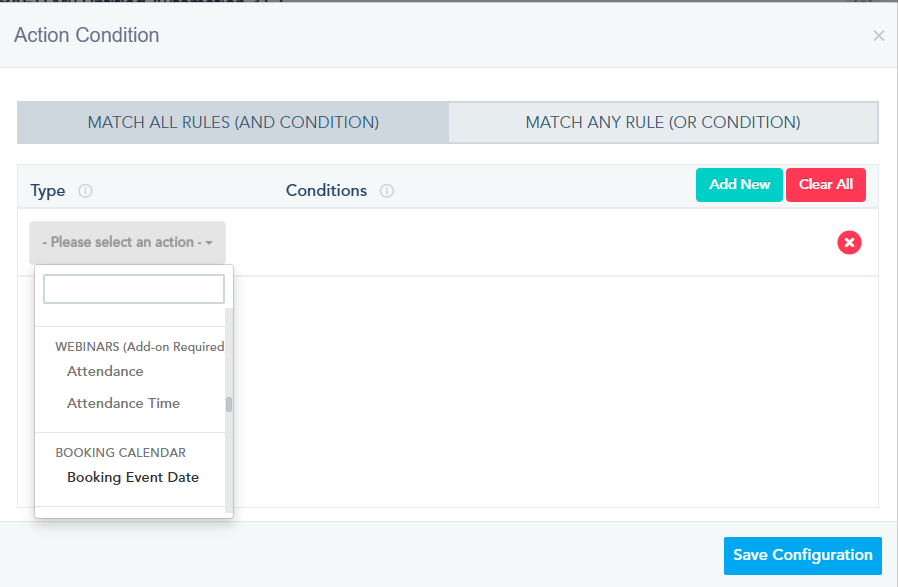
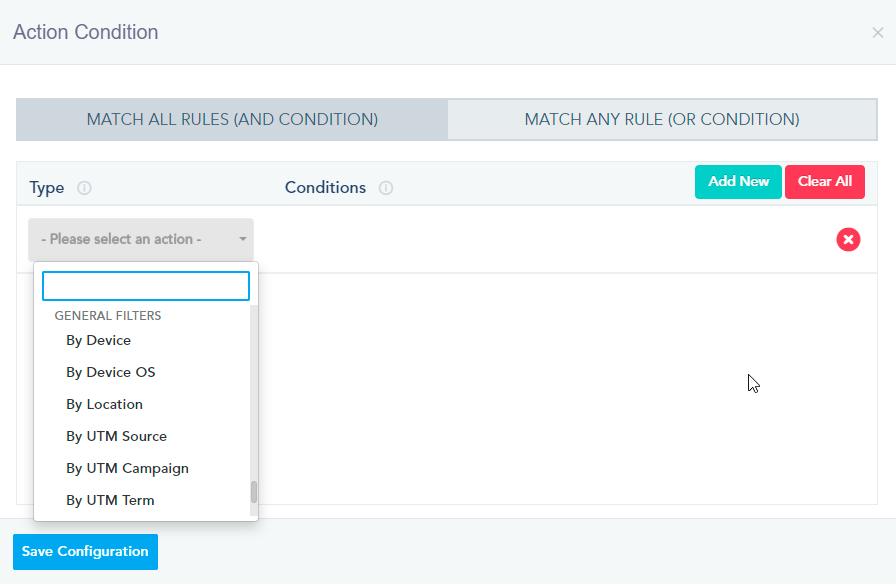
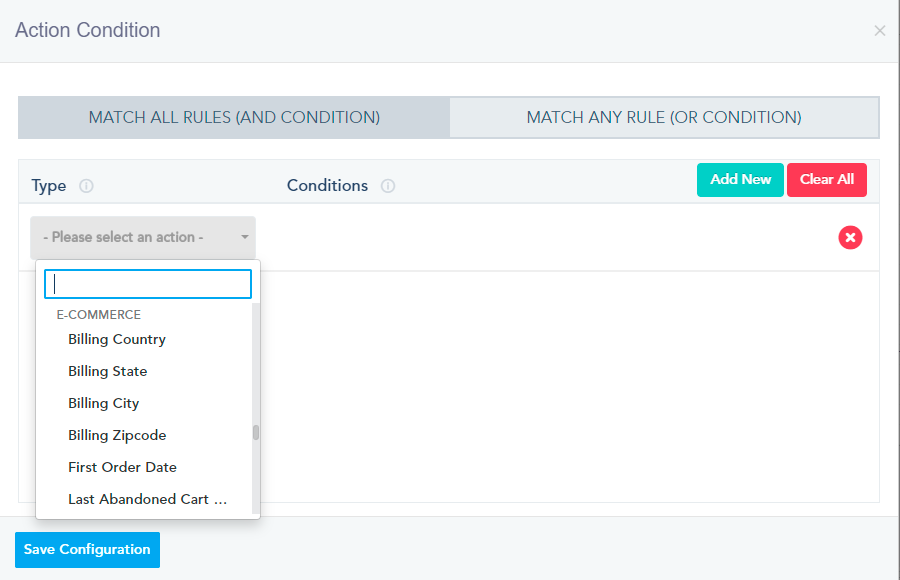
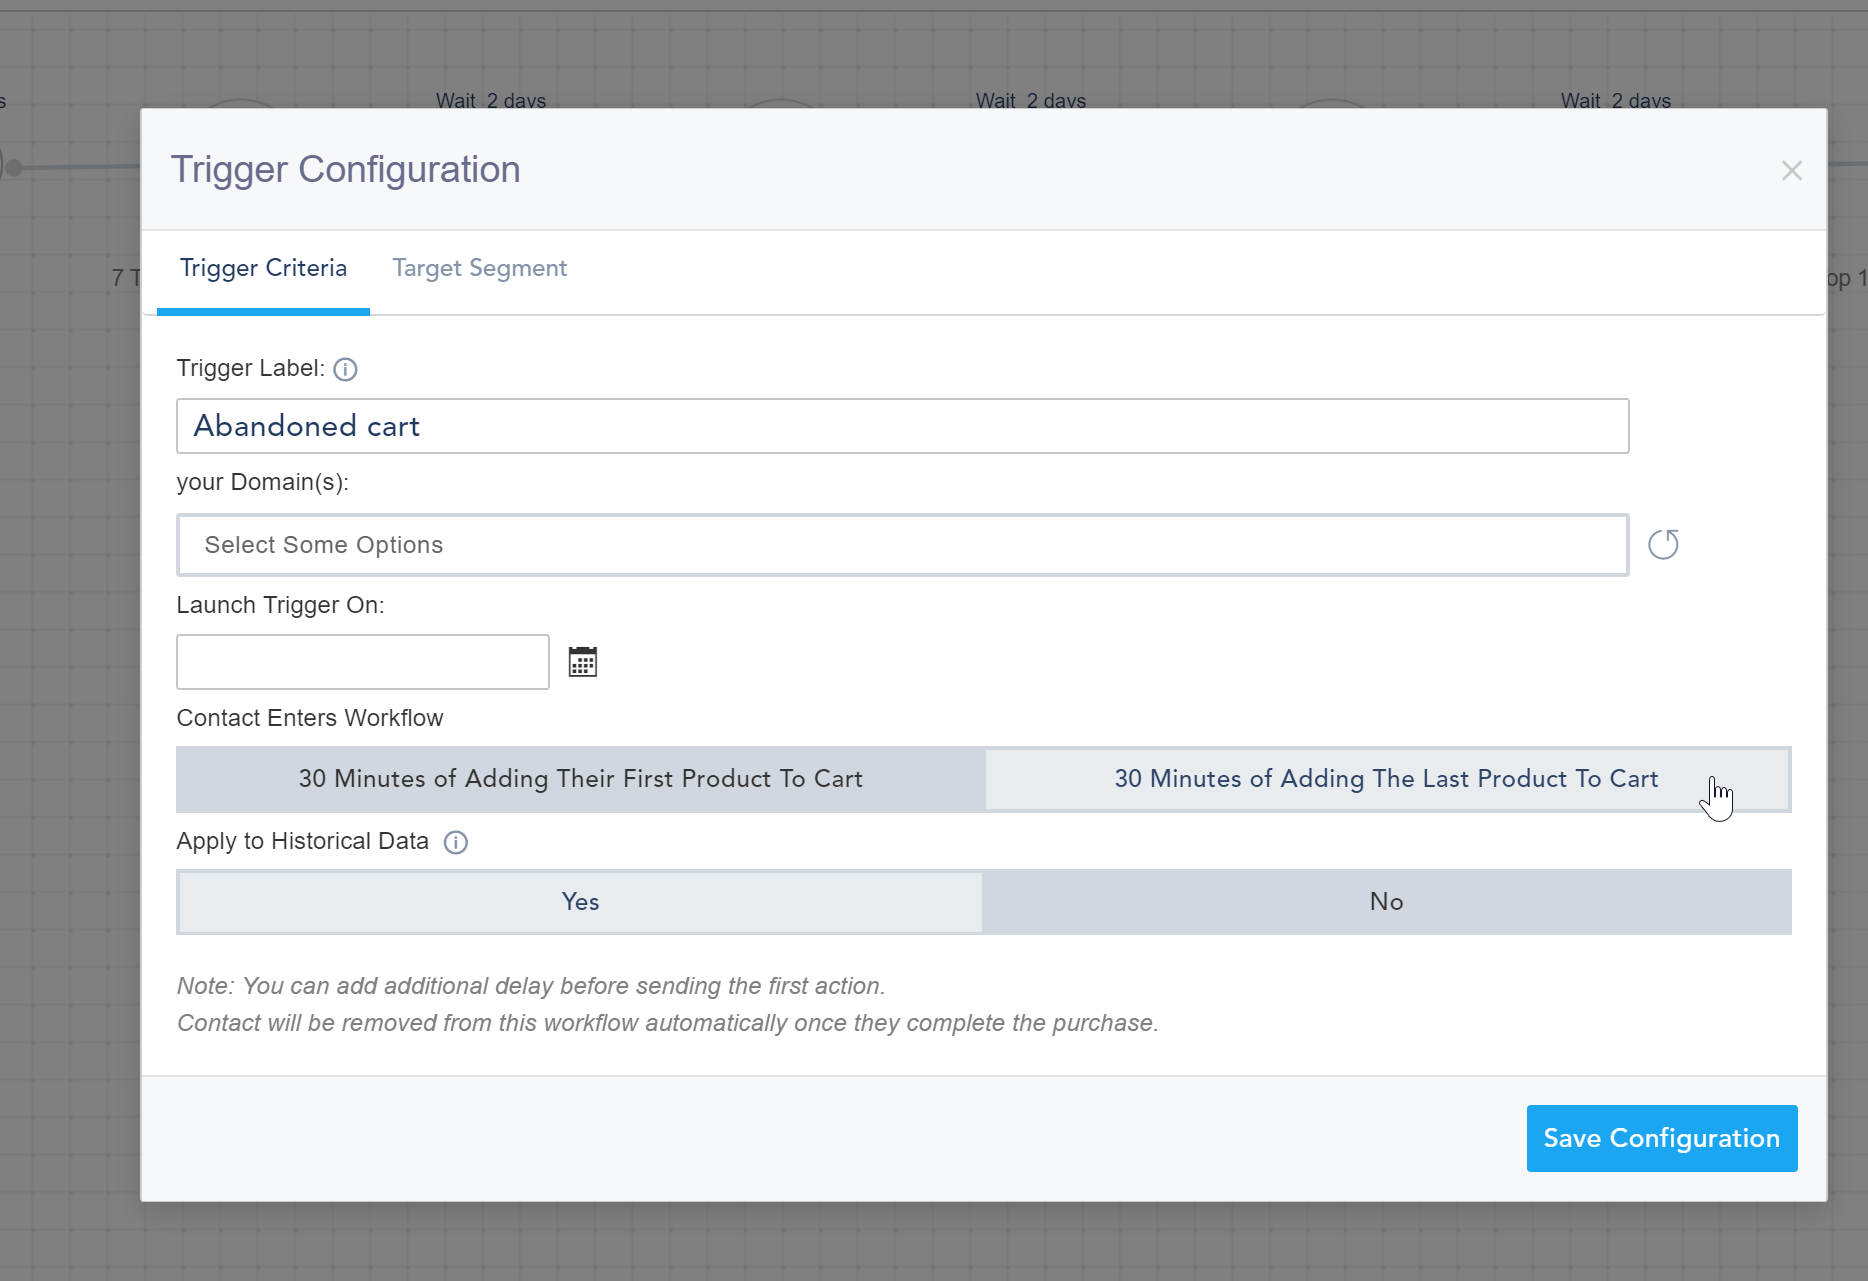
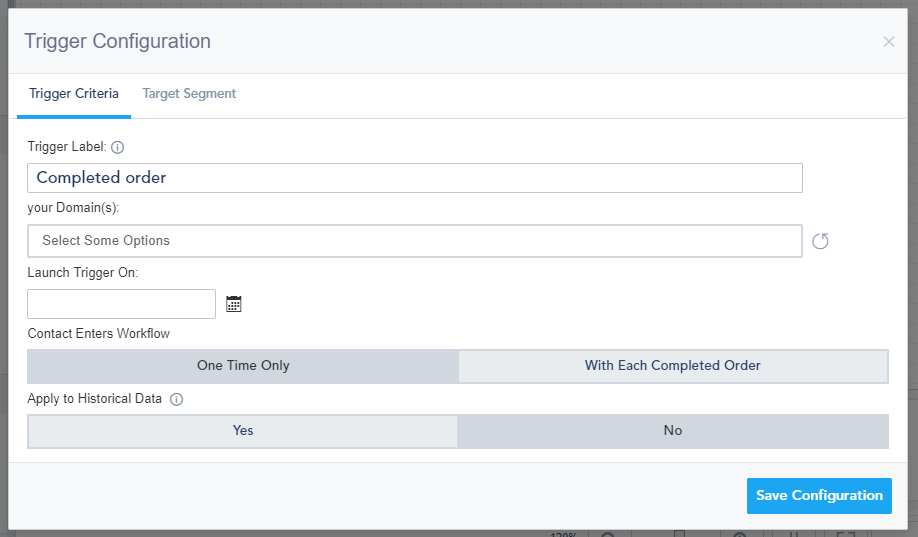
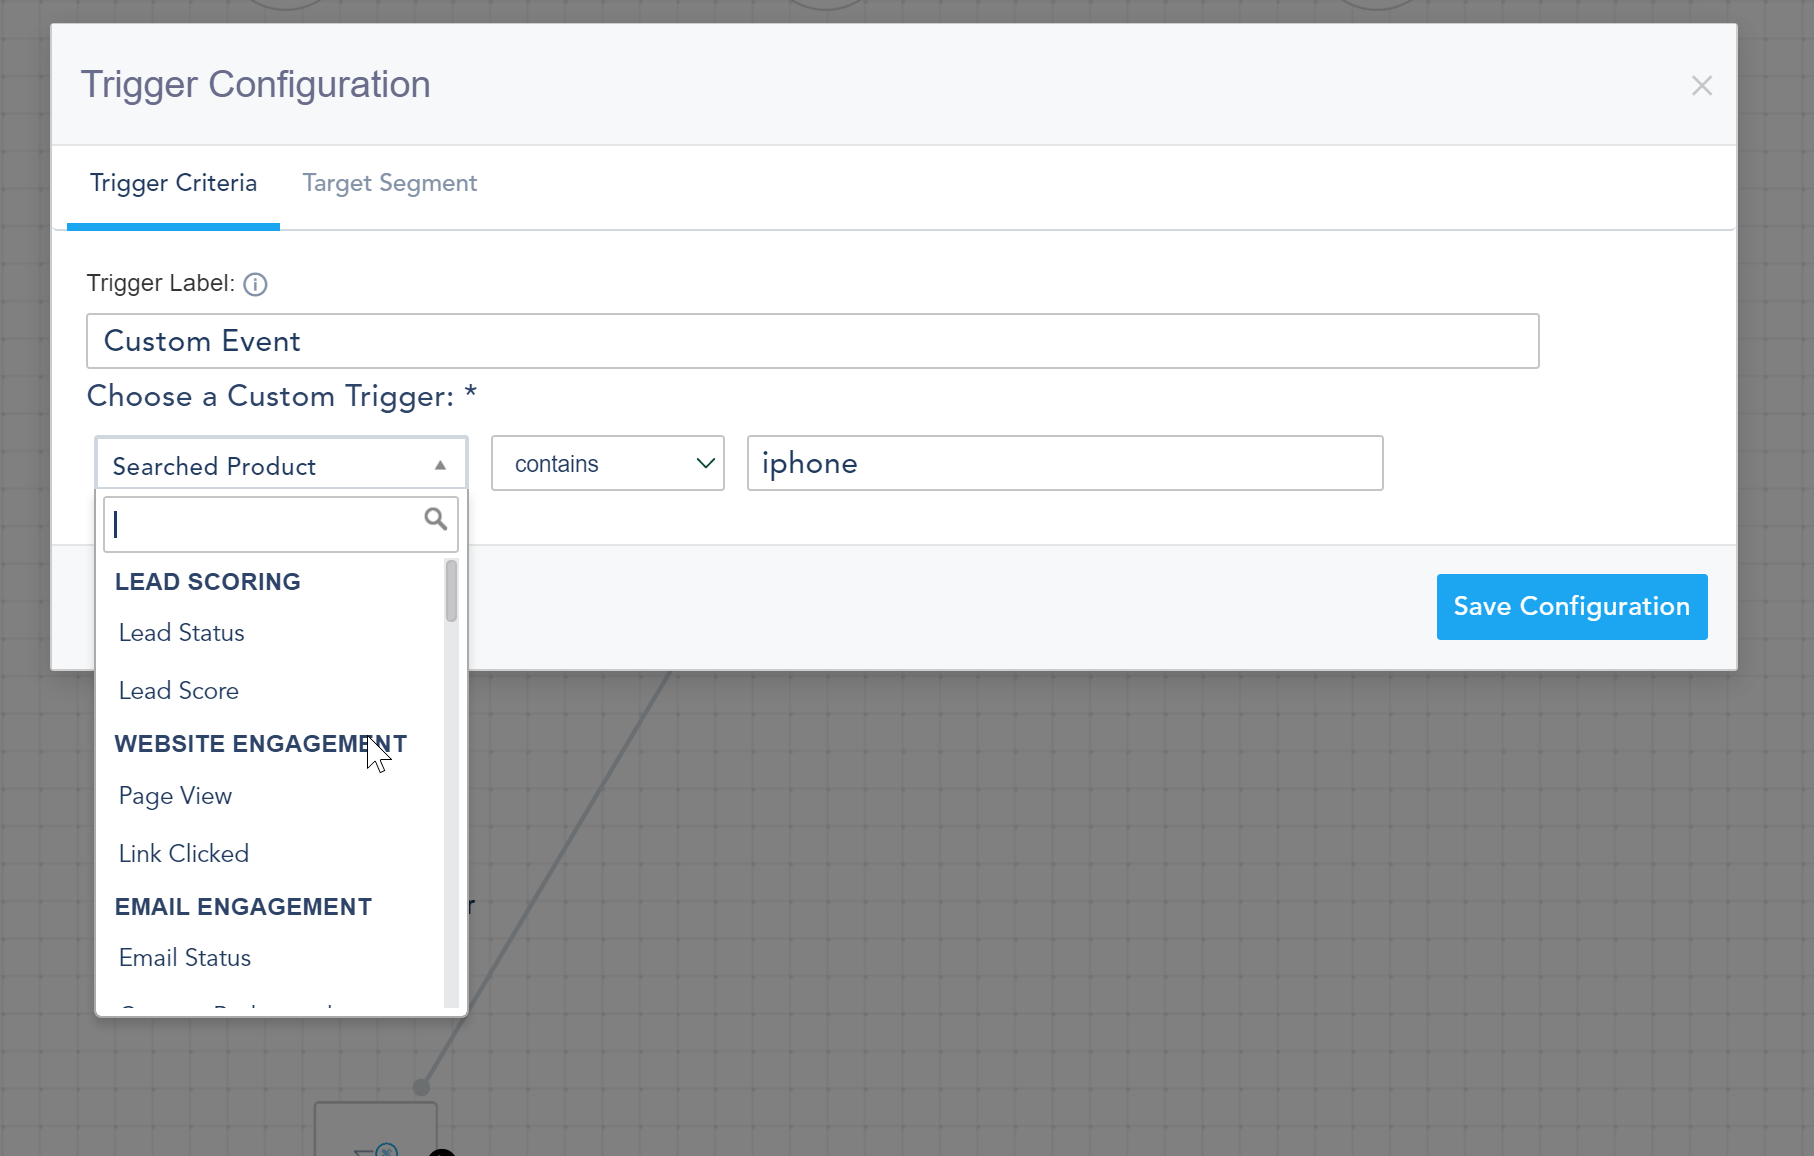
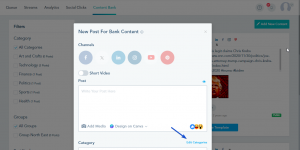
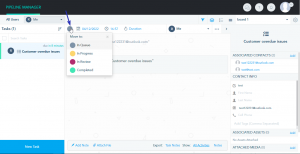
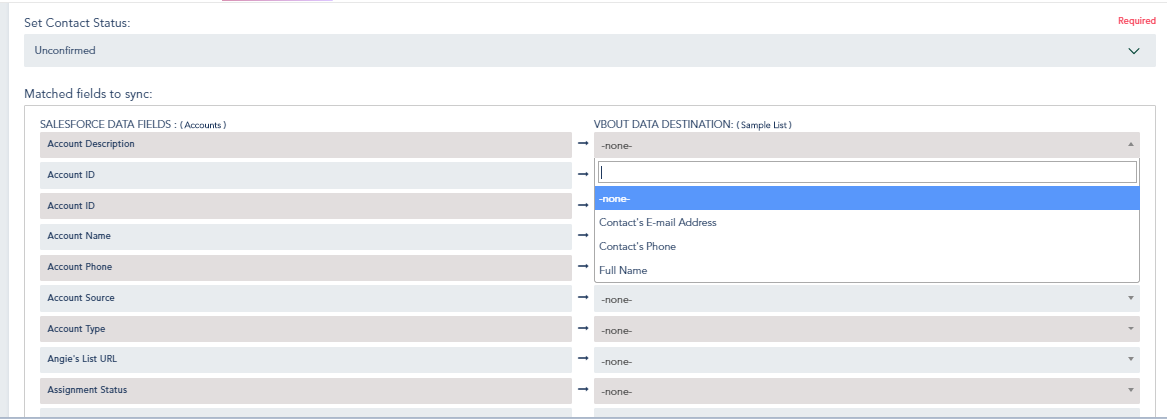
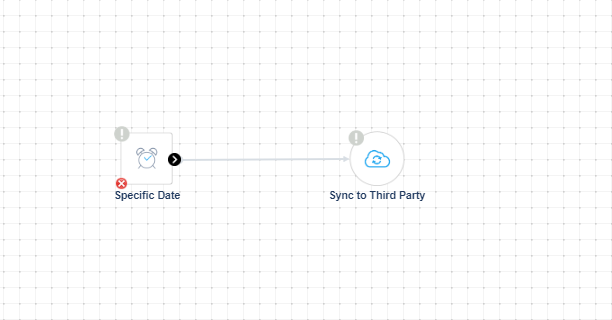
Choose the trigger.
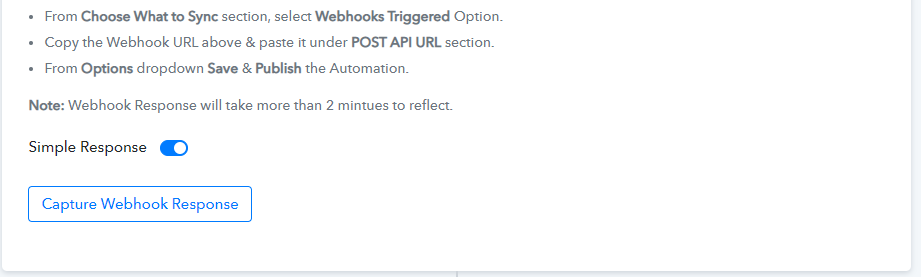
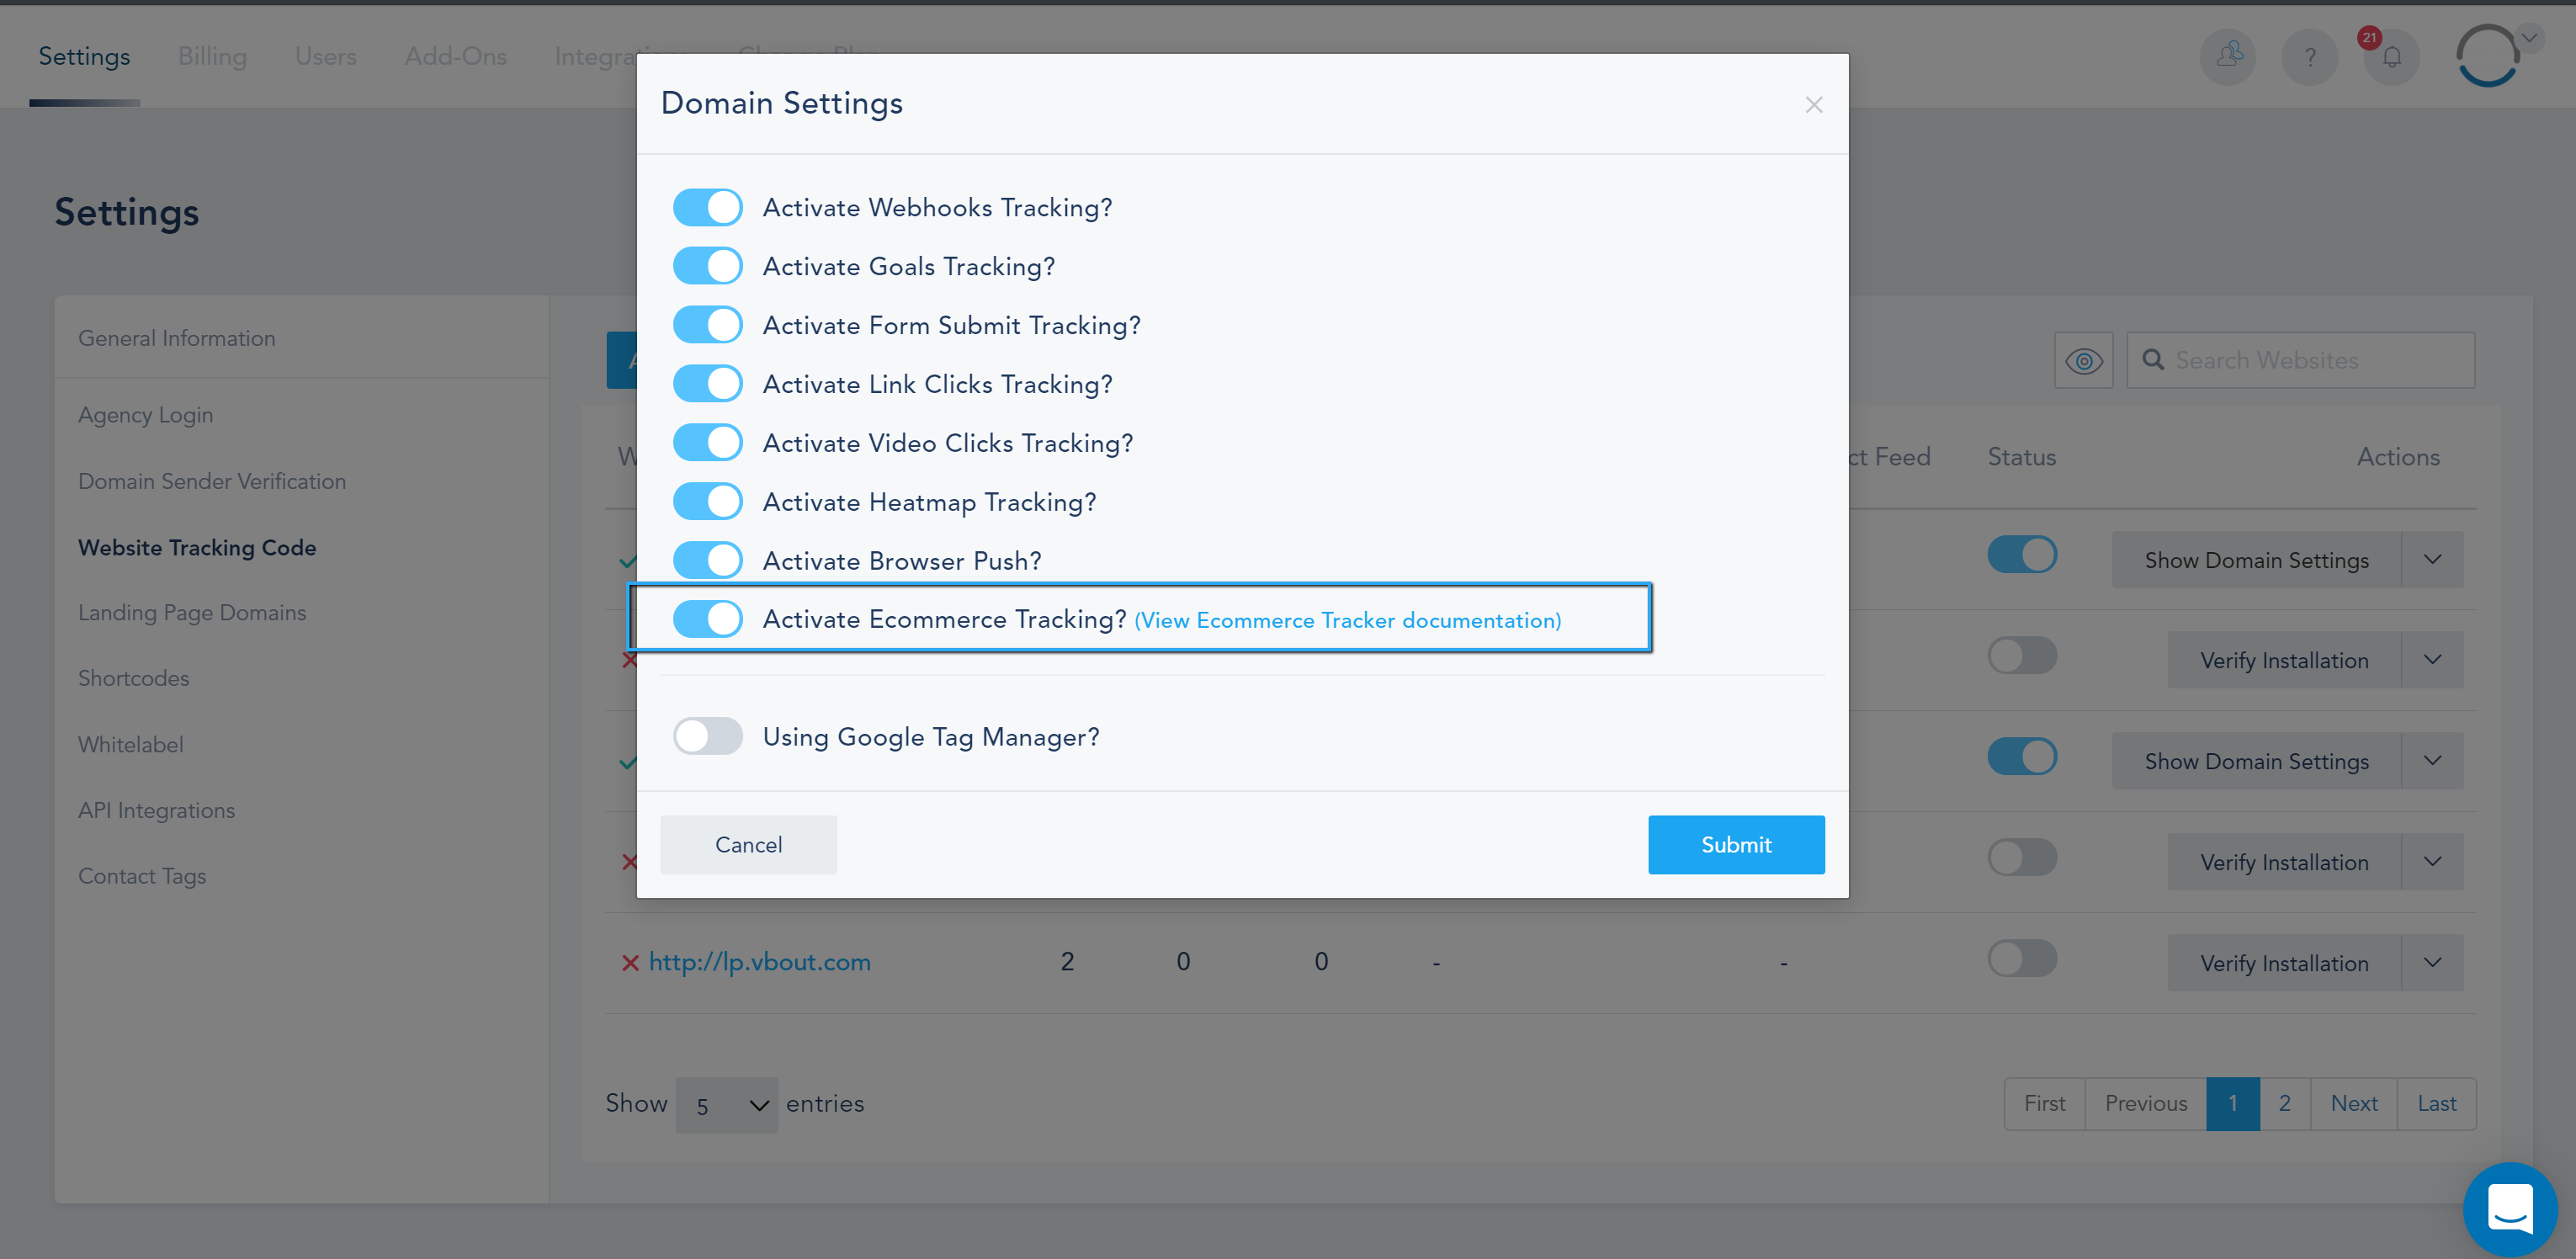
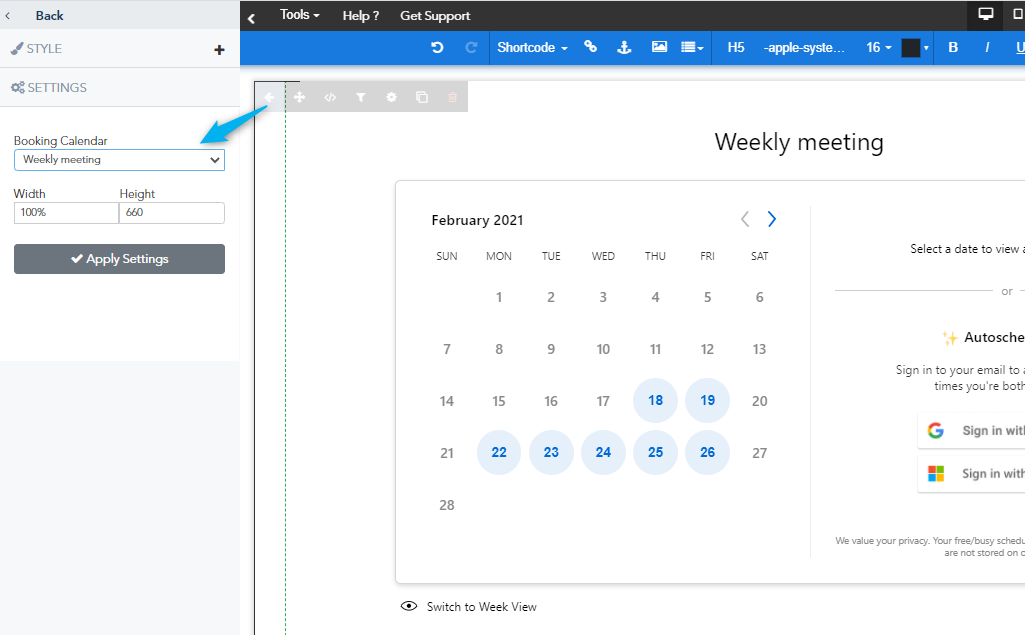
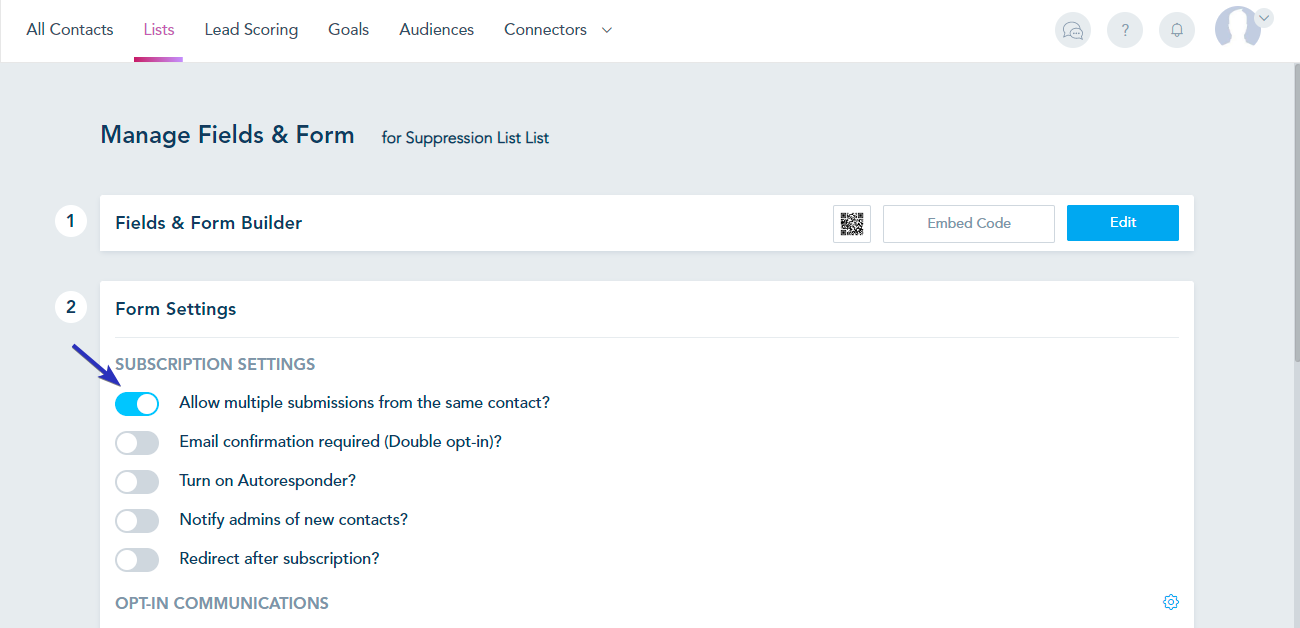
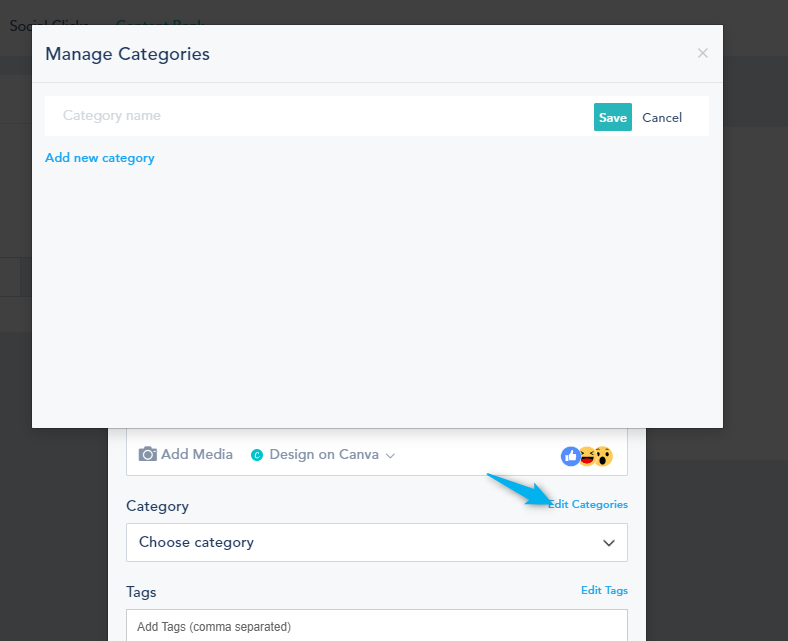
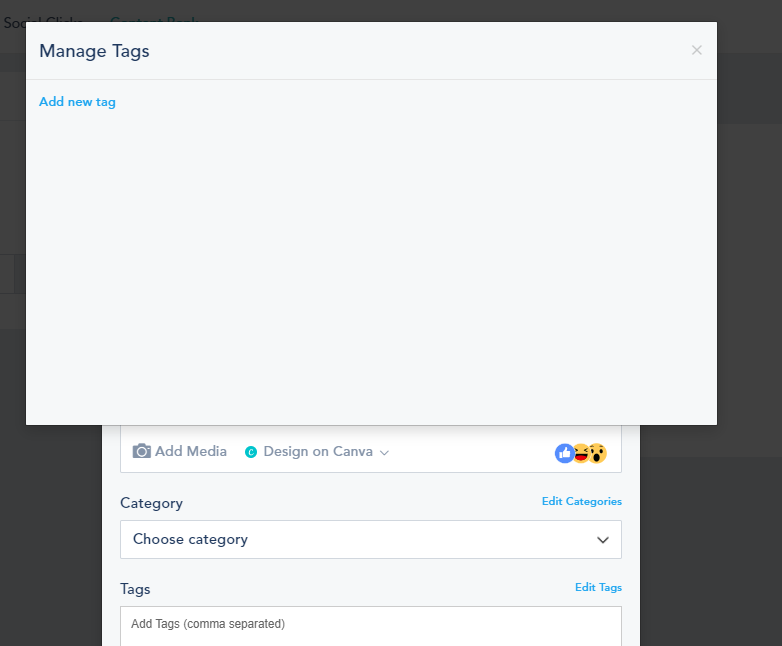
Then you will have instructions to follow:
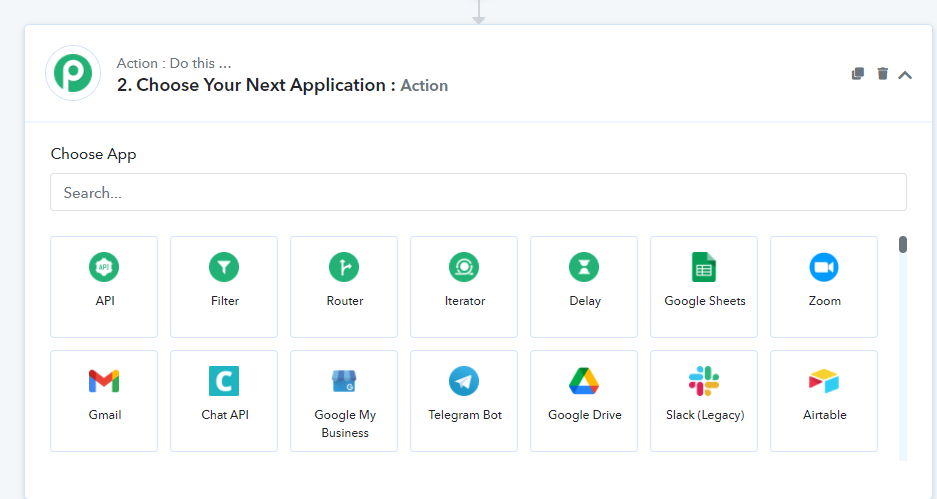
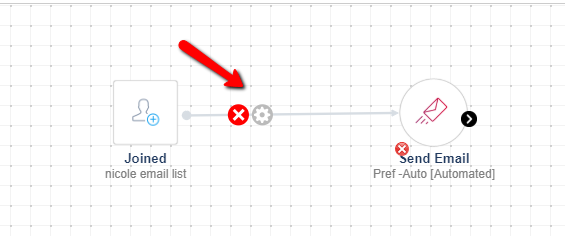
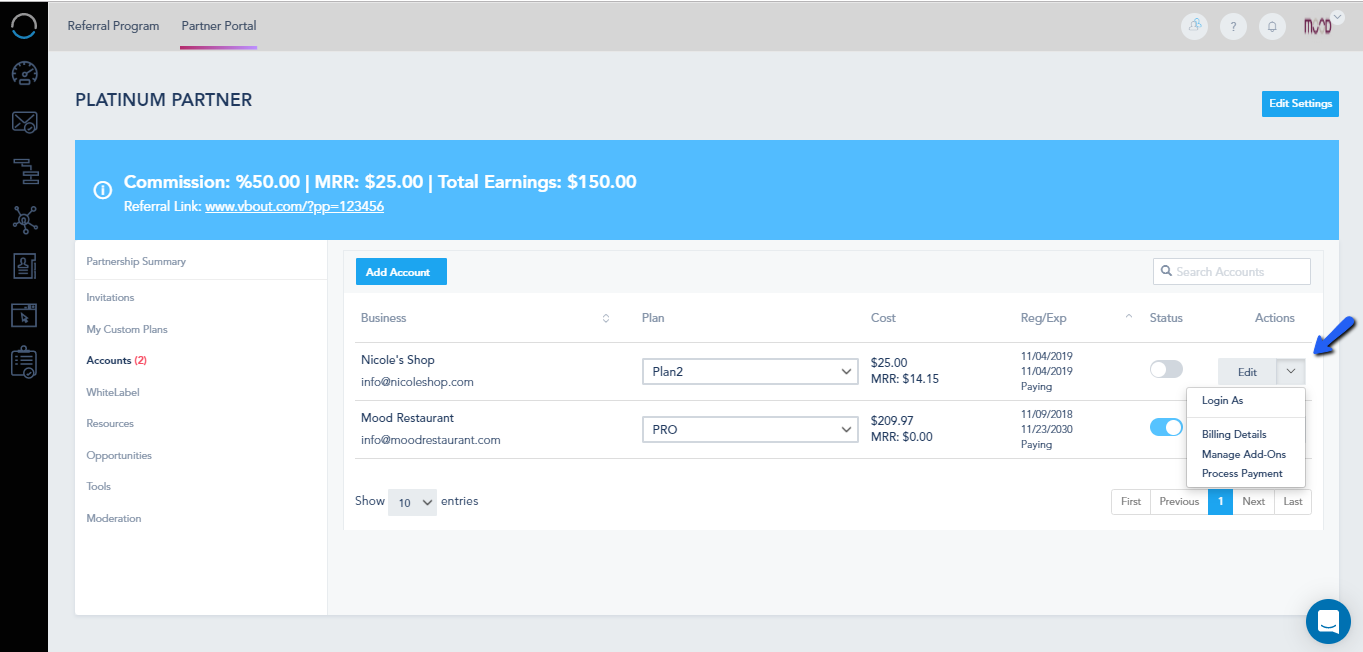
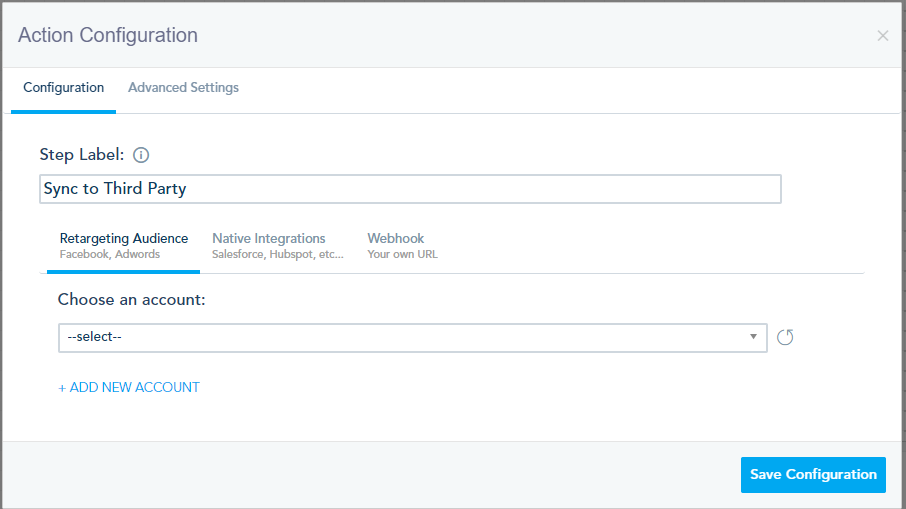
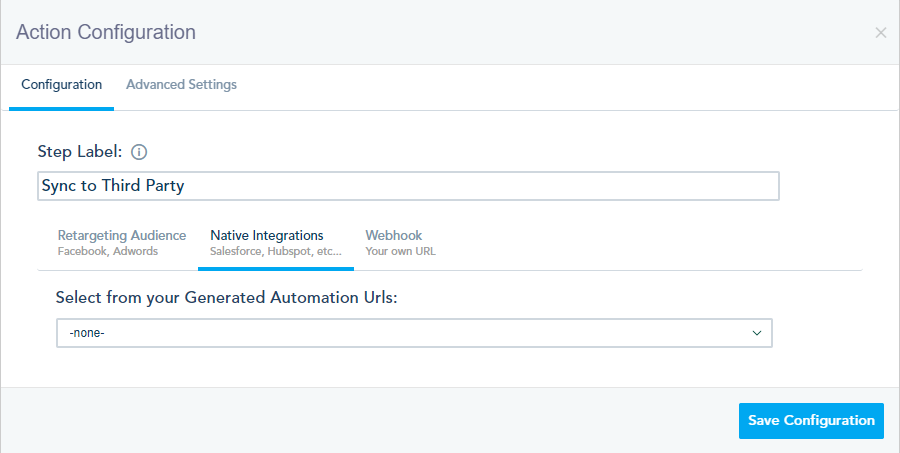
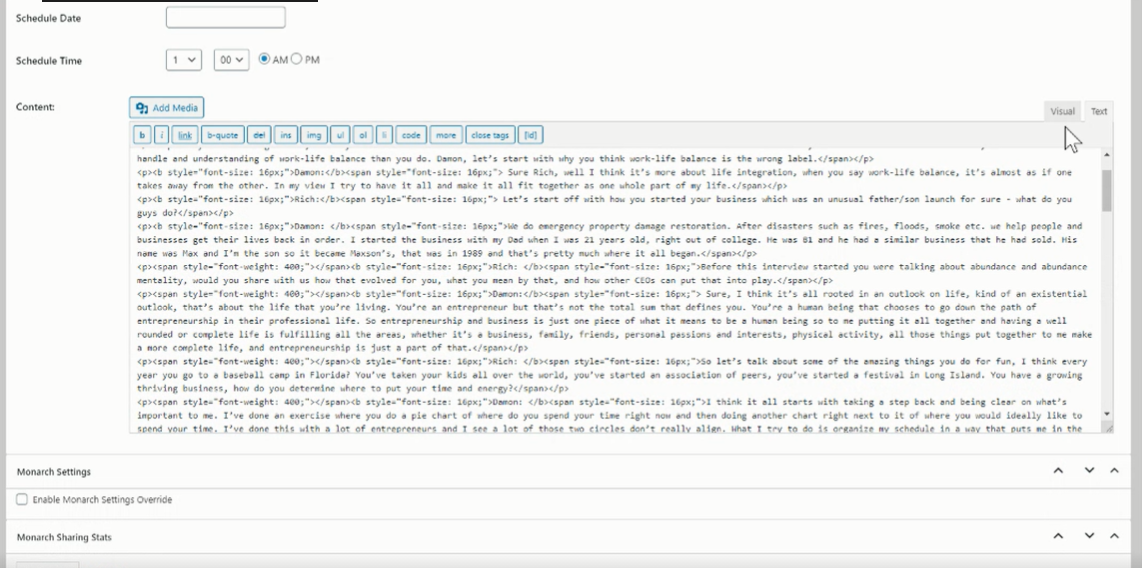
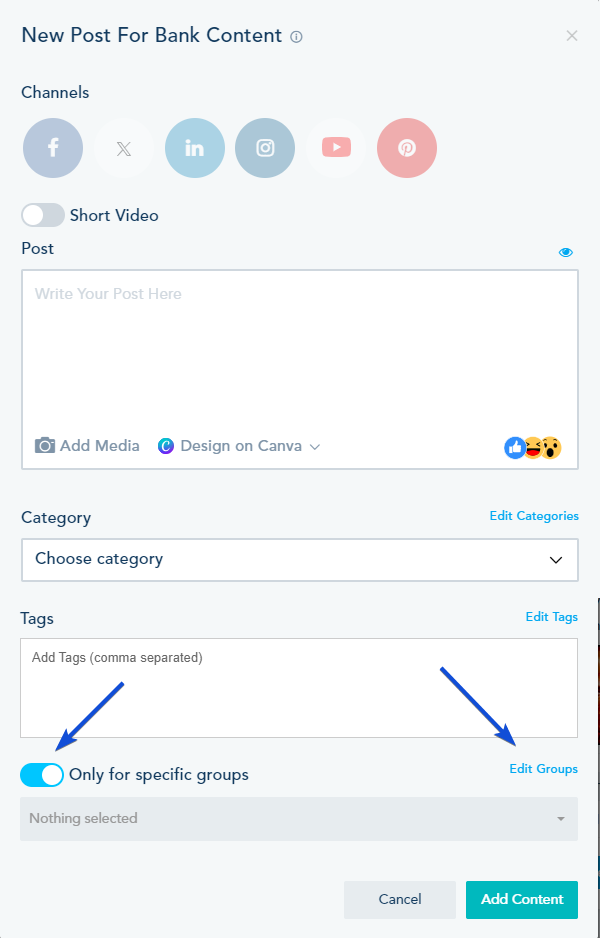
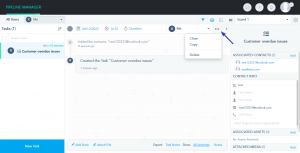
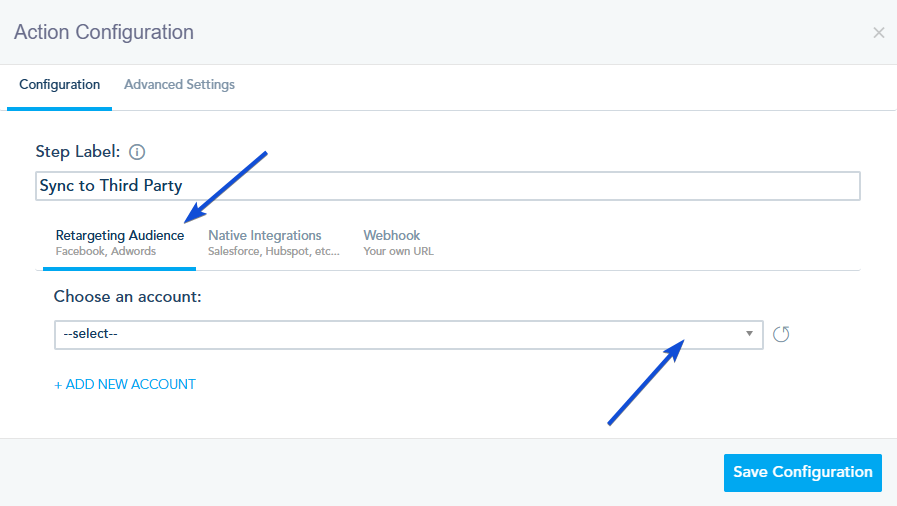
Once you set up the trigger, set up the action:
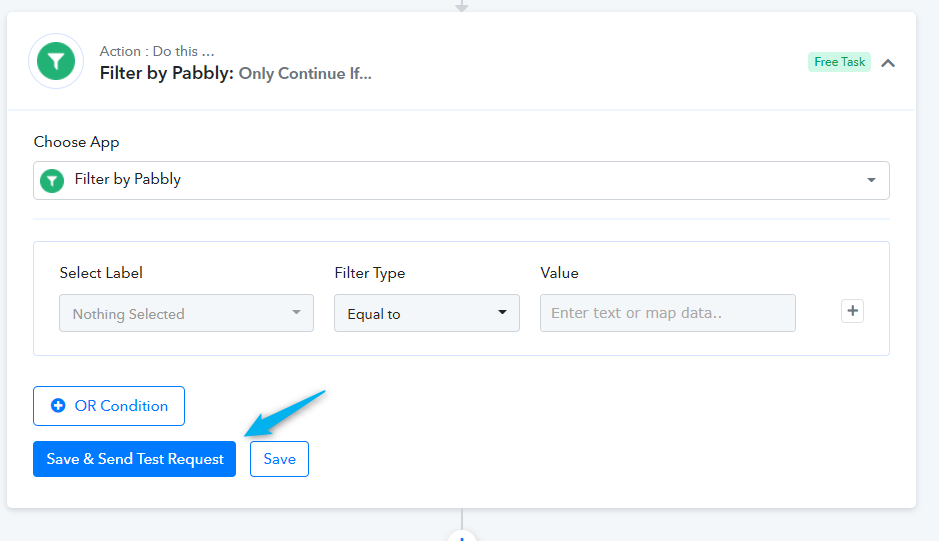
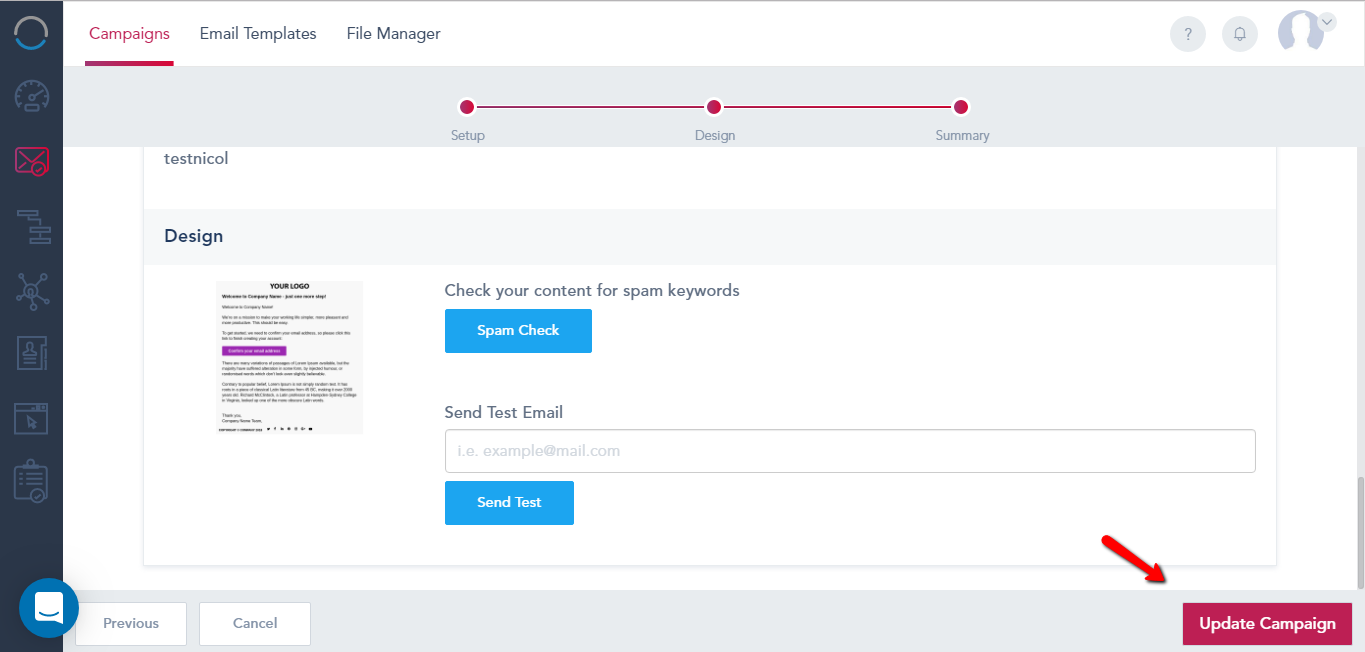
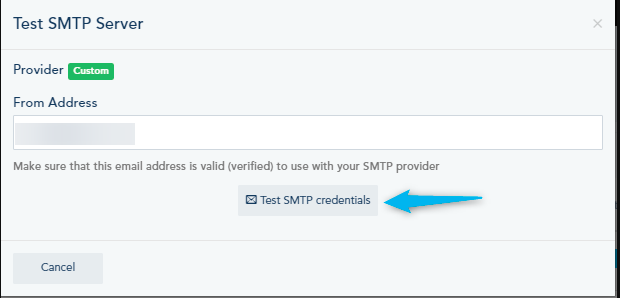
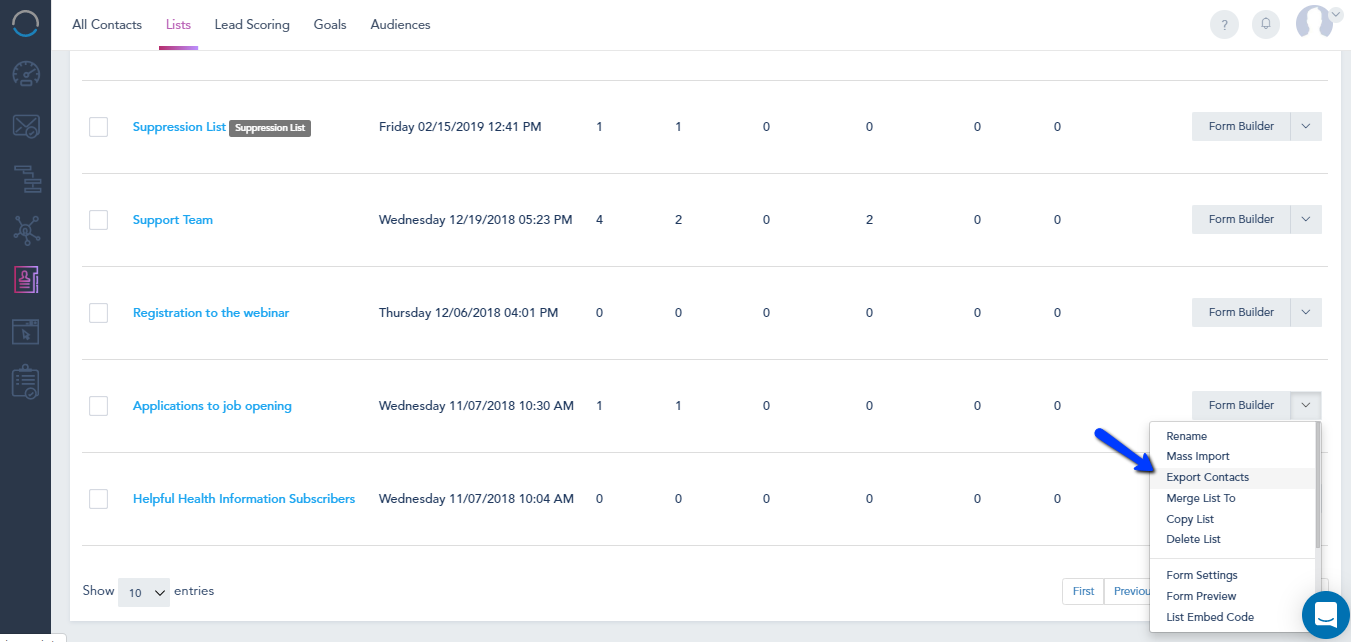
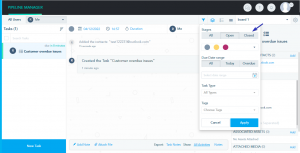
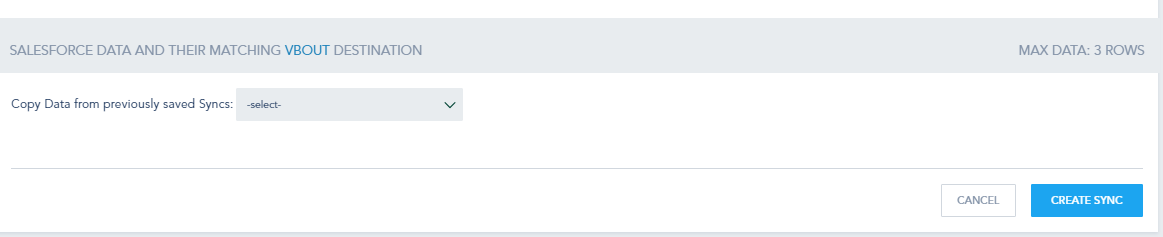
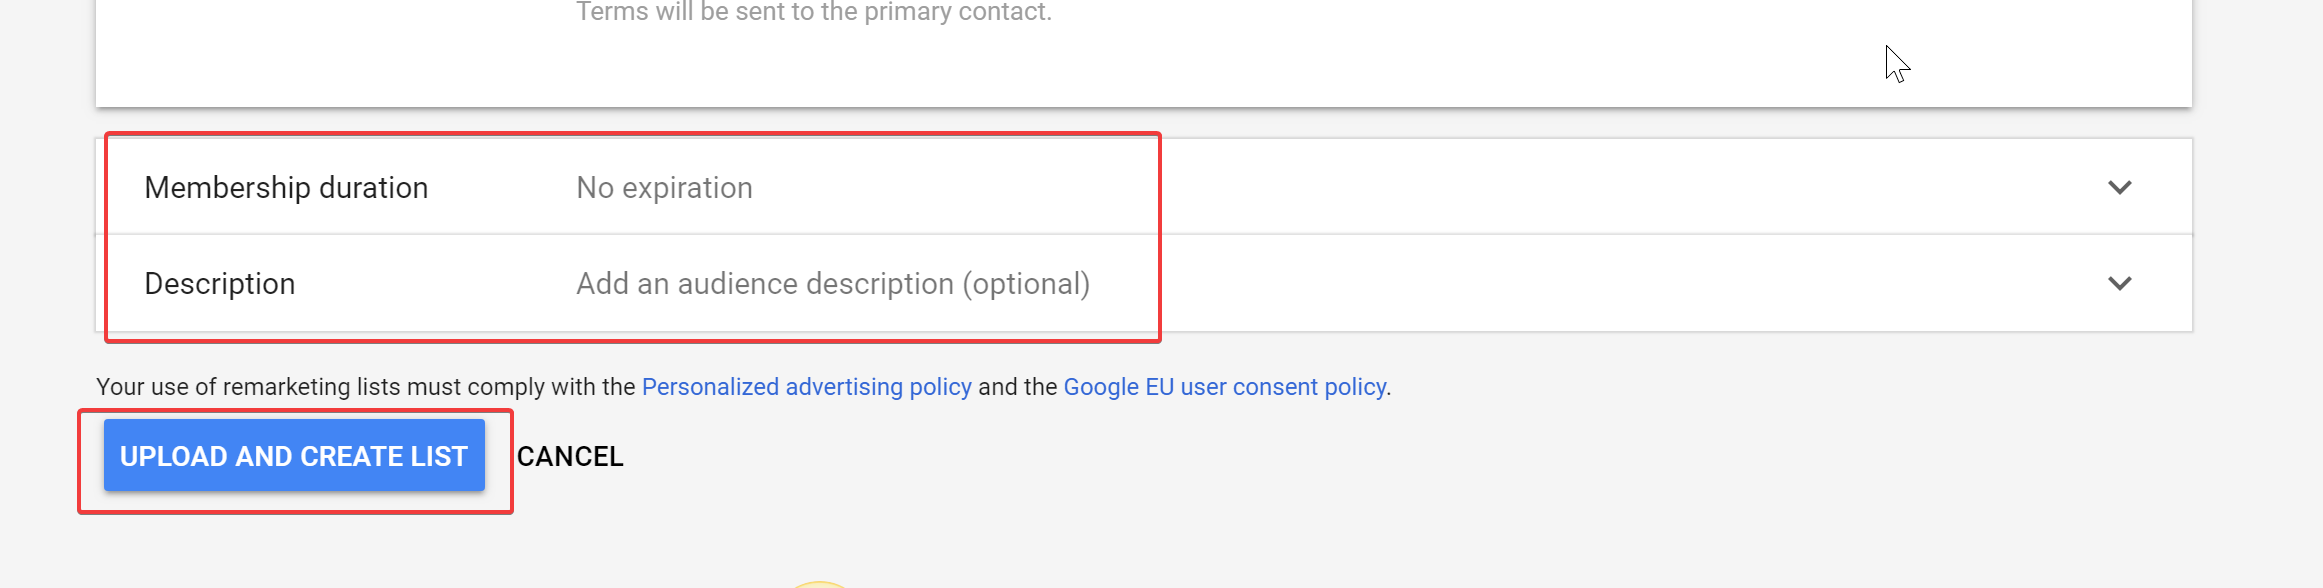
After choosing the action, click Save & Send Test Request or Save:
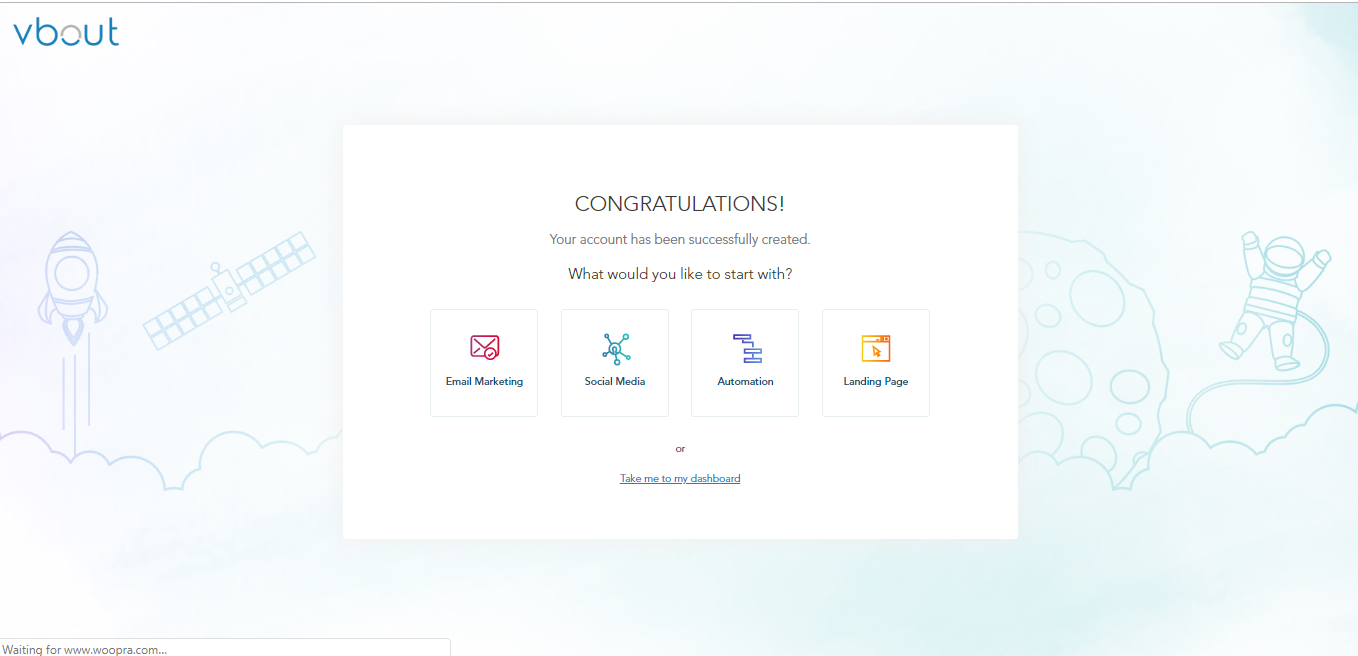
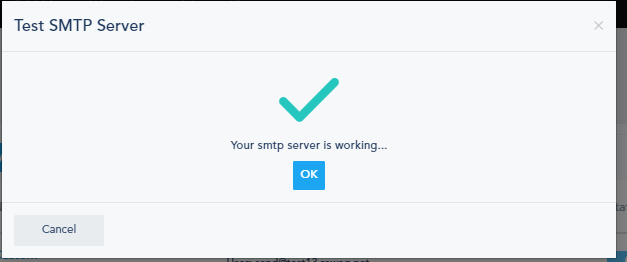
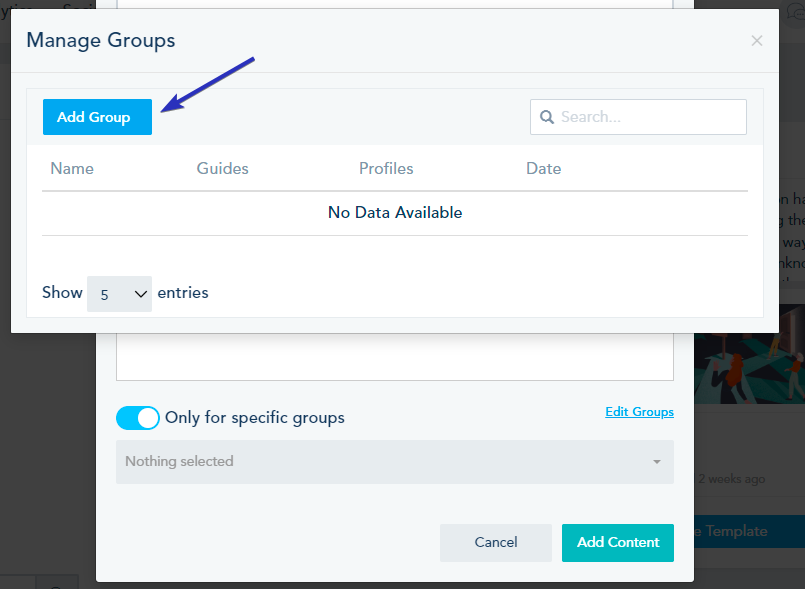
That’s it! The workflow is ready to go.
Below is a list of VBOUT triggers and actions that can be used in Pabbly:
Triggers:
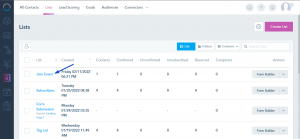
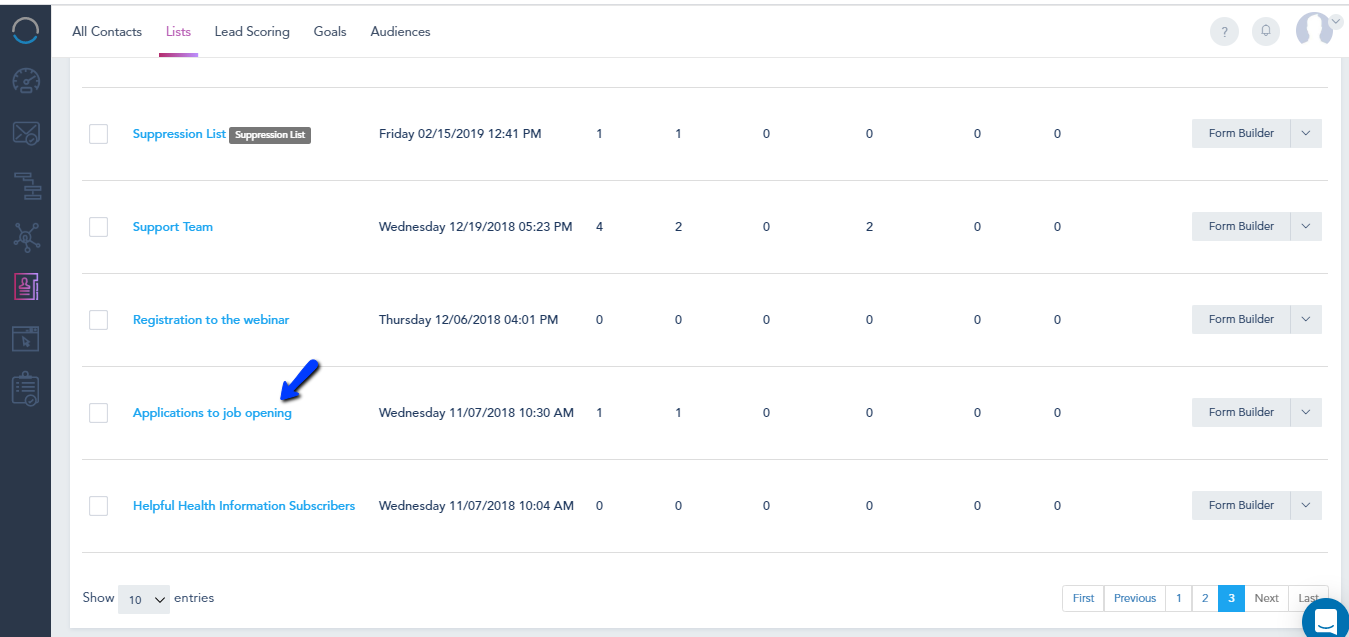
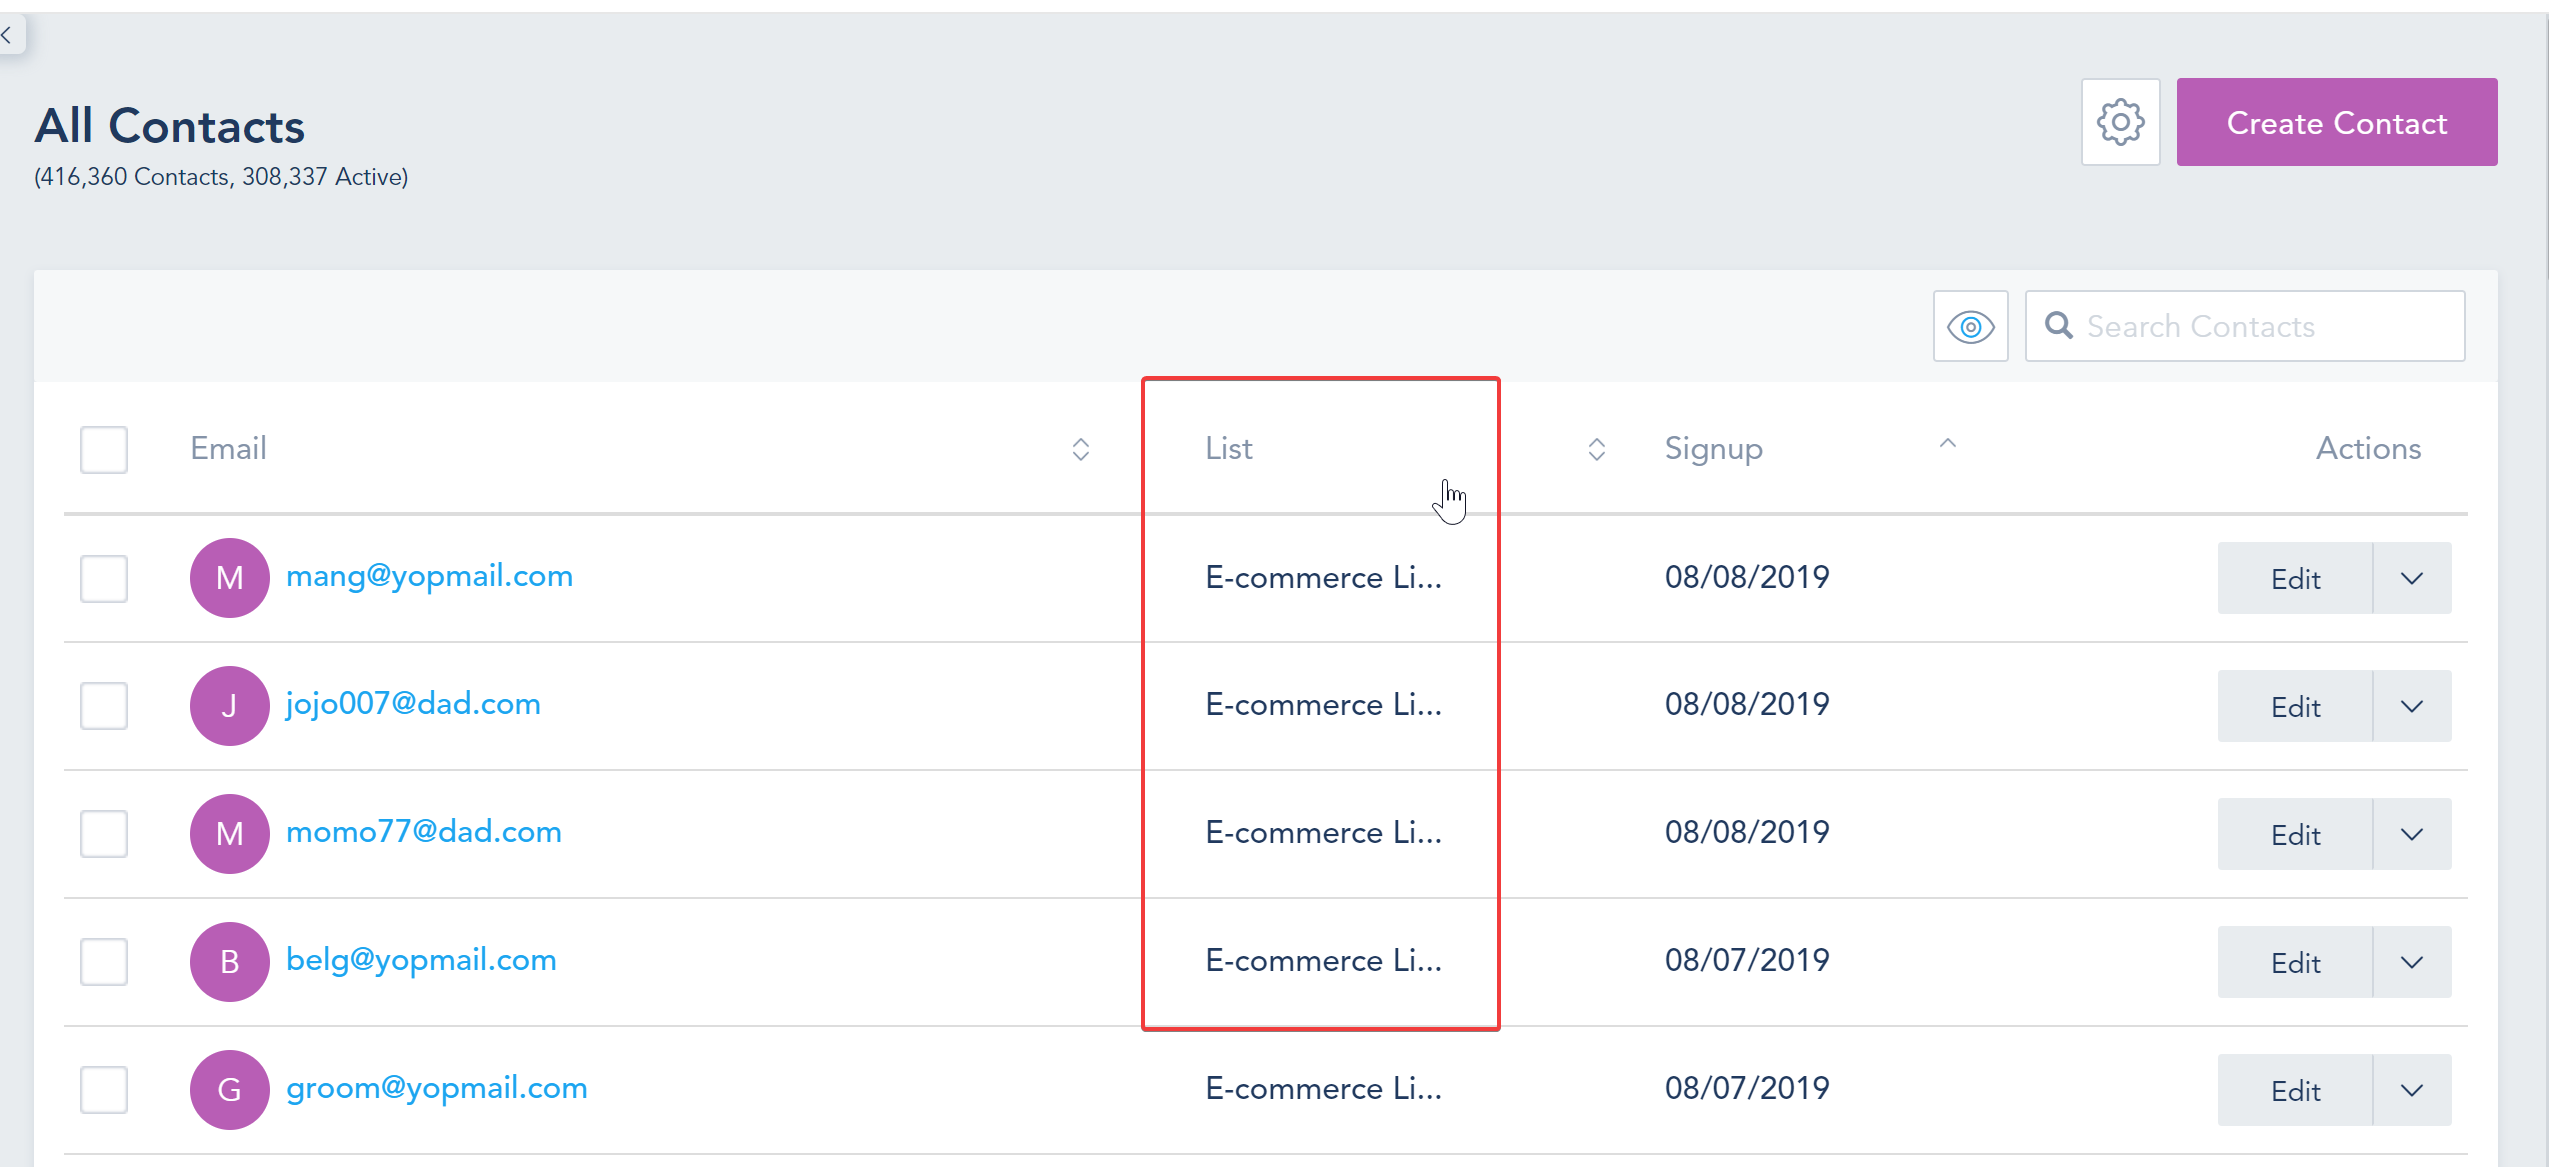
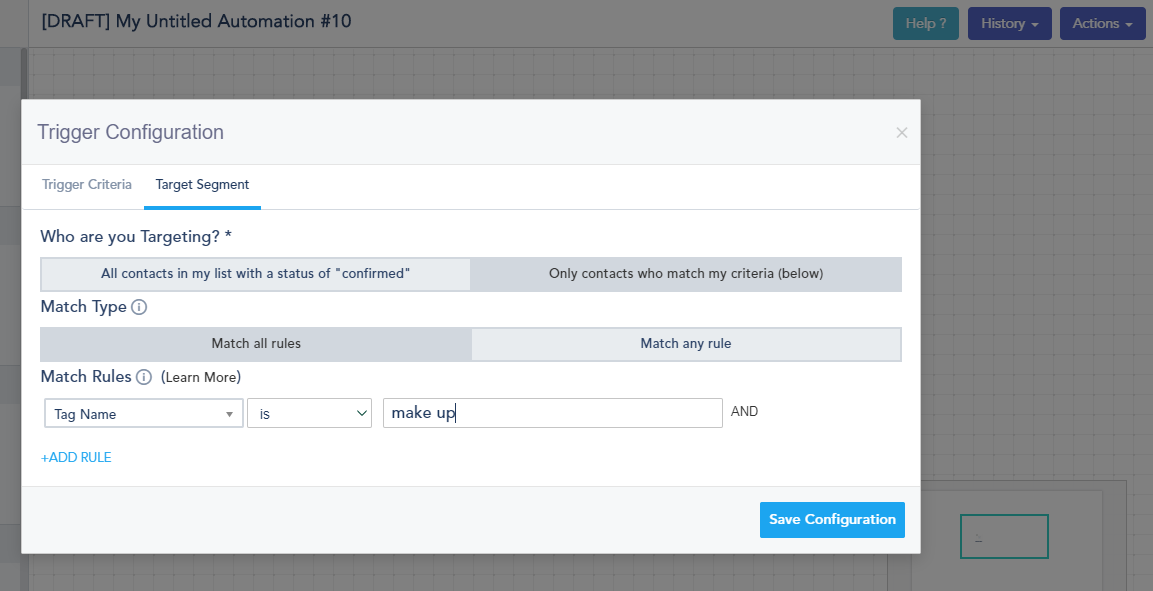
- New User Joined a List
Actions:
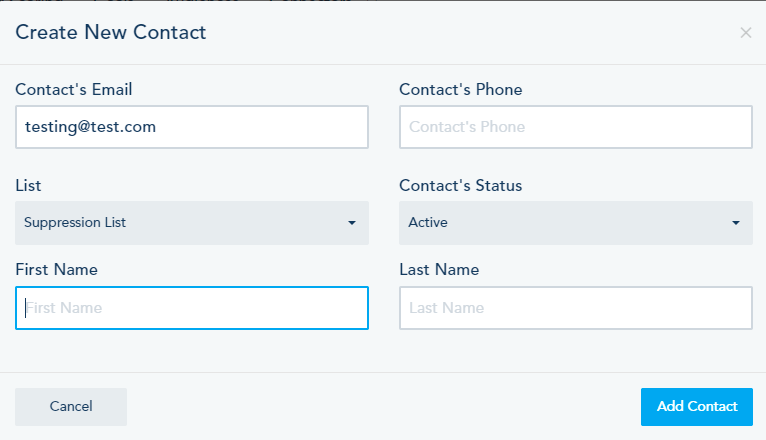
- Add Contact to List
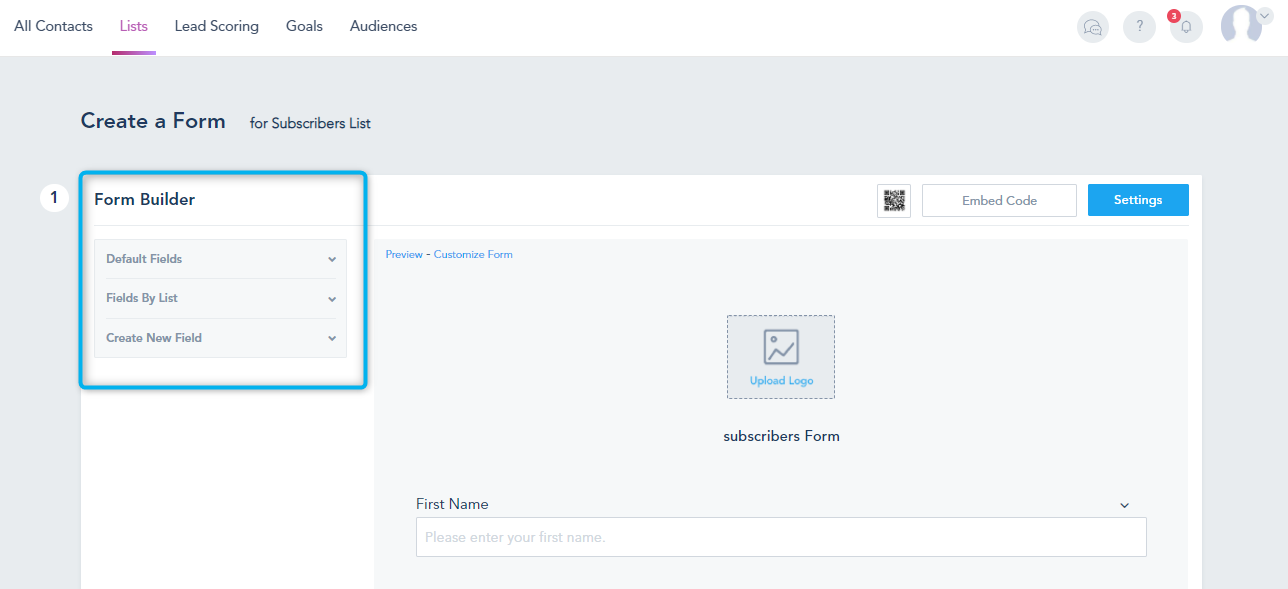
- Create Email List
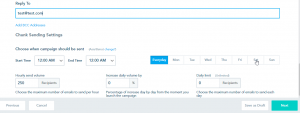
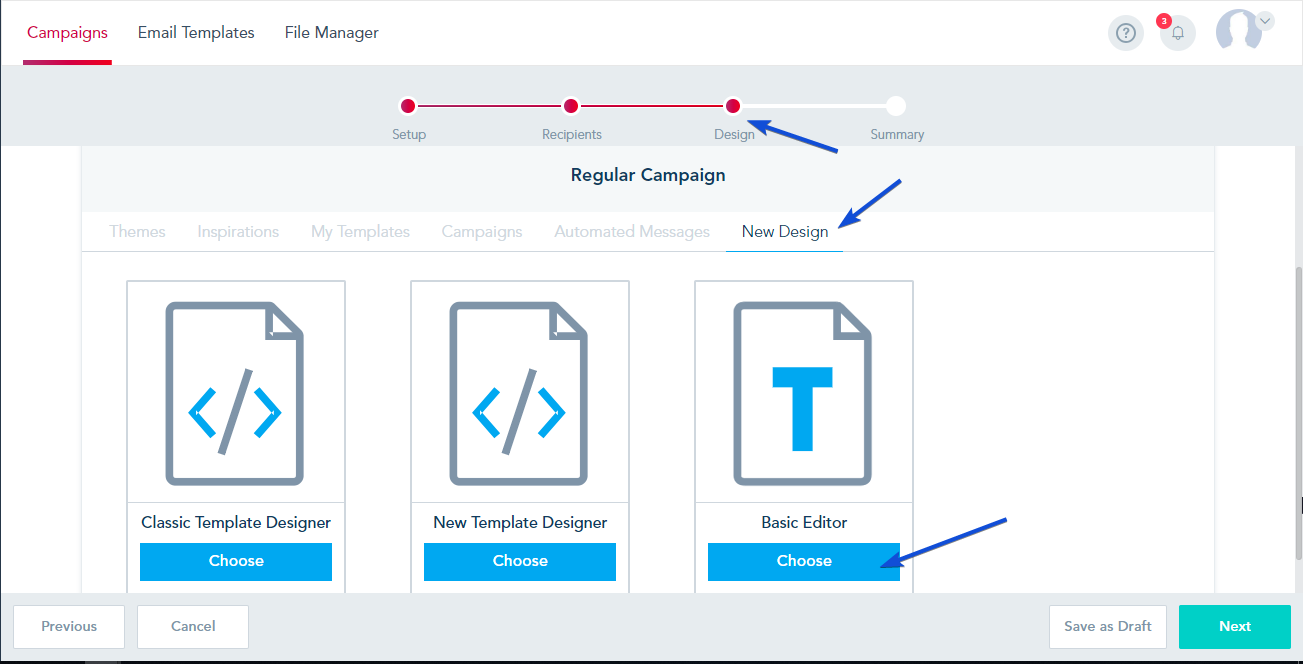
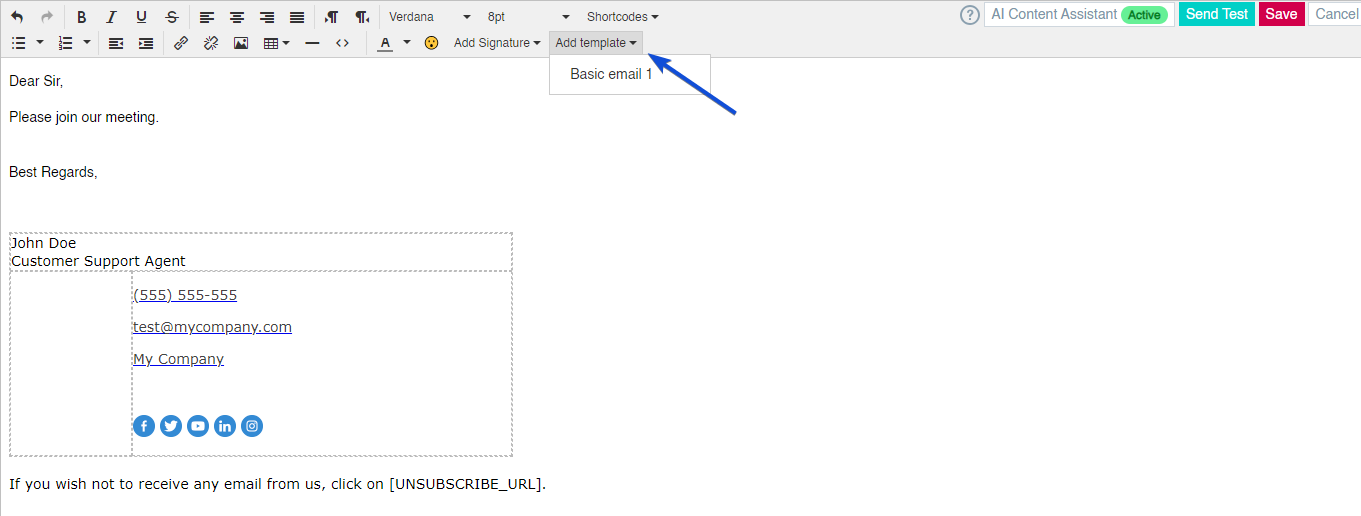
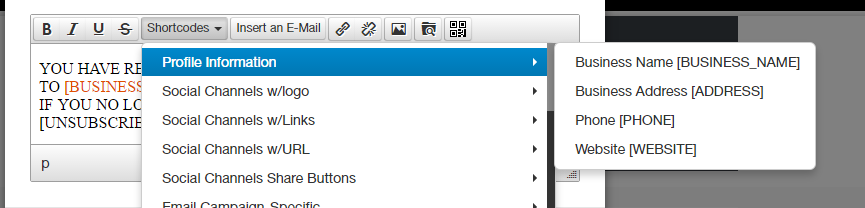
- Create Email Marketing Campaign
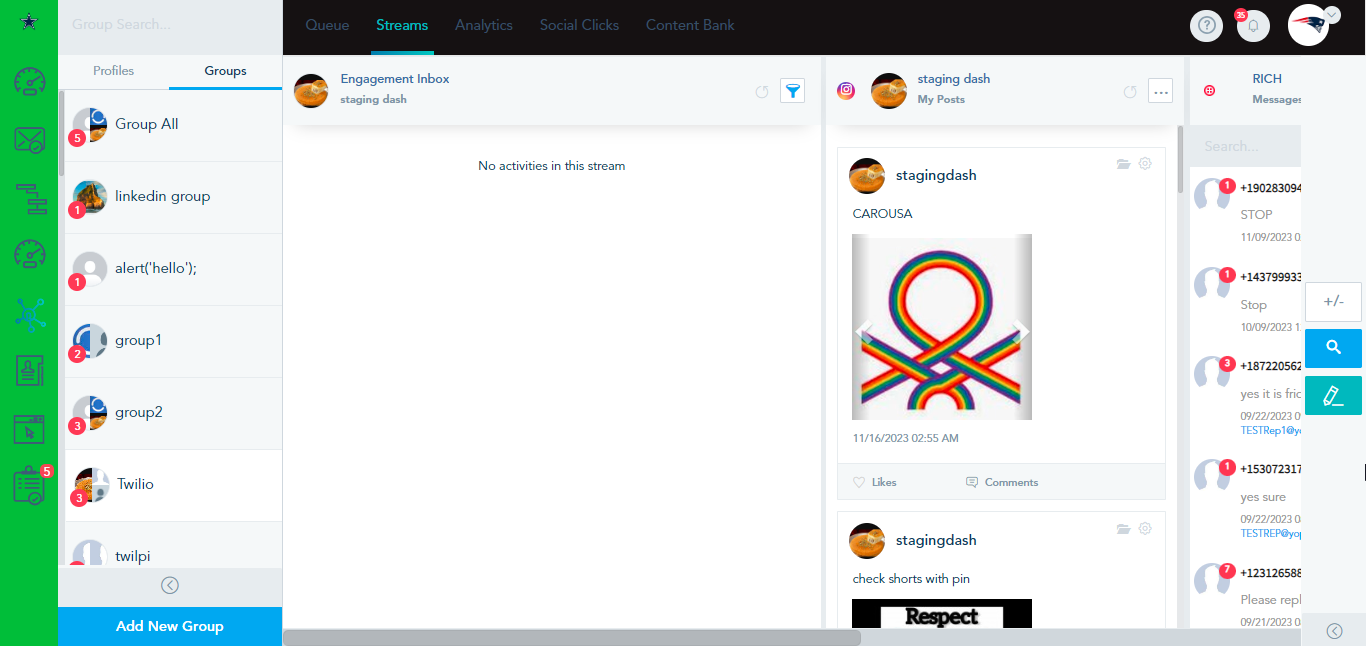
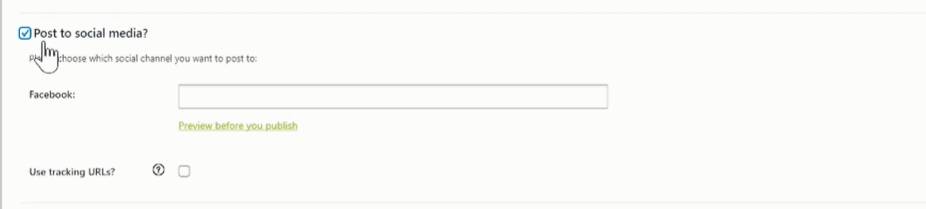
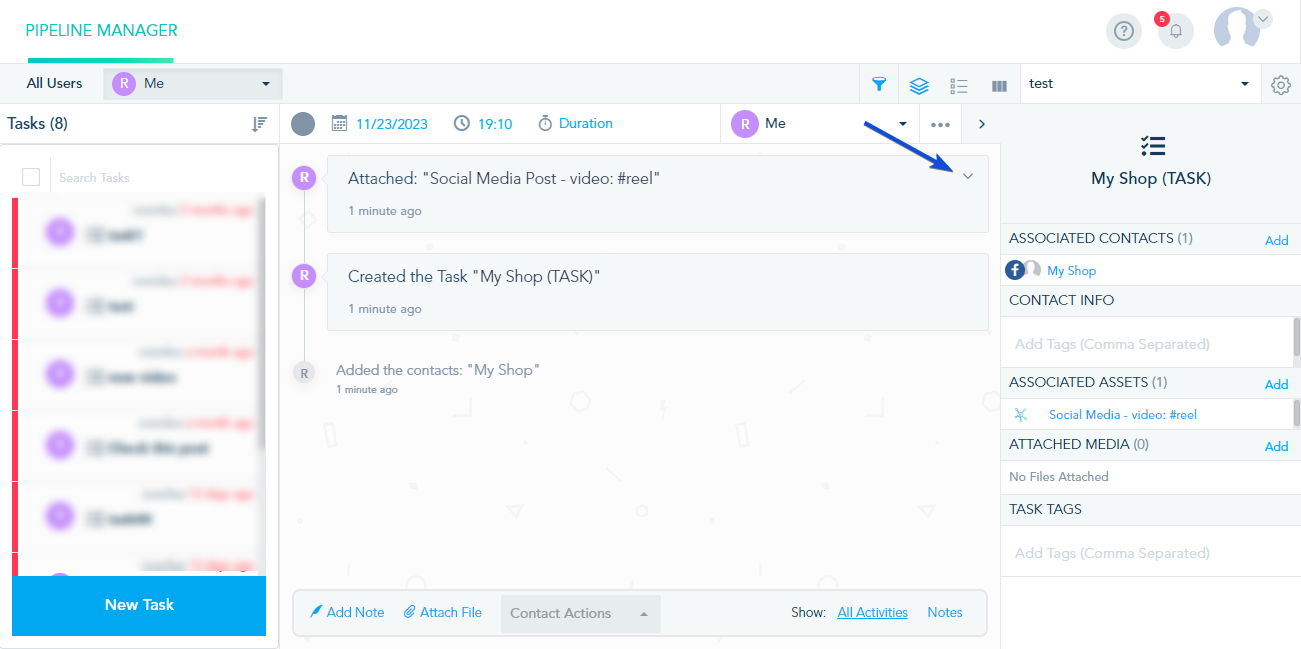
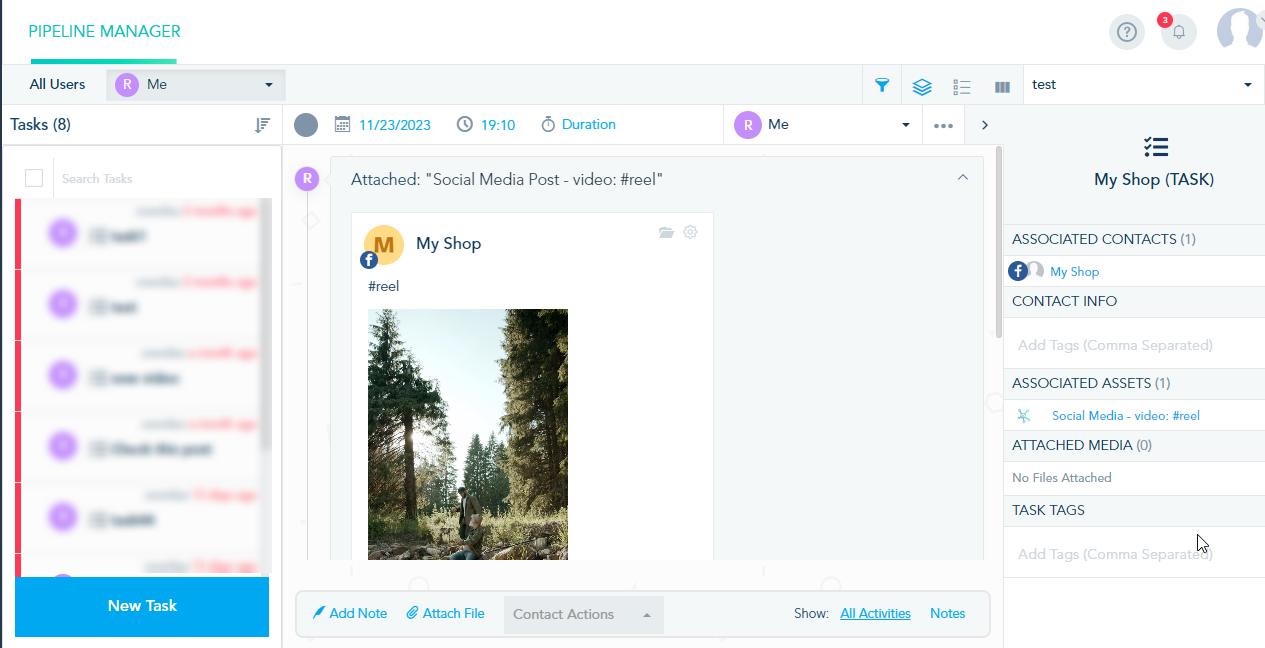
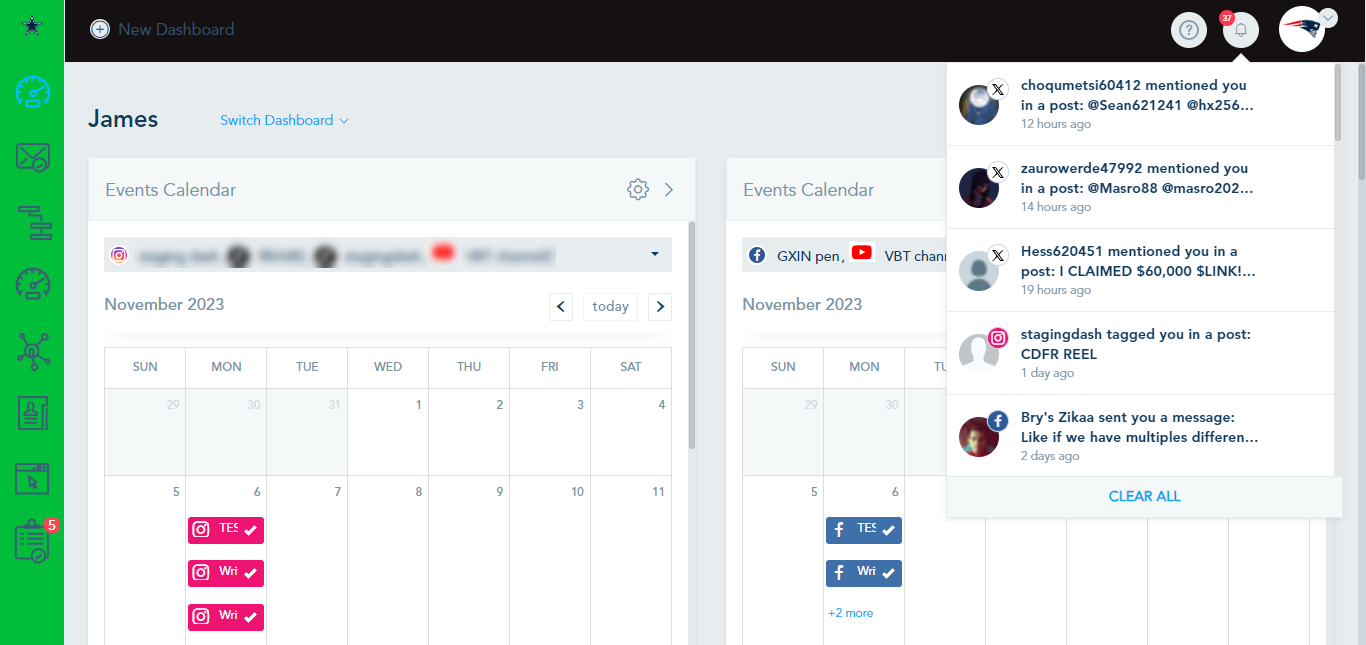
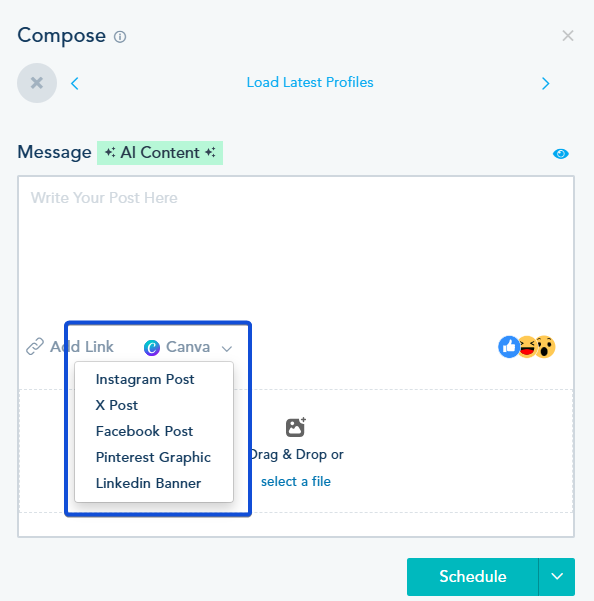
- Create Social Media Message
- Get Contact by Email
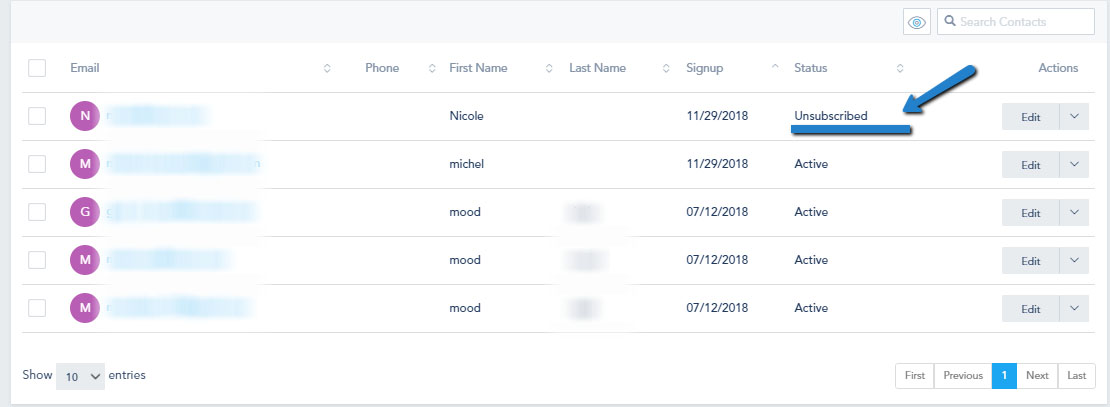
- Unsubscribe Contact
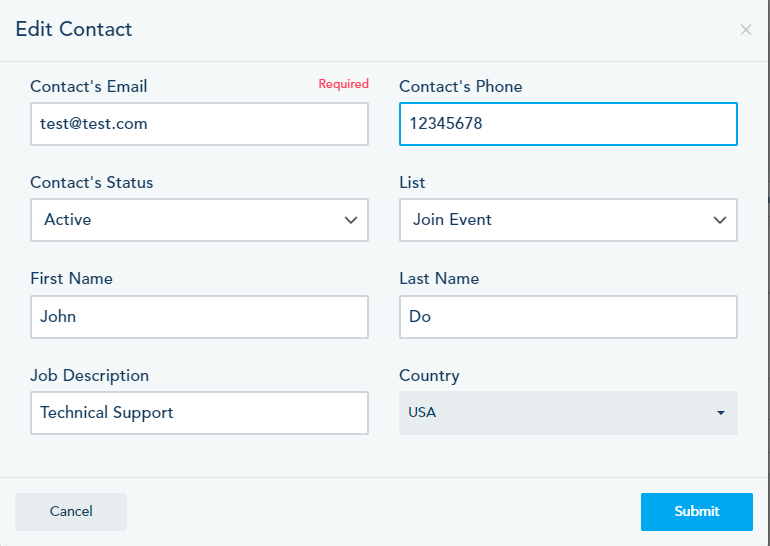
- Update Contact
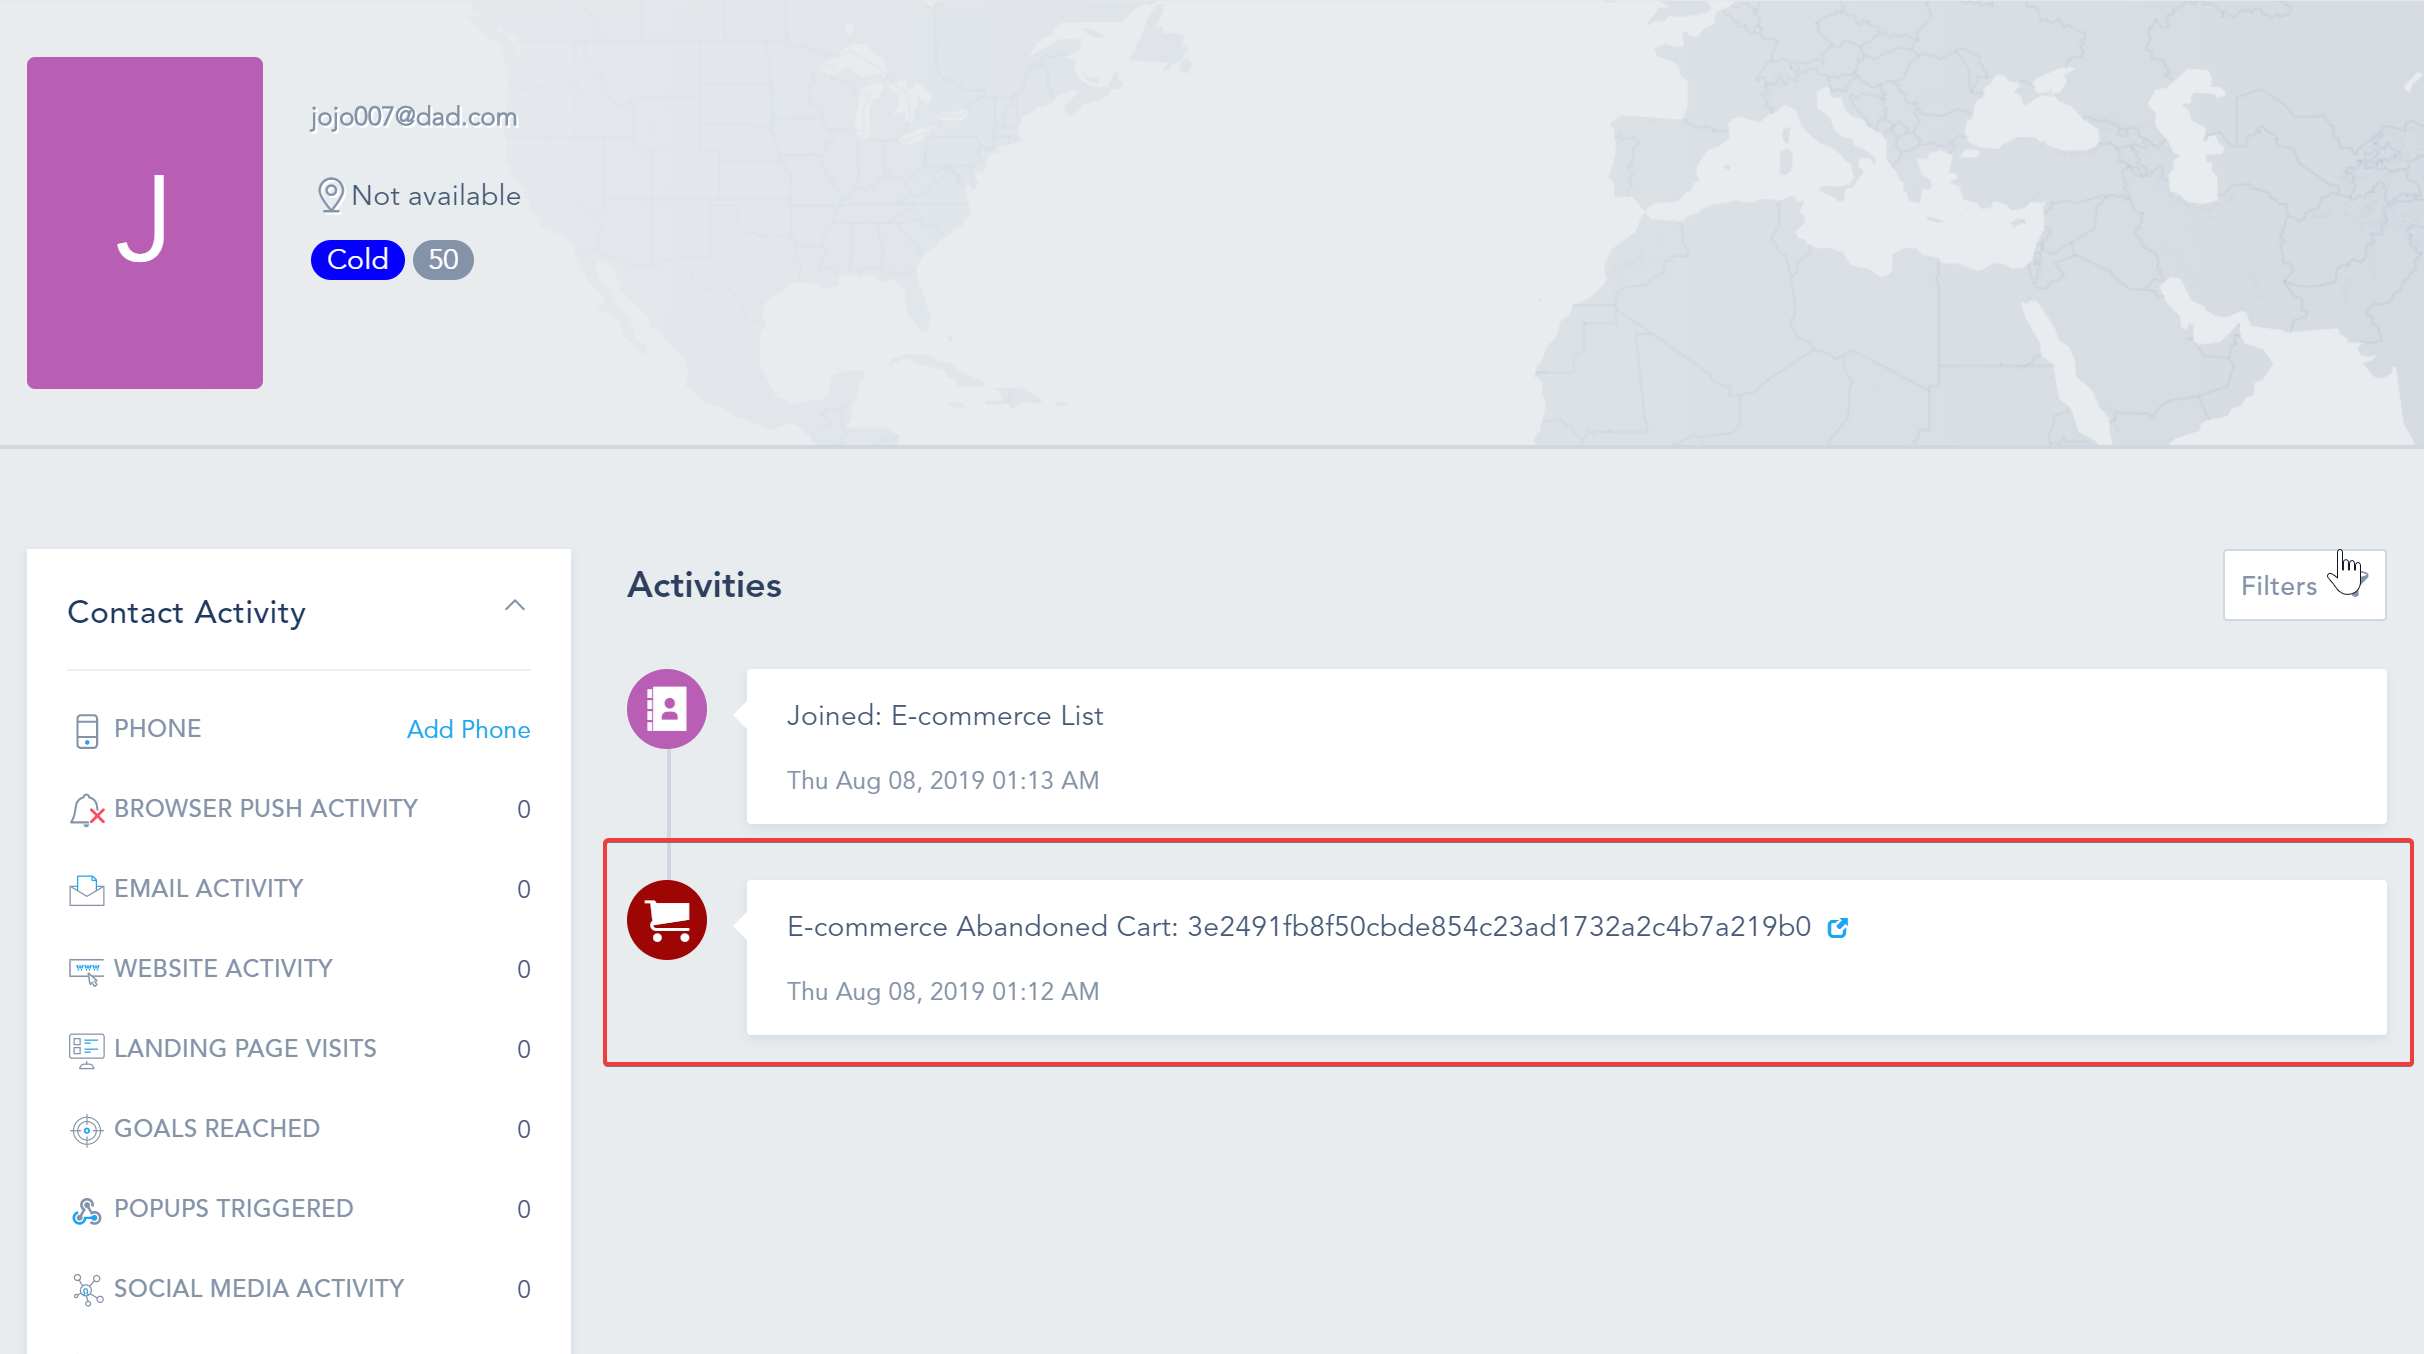
- Add Custom Event to a Contact
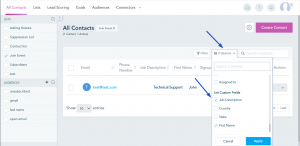
- Update Contact with Custom Fields
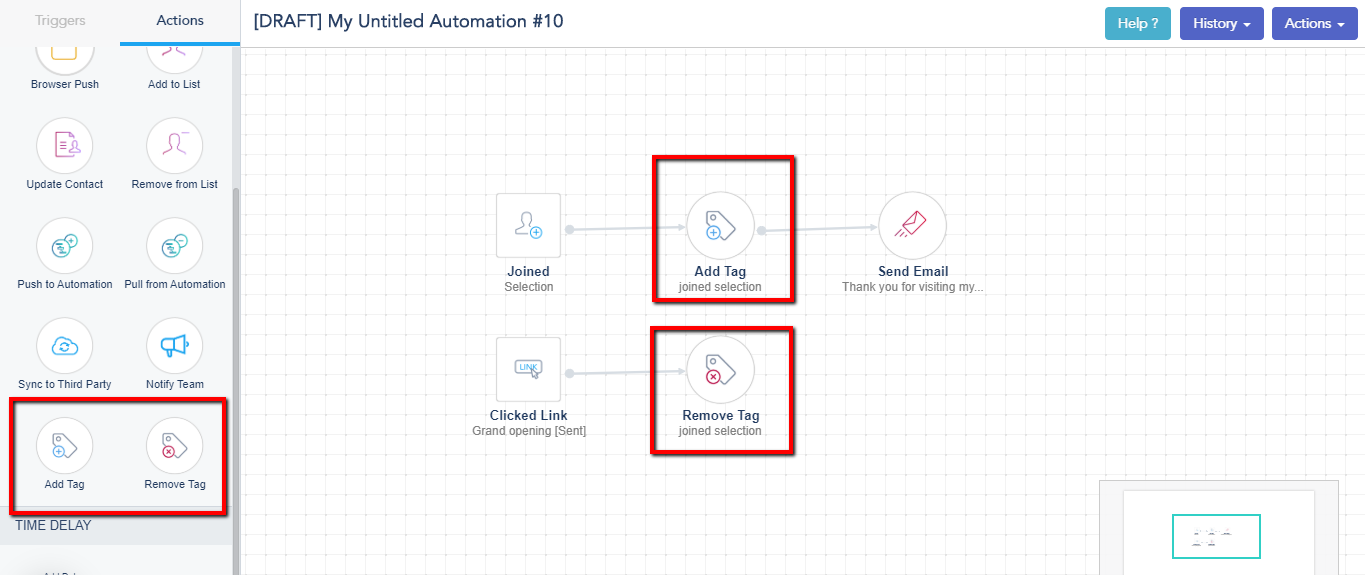
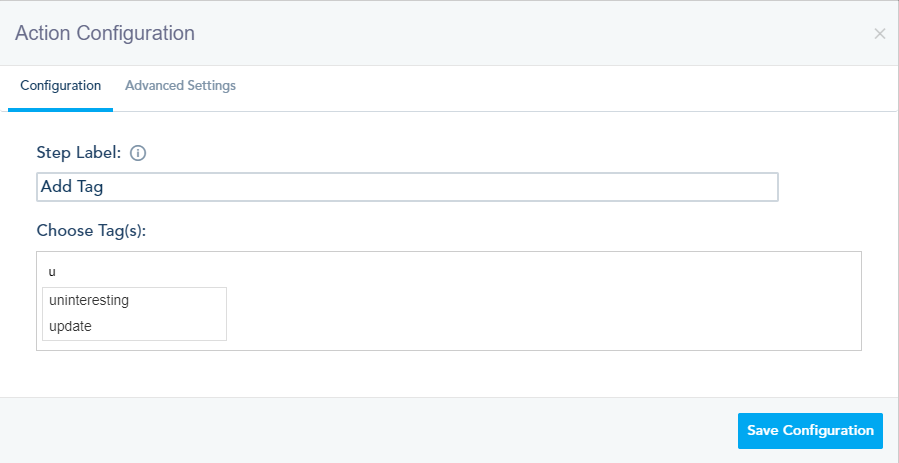
- Add Tag to Contact
- Get List Details with Custom Fields
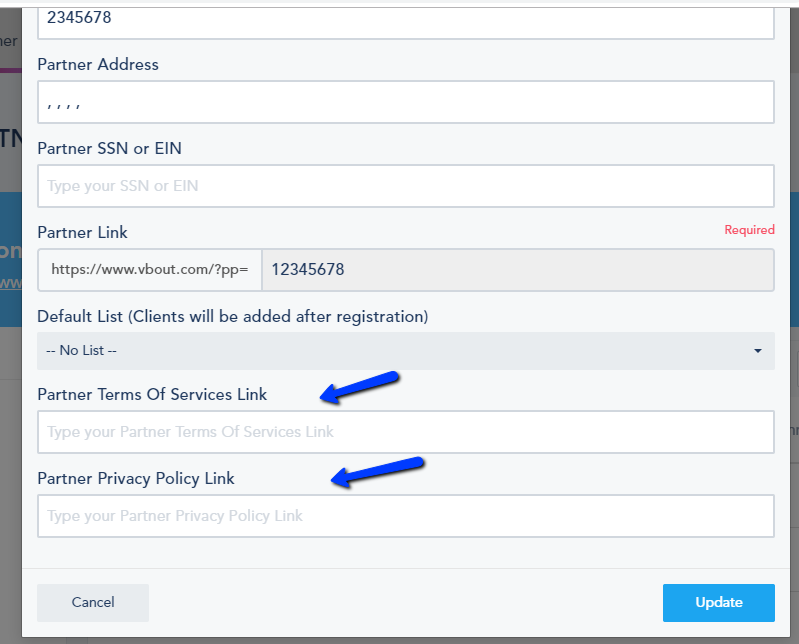
- Register Account
- List Social Media Channels
- Remove Tag From Contact


