https://youtu.be/00gEE_aW7EY?list=PLDU7iP7VKPM-VOBsfrgzL44QGrvVFayLi
The platform has a built-in hygiene list as well as an Unsubscribe/Preferences functionality that’s called a Suppression List. It can be used in two cases: one, if you have an Unsubscribe list you’re importing from another platform or, two, if you have contacts in your personal database that you wish to keep as unsubscribed. The Suppression List prevents these unsubscribed contacts from being added as active contact in the future; once they are added to that list they will be marked as unsubscribed from all lists, current and future.
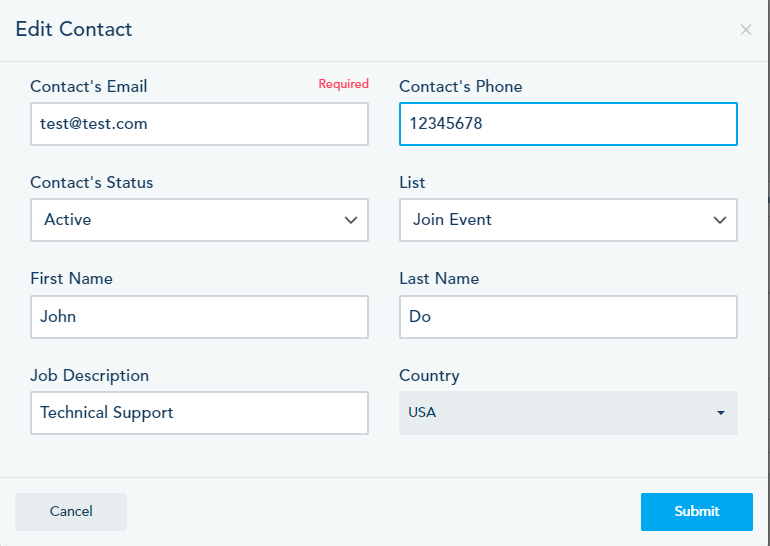
When you import or create contacts, their status is marked as Active by default (as seen below).

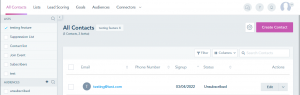
On the other hand, if the Suppression List is activated and you import contacts on it or create new ones, their status will be Unsubscribed by default.
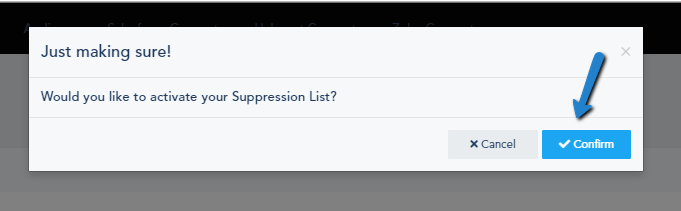
To activate your Suppression List, go to Contacts -> Lists, from the Gear icon, choose Activate Suppression List.

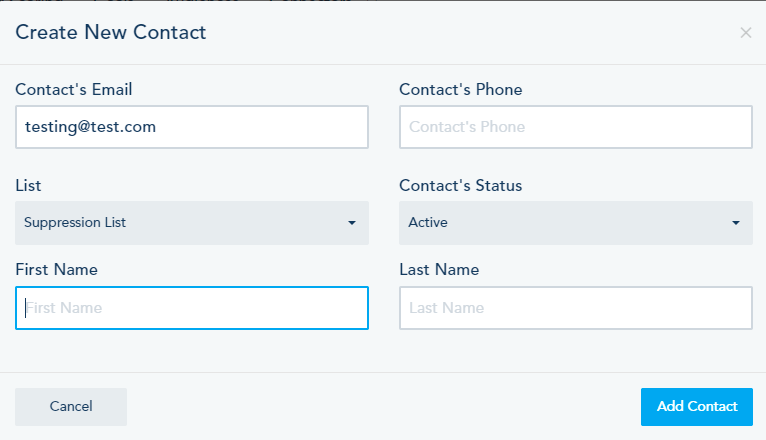
In some cases, you might see the Contact’s status as Active when creating a contact in Suppression List. However, once you click Add Contact or you import contacts, they will automatically as Unsubscribed (see pictures below).

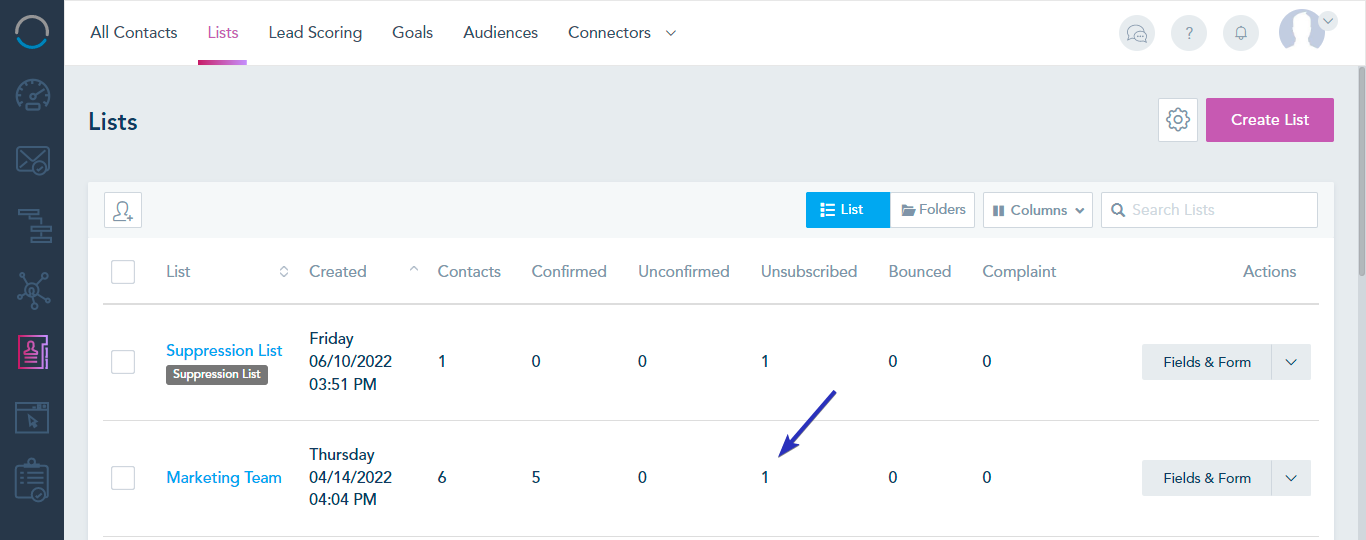
Once this contact is added to the Suppression List, it will be listed as Unsubscribed on all the previous lists he was a part of:
However, the Unsubscribed status of the contact can be changed manually in other lists.
Another element that can be added in the Suppression List is a domain.
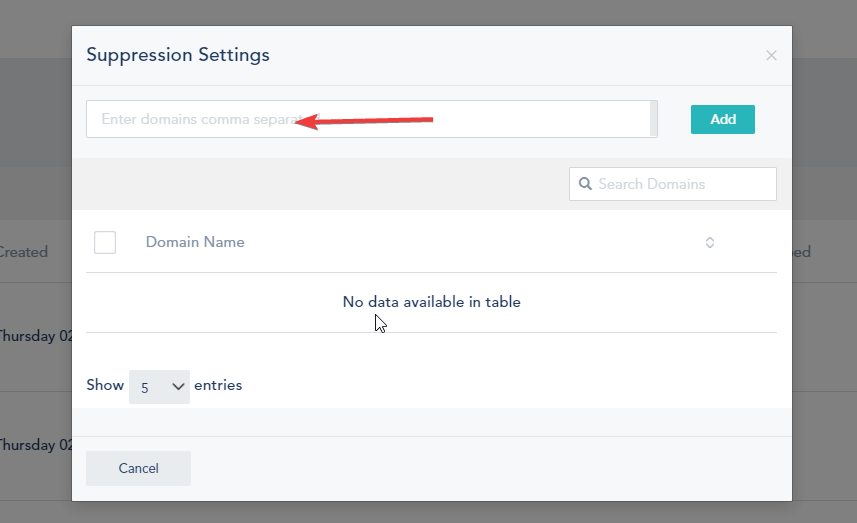
To do that, first, go to the Lists tab and click on the drop-down next to “Fields & Form”. Next select Suppression settings as shown in the picture below.

A pop-up will show where you can enter one (or more) domain(s) that you want to suppress (see picture below).