
Goal setting is a great way to measure the effectiveness of your campaigns. Once you’ve identified your main Goals and KPI’s (Key Performance Indicators), you can use the Goals feature on your account to get in depth information on these goals. To create a goal go to Contacts option and then select Goals from the top menu.
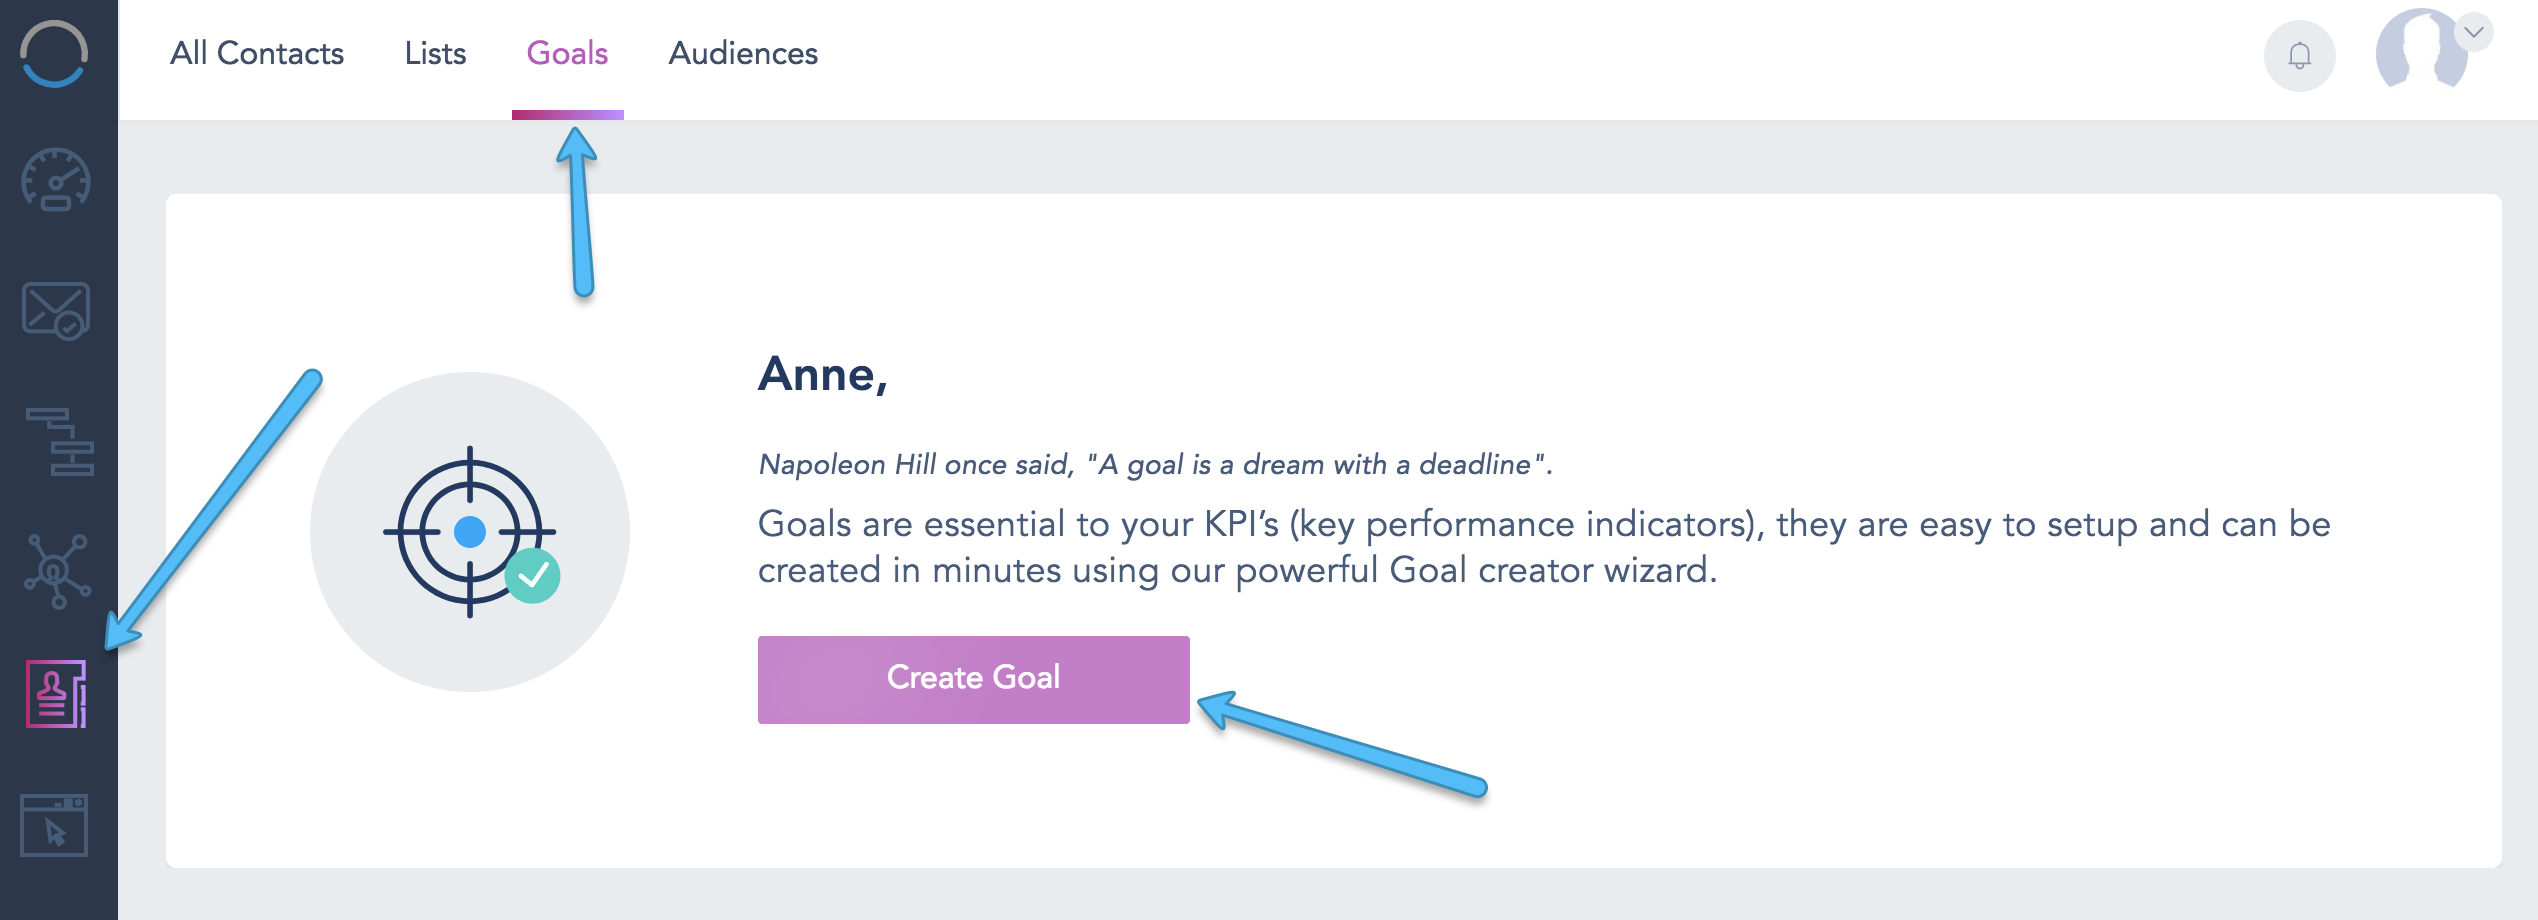
Click Create Goal to configure a new one. You will be promoted with a setup window to complete the process as below:
- If you have multiple domains connected to your account make sure to select the correct domain for this goal. Domains have to be properly verified.
- Give your goal a name for your own reference (ex: Completed Checkout Process)
- OPTIONAL: Choose if you wish to attach a money value to the goal once it is completed. The value can be fixed (by choosing Fixed) or you can get the dynamic value from your platform or e-commerce checkout by adding additional code to your tracking code (if you click on Variable). Each website might have a different TOTAL variable so you might want to consult with your developer and coordinate with the support team.
- Next, choose your goal type from the following: Destination URL – Duration – Pages Visited – PPC Referral – Event Triggered (Clicked Link(s), Wached Video(s), Submitted Form) – Funnel Tracking. Depending on your choice, you might need to input some additional details before you have your Goal ready to be deployed.
- OPTIONAL: Choose to trigger a Webhook once a goal has been completed by a user. You need to create a webhook before you can choose it from this option.
It’s worth noting that you can also trigger webhooks once your goal has been fulfilled. You will need to have had created the webhook beforehand to be able to choose it in this last optional step.
![]()