
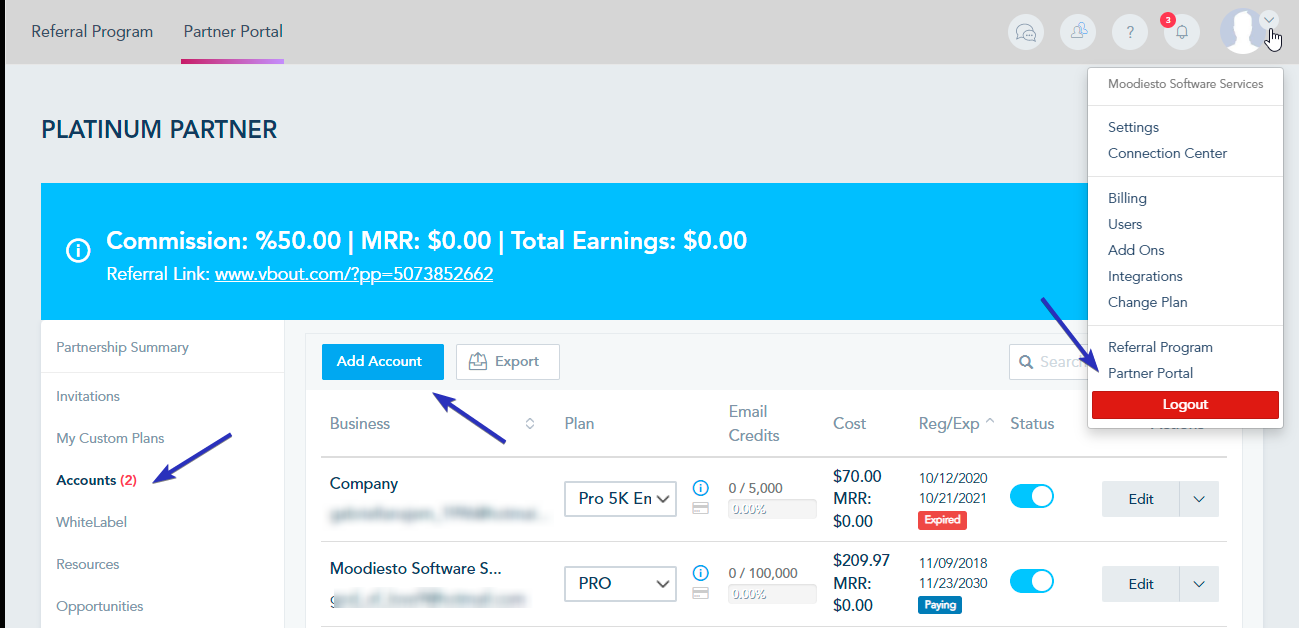
Managing customers can be done by clicking on the Clients option from within the partner portal left menu. You can add a new client account by clicking on Add Account.
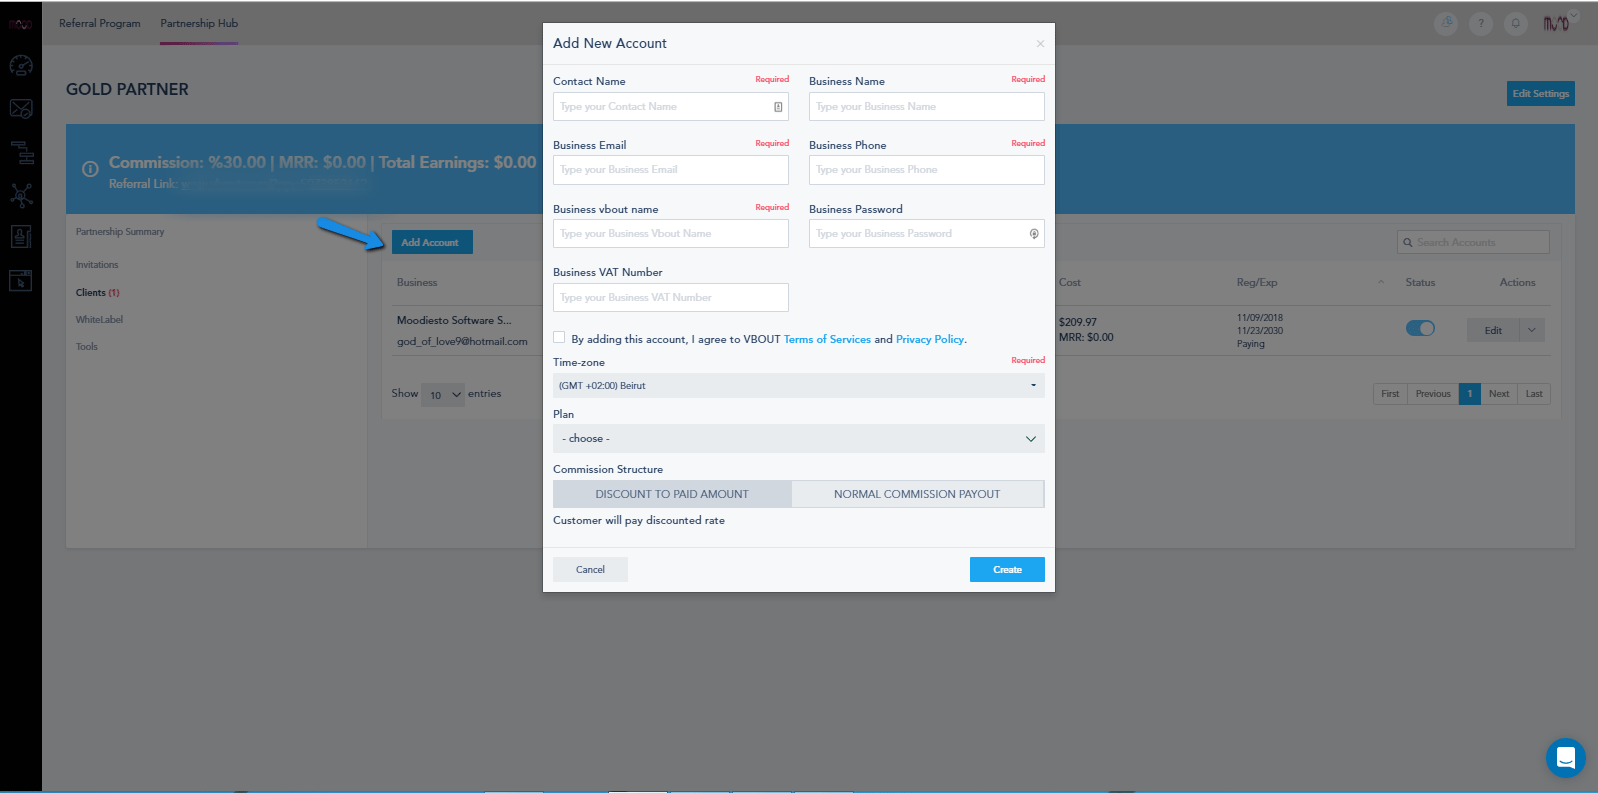
You will need to provide the new account holder’s contact and business names. Their email address, phone number, account password and timezone. (Choosing to use their own email address will enable them to receive system related email notifications). You will also get to choose the plan on which this new account will be based. The list of plans includes the default ones in addition to the custom plans created by yourself as a partner. And finally you can choose the commission structure from two options:
- Discount to Paid Amount: Customers will pay a discounted rate instead of the full rate for their plans.
- Normal Commission payout: Customer will pay full amount due, and the commissions will be calculated and paid at the end of each month.
Once you have the account all set and setup under your hub, you can see it listed under your clients tab. This window will allow you to manage your clients, logging in as them, adding billing details (credit cards…) to their accounts. This is essential as any newly created account will expire after 24 hours (The Trial period ends) if no billing details were added.
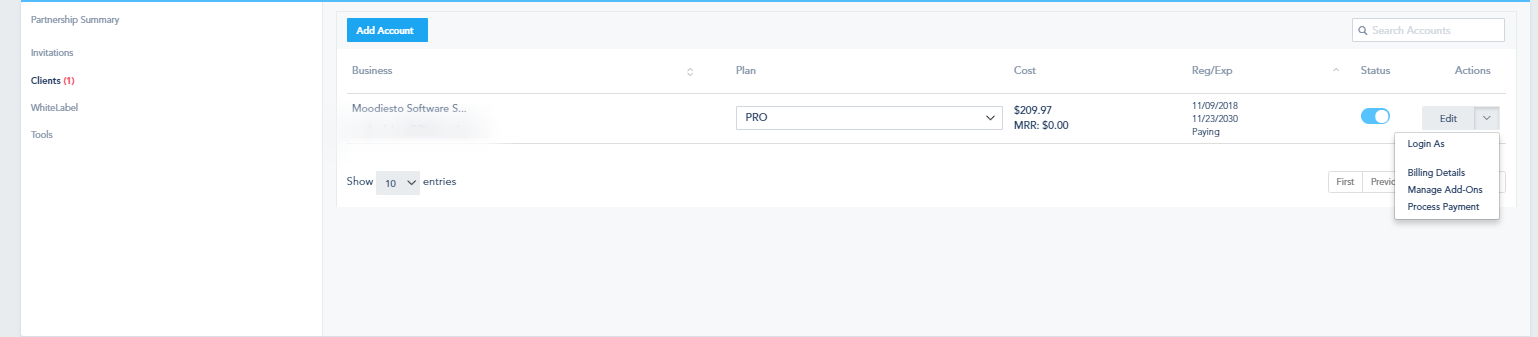
You can also install Add-Ons from this page on your clients’ accounts.
To install an add-on for your clients, click on Edit, then select Manage Add-Ons for that specific client. This will allow you to install new features for your clients assuming they didn’t have that as part of their current plan.