You can use the Mass Posting feature to upload a large number of posts to the platform.
Below are the steps:
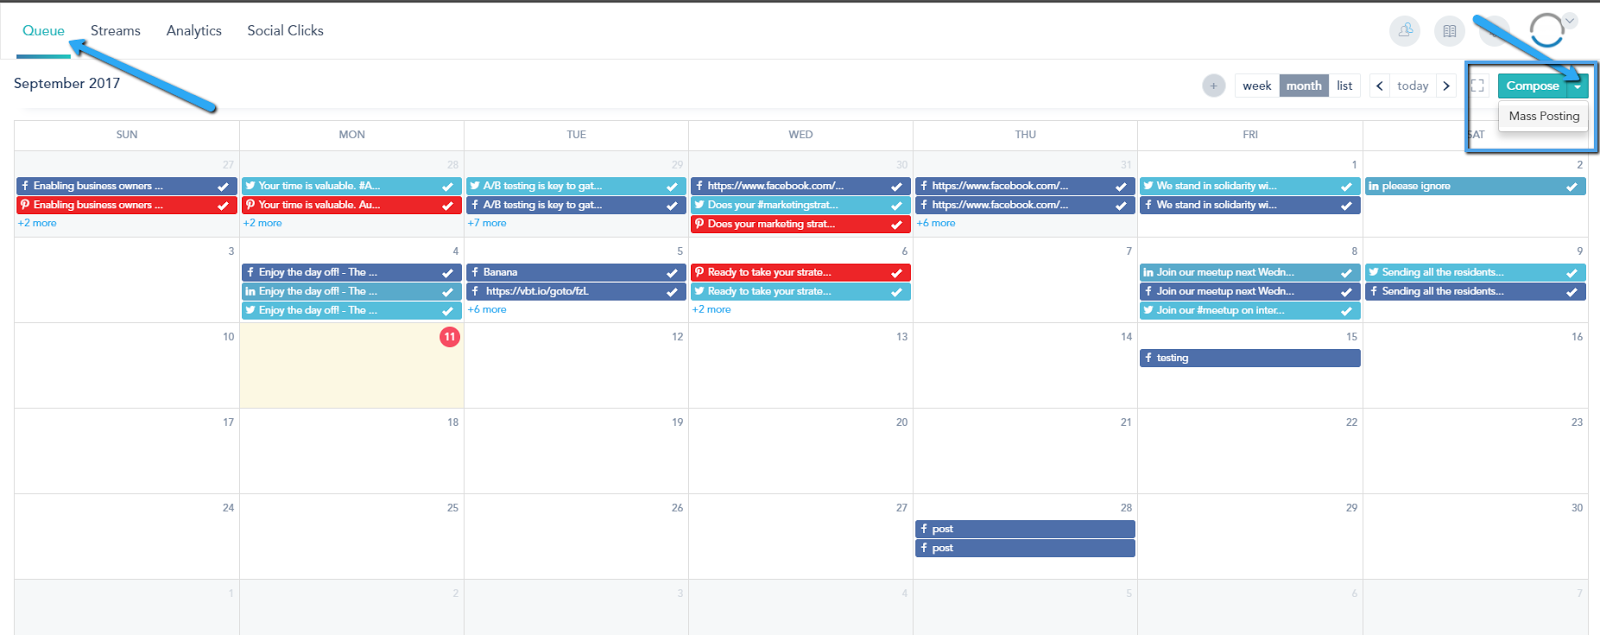
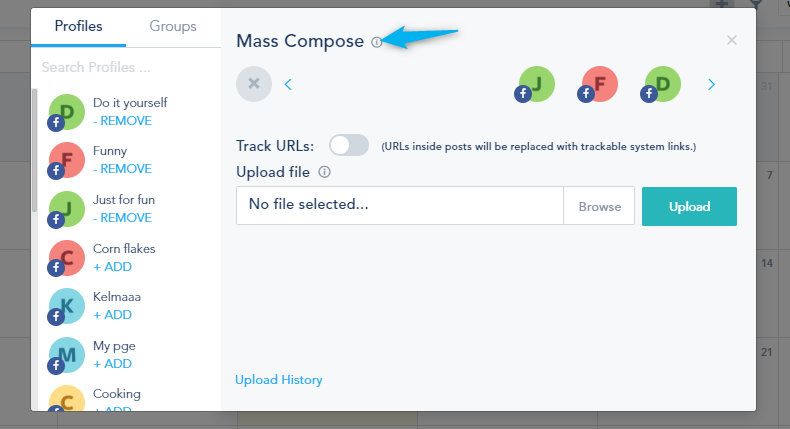
- Access your Social Media → Queue and click the drop down next to Compose. The Mass Posting option will appear:
- Choose profiles to post to:
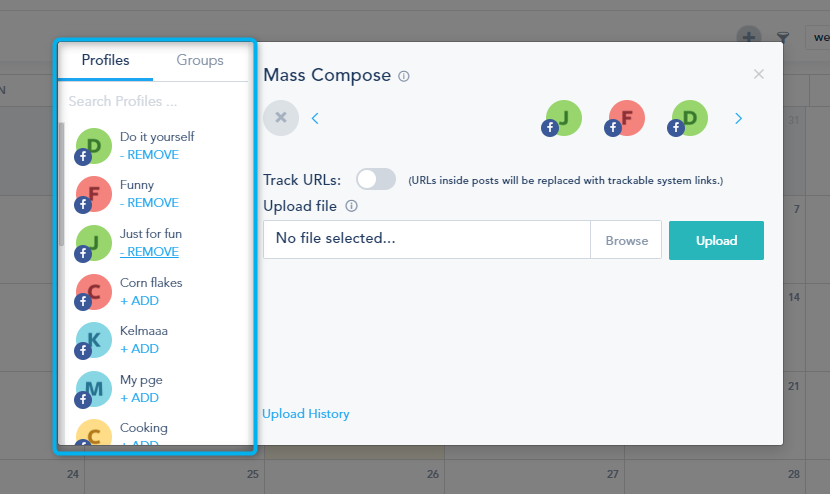
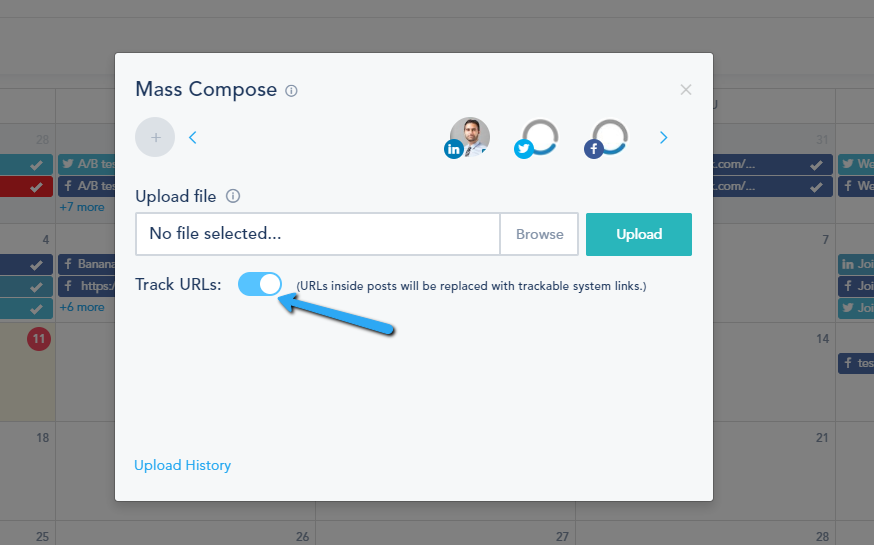
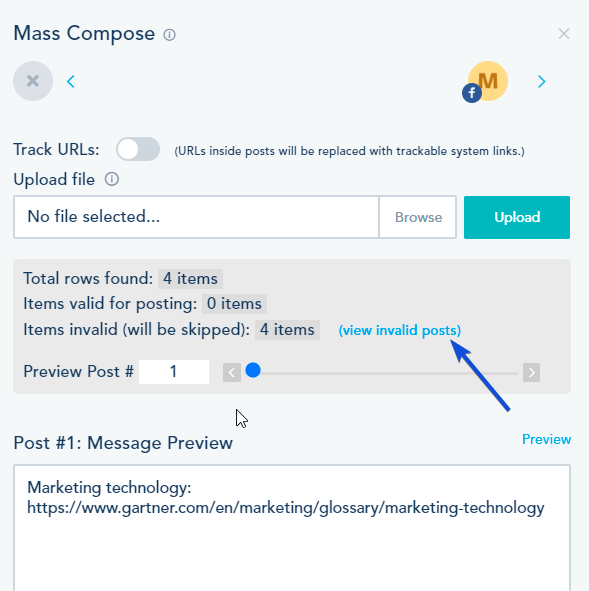
- Choose Track URLs option to substitute URLs in posts with trackable links or leave URLs as they are.
- Download the sample template from here:
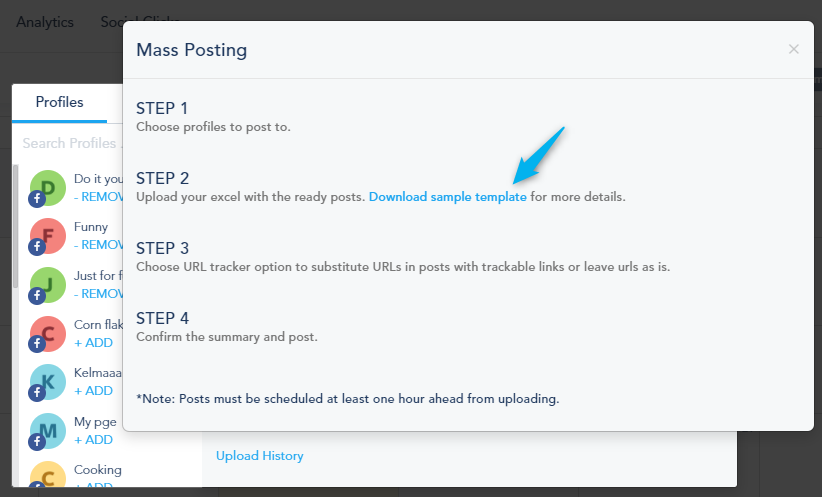
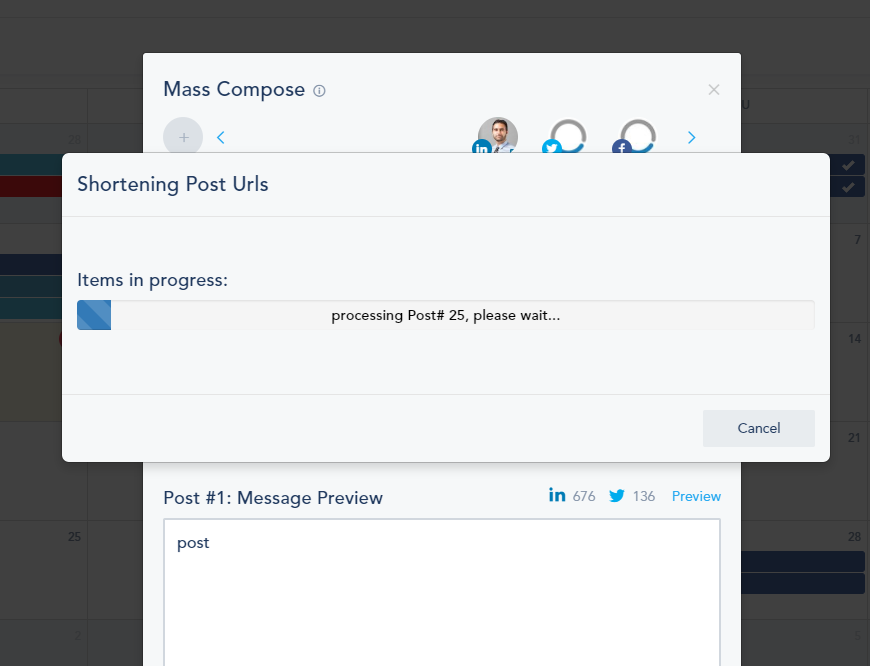
- Upload your excel with the ready posts. Please note that the supported format for mass posting on social media is mm/dd/yyyy hh:mm. If you chose to generate trackable URLs, a progress will appear as the system generates the trackable links.
You can add images, videos or short videos while mass posting, by adding the media path in the third column of your CSV file.
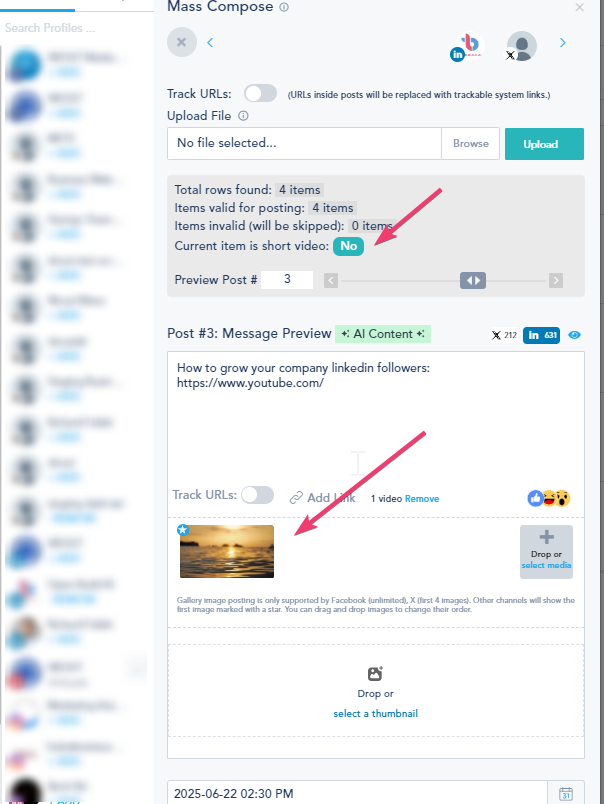
- Preview the upload summary with any errors from the upload. You can navigate to the post with the issues and fix them. Most of the time, issues are related to bad date formatting or invalid characters from the upload:
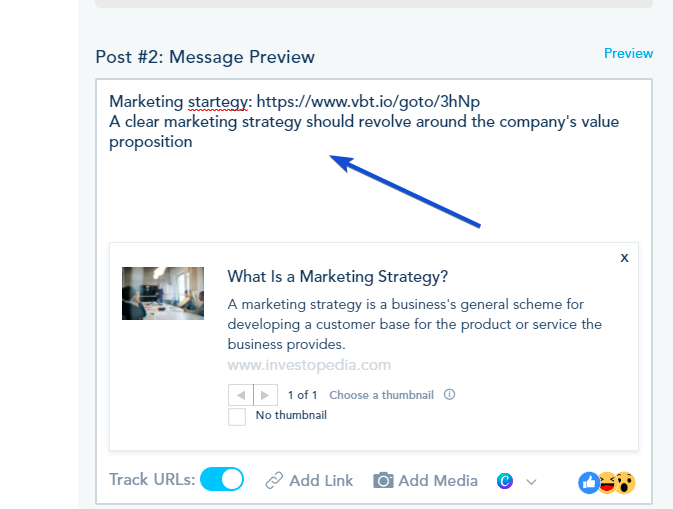
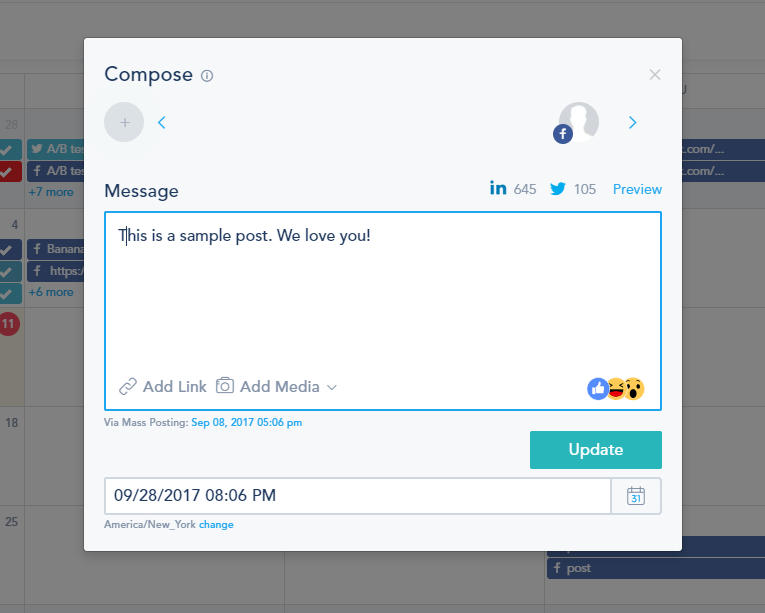
- Make any necessary edits to the uploaded posts, including the post preview, URLs and media. Use the Preview Post navigation to get to your designated post.
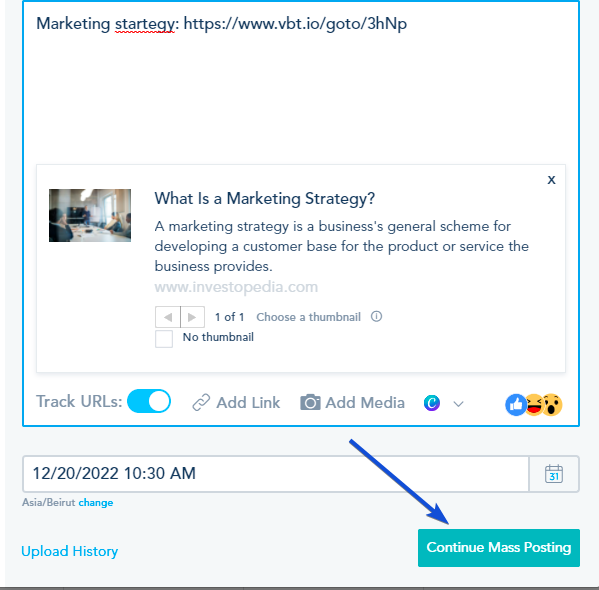
- Click on Continue Mass Posting:
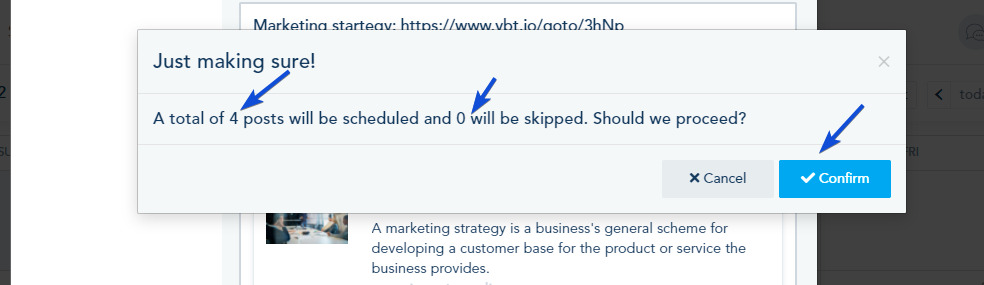
- You will be prompted with one final review and Confirm prompt:
- A confirmation email will be sent to the account administrator with a summary of the upload.
Note:
- Mass posting supports uploading multiple images, with image paths separated by commas.
- Mass Posting to Pinterest is not currently supported.
- Posts must be scheduled at least one hour ahead from uploading.
- Posts created via Mass Posting will be tagged for your own reference.
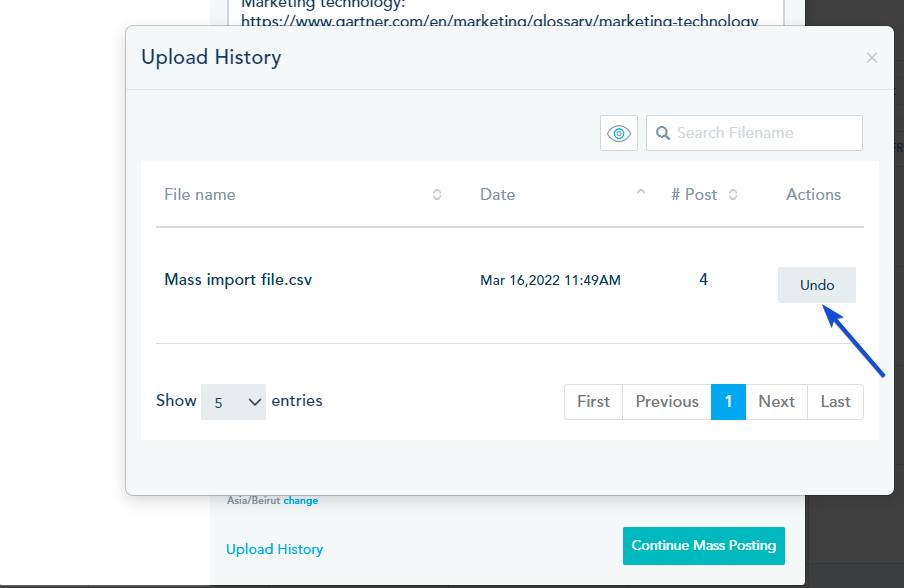
You can preview Mass Posting history and UNDO your upload by clicking on the Upload History from the dialog box: