Integrating forms into your AI chatbot can streamline data collection, enhance user engagement, and drive more effective marketing campaigns.
Forms can capture essential lead information such as names, emails, phone numbers, and interests. This can help you generating leads, once the form is submitted, automated follow-ups can be triggered, ensuring timely and consistent engagement with potential customers.
Please follow the below steps to create a chatbot including a form:
1- Create a Chatbot
Go to the AI Chatbot tab, and click on Create AI Chatbot.

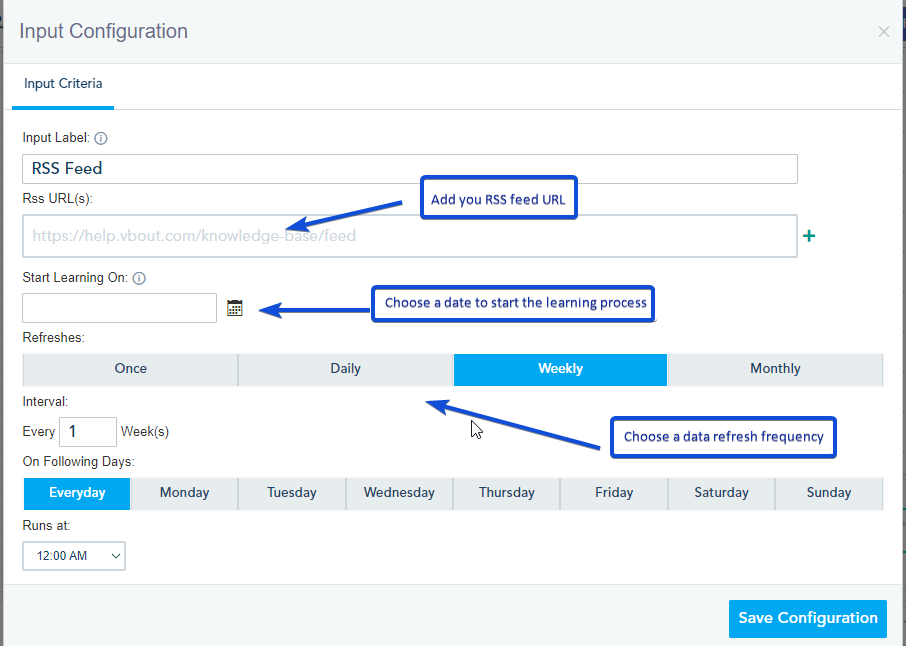
2- Add your inputs
Choose the data sources your Chatbot will gather information from. Options include RSS feeds, webpage content, YouTube video transcripts, API endpoint or uploaded files. Specify the refresh rate to ensure your Chatbot’s learning process stays up-to-date.

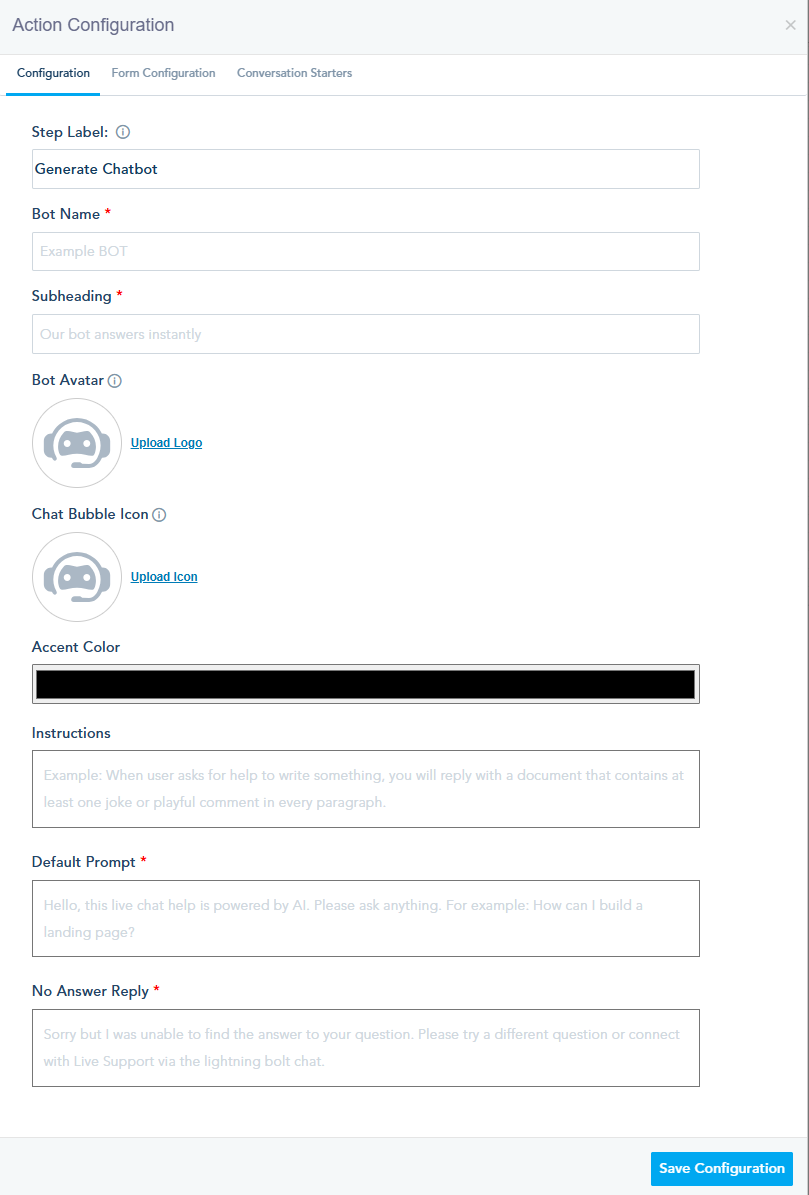
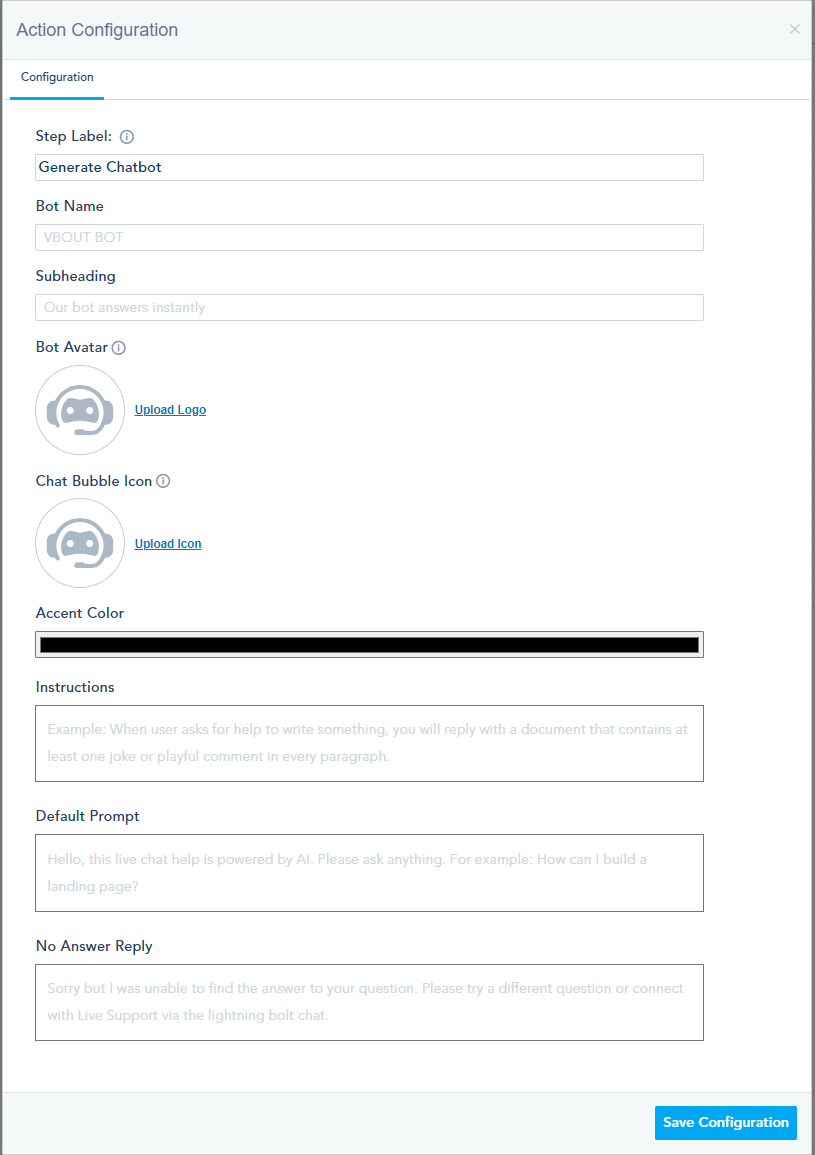
2- Add an action
Design and configure your Chatbot’s appearance and behavior. Give your bot a name, subheading, and avatar. Customize the chat bubble icon and theme color to align with your brand identity. Provide instructions for how the bot should respond to queries, set a default prompt for initiating conversations, and define responses for unanswered questions.
3- Add the form
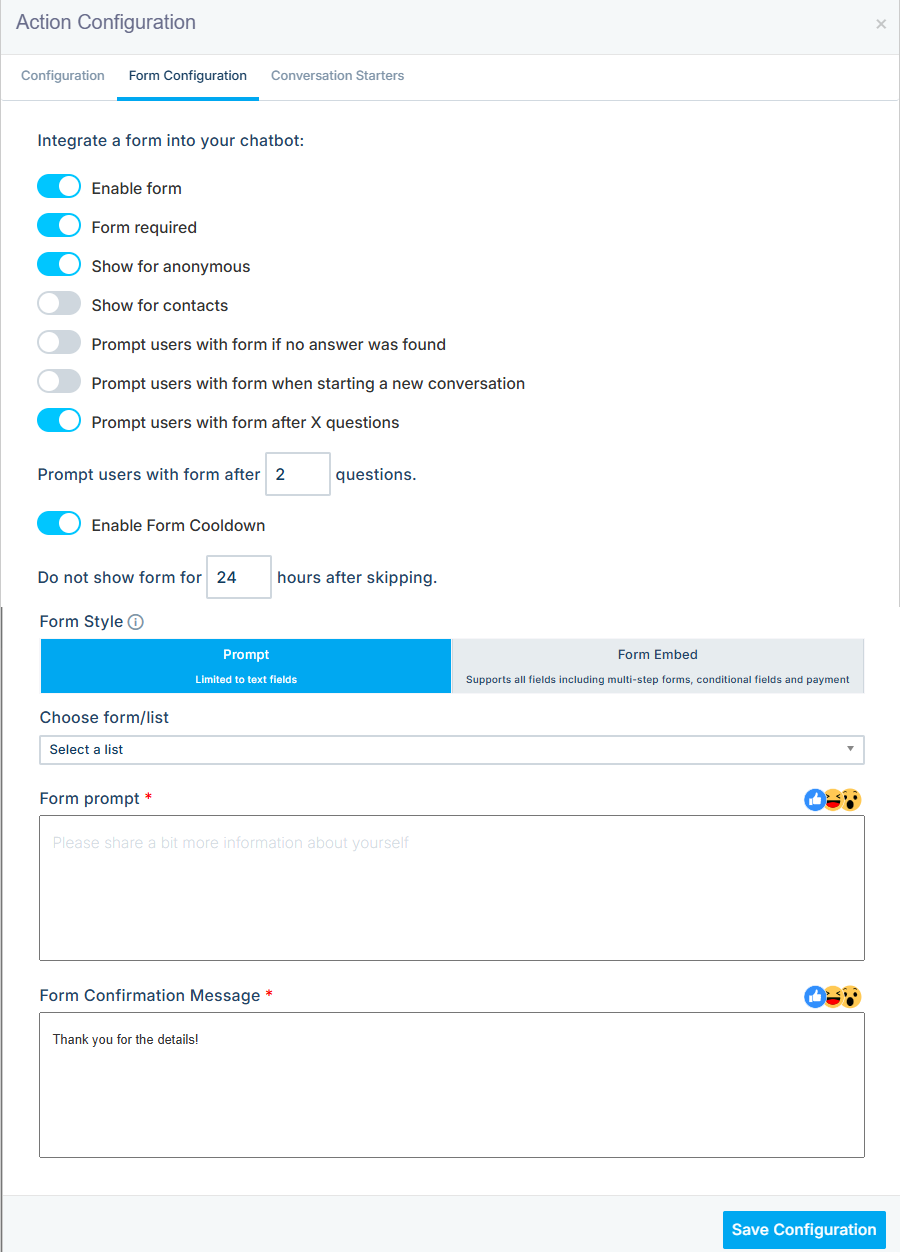
In the action configuration window, navigate to Form Configuration tab.
- Enable the form option
- Choose the option you need
- Choose a list and the fields needed
Once done, save your configuration.
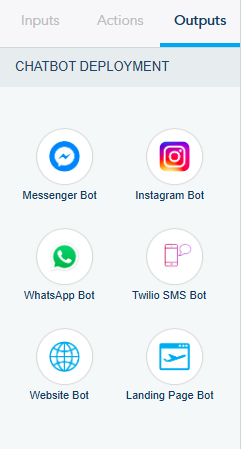
4. Choose an Output
Determine where your Chatbot will be deployed. Options include Messenger Bot for Facebook Messenger, Twilio SMS Bot for SMS integration, Website Bot for embedding on your website, and Landing Page Bot for dedicated landing pages.
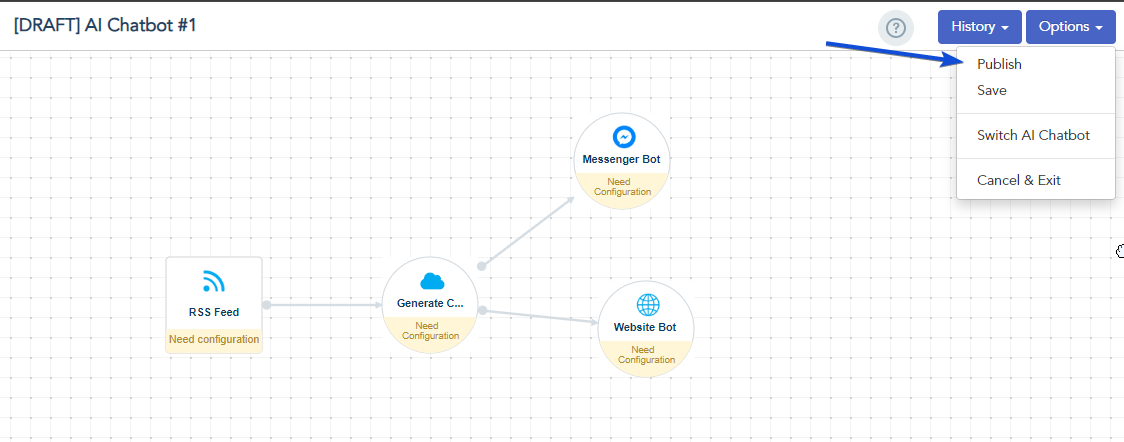
Once your Chatbot setup is complete, Click on “Publish” to make it live.
After asking questions to the chatbot, the form will appear.
The user will have the option to skip the unrequired fields.
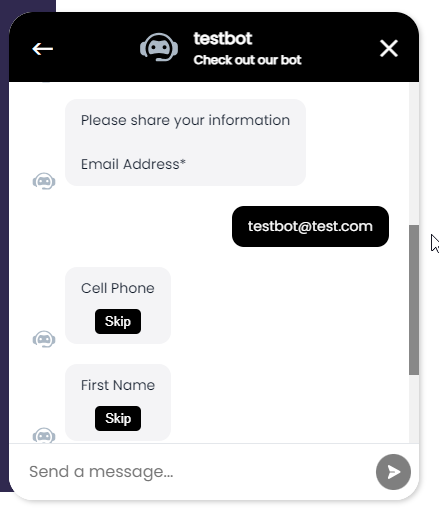
The contact will be added to the specified list.
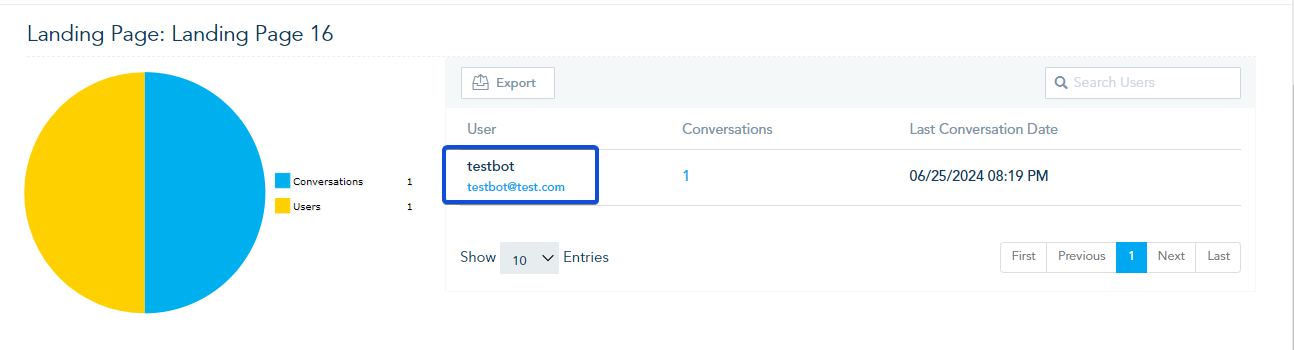
In Analytics, the user will be identified by the email address he provided.