
Creating Lists and fields
Forms, Embed and Form settings
Creating your lists is a fundamental step in getting started using your account. Follow these instructions for creating and configuring lists:
1. Create a list
- Click on the Contacts option in the left sidebar.
- Navigate to the Lists tab at the top.
- Click on the Create List button.
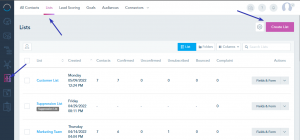
In the popup that appears:
- Provide basic details like the list name, sender email address (From email address), sender name, and reply-to email address. These sender details are crucial for sending confirmation emails to subscribers who sign up.
- Optionally, add details about the list to remind users why they are receiving the email.
- Click Create to finish.
2. Configure List Fields:
After you create your list, use the Form Builder to set up fields for records.
• Go to your lists view, find the list you want to configure, and click on Fields & Form.
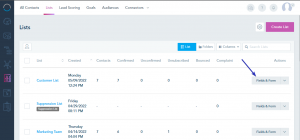
On the next page:
- Edit list/form fields by adding new ones or deleting/editing existing ones.
- Single-click on the type of field you want from the left options to automatically add it to the form.
- Customize premade fields like First Name, Last Name, Email, and Phone by renaming them or specifying whether they are required.
- Save your form by clicking Save Form in the bottom right.
3. Get Embed Code (Optional):
If you plan to embed the form on your website, click on the Embed Code button on the top of the form settings page.
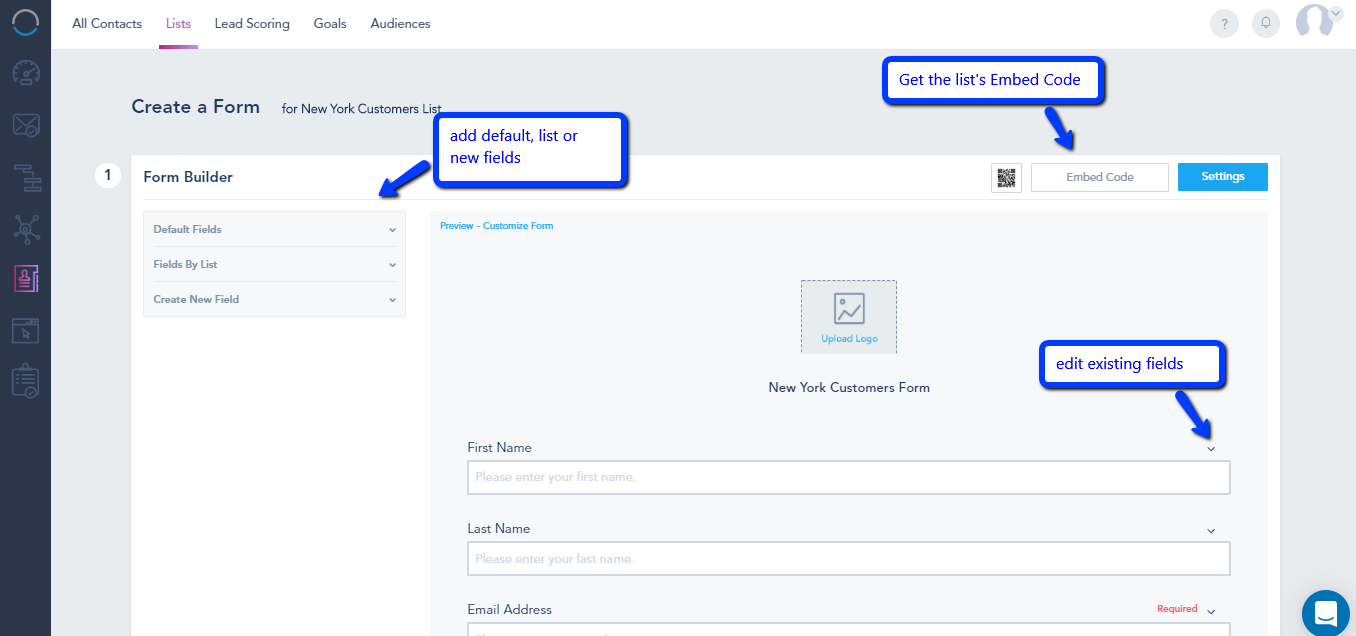
4. Configure Form Settings:
Click on the blue Settings button next to the Embed Code button.
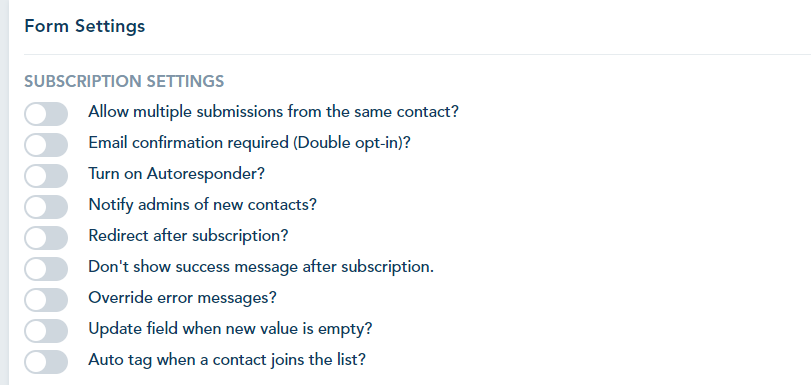
Subscription settings includes:
-
- Allow Multiple Submissions from the Same Contact: Enable this option if you want a contact to submit the form or subscribe to the list multiple times without any restrictions.
- Email Confirmation Required (Double Opt-In): Activate this setting to require contacts to confirm their email addresses by responding to a confirmation email. This adds an extra layer of verification to ensure the validity of the provided email addresses.
- Turn On Autoresponder: Activate the autoresponder feature to automatically send a predefined response or message to contacts immediately after they subscribe or submit a form.
- Notify Admins of New Contacts: Enable notifications to alert administrators or designated individuals whenever a new contact subscribes or submits a form.
- Redirect After Subscription: Specify a URL to redirect contacts to a particular webpage after they successfully subscribe or submit a form. This can be a thank-you page or any other relevant destination.
- Don’t show success message after subscription: Hide the success message after the contact’s subscription.
- Override Error Messages: Enable this option to customize or replace default error messages with messages that better suit your application or user interface.
- Update Field When New Value is Empty: Activate this setting to allow fields to be updated even if the new value provided is empty. This can be useful in scenarios where updating a field with an empty value is permissible.
- Auto Tag When a Contact Joins the List: Automatically assign predefined tags to contacts when they join the list. This helps categorize and organize contacts based on specific criteria or characteristics.
Opt-in communications:
- Edit the content of the email subscribers receive when signing up.
- Choose the Subject line, edit From, Reply-to, and Name fields, and create the body of the email.
- Edit the Success/Failure message after form submission.
Click Submit in the bottom right to save changes.
Check this article to see all the type of fields you can use in a form/list.