
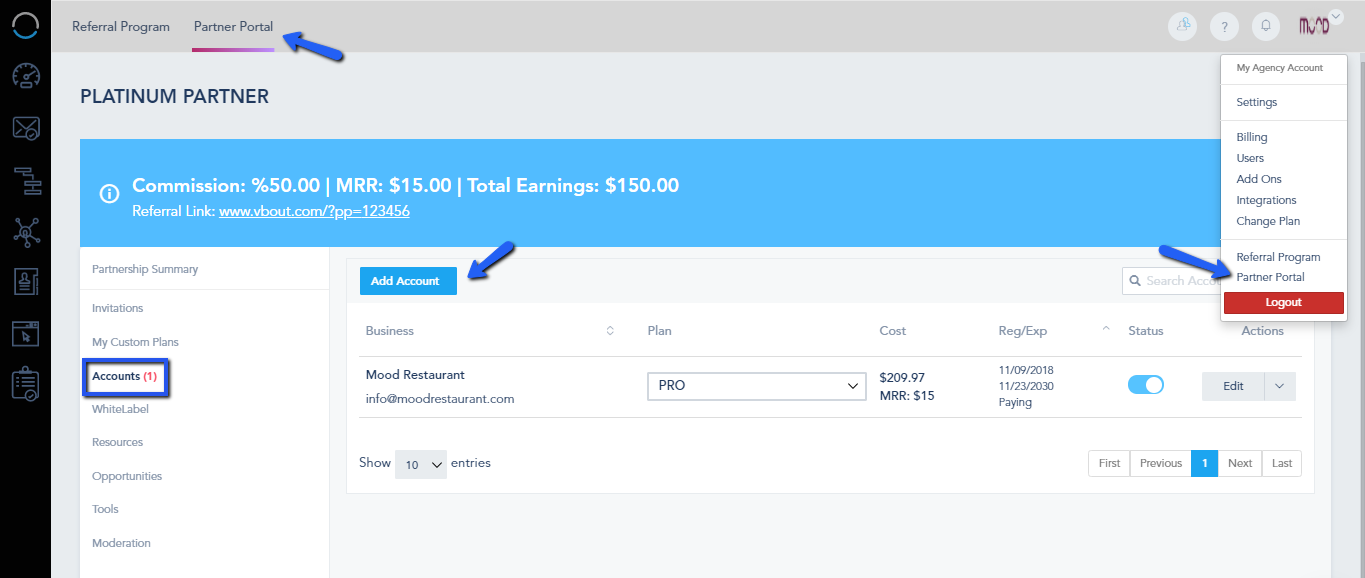
To add a new Client License to your agency , go to Partner Portal > Accounts > Add Account:
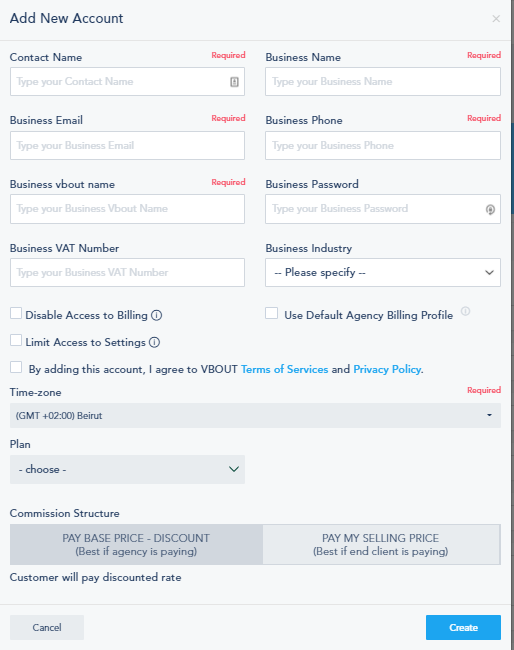
Configure the Account the way you want:
- Contact Name: The client’s name.
- Business Name: The business’s name.
- Business Email: The business’s email address which will be the account’s default email address.
- Business Phone: The business’s phone number.
- Business VBOUT Name: This will be the same as the Business Name.
- Business Password: The business password that the default email address will use to login.
- Business VAT Number: The Business’s VAT Number.
- Disable Access to Billing: Choose whether to allow the business to access its billing page or not.
- Use Default Agency Billing Profile: Future registrations to this plan will automatically use the agency billing profile to process monthly membership and add-on purchases. Note that you can always change the individual card on file for each sub-account in the future.
- Limit Access to Settings: Account’s owner will not have access to users.
- Time-zone: The account’s time zone.
- Plan: Choose the plan for this account.
- Commission Structure: Choose whether you want it to be “Discount to paid amount” or “Normal Commission Payout”.
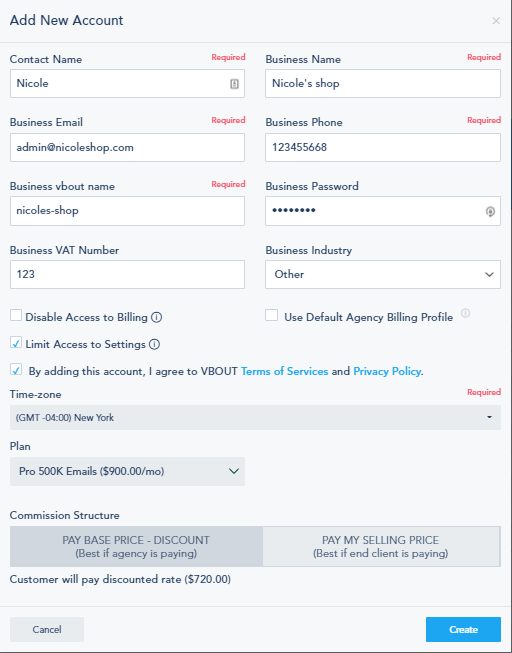
Here’s how this page will look like after adding the required information:
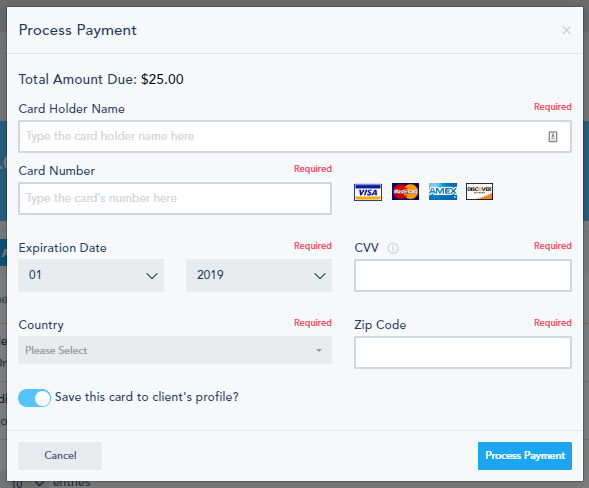
Once you click on create, you will have to fill the billing information:
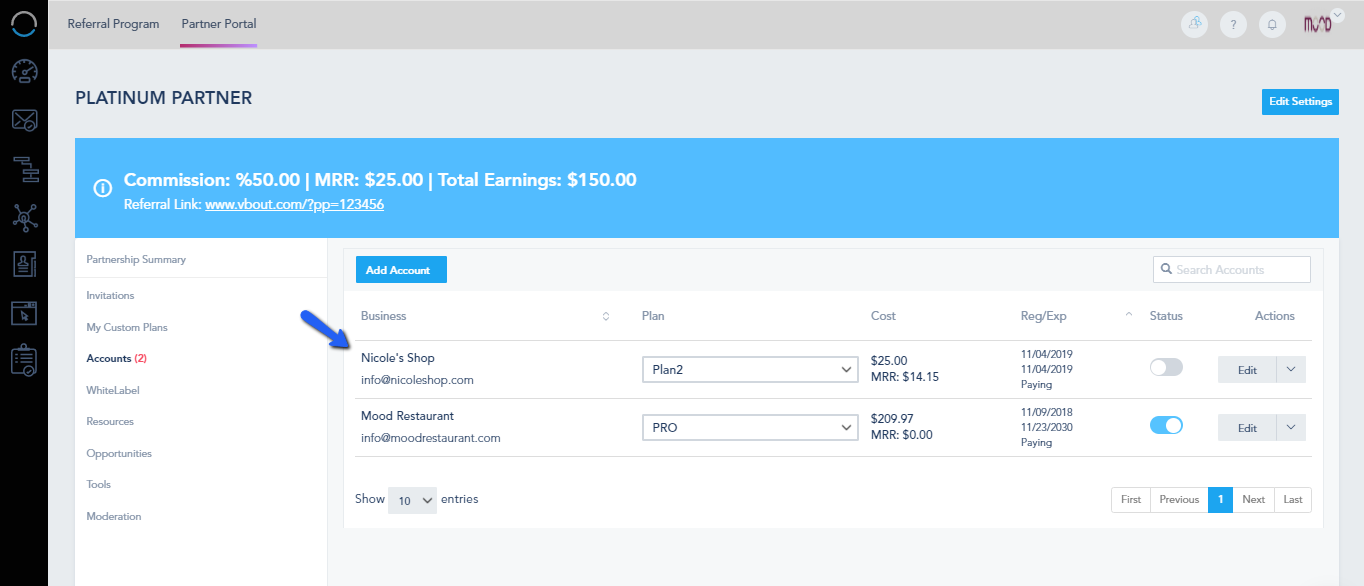
Afterward, the account will appear here:
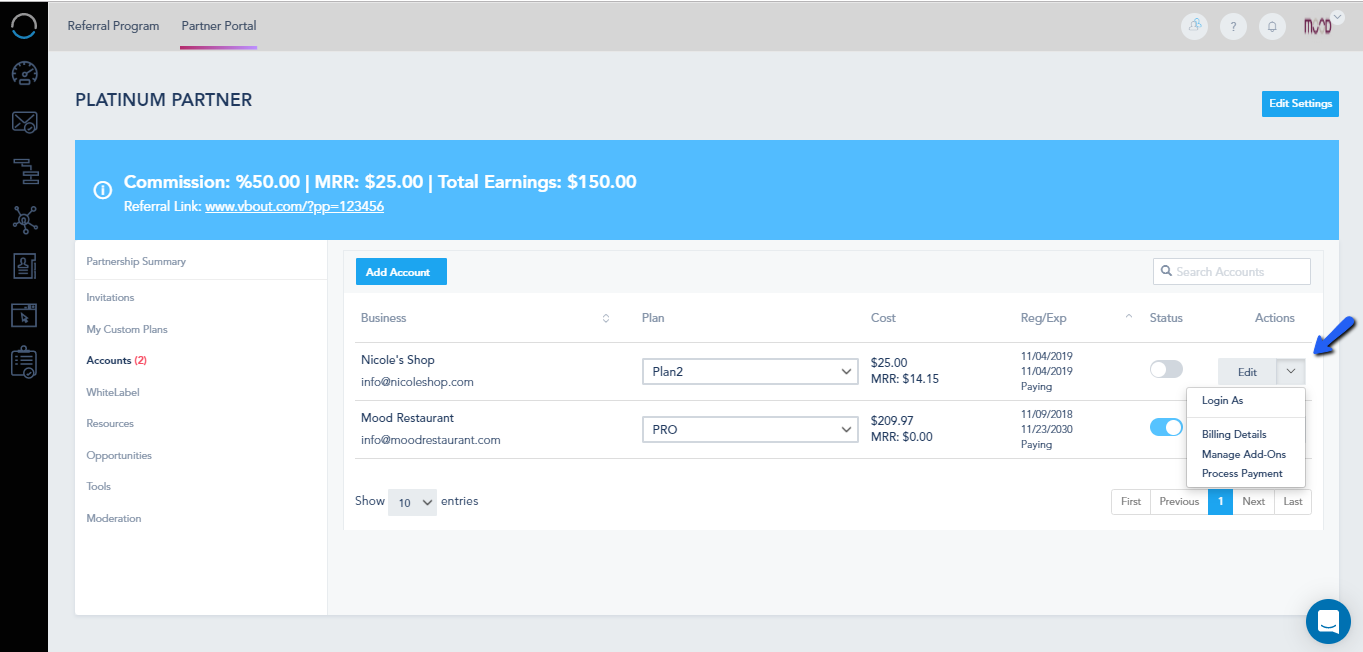
You will be able to edit it here:
Once the client logs into their account for the first time, they will be redirected to this page:
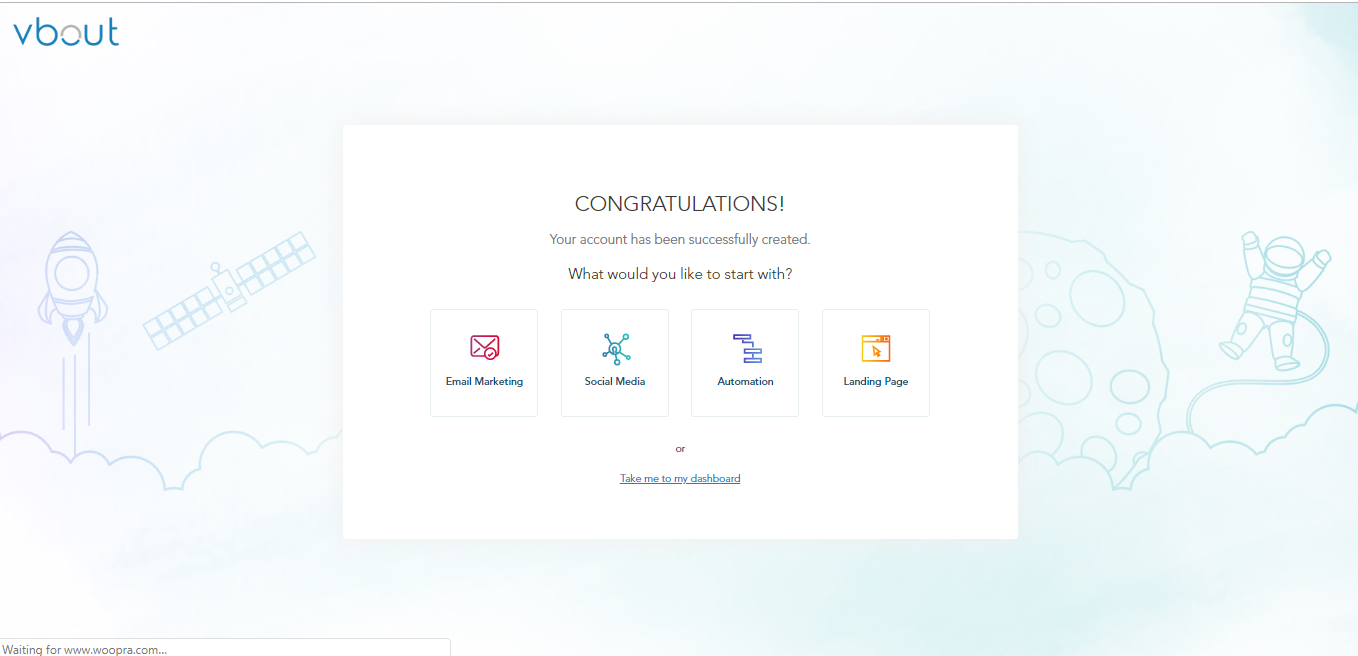
Where they choose whether to go to the dashboard or start with one of these features.