With the power of AI and natural language processing (NLP), Chatbots are becoming indispensable tools for enhancing user experiences across various platforms. In this instructional guide, we’ll walk you through the process of creating and implementing your AI-powered Chatbot, customized to your specific needs and integrated seamlessly into your digital ecosystem.
Installing the AI Chatbot Assistant add-on
Option 1: Use your Own API account
1- Add the AI Chatbot Add-On:
Go to the add-on section and purchase the “Multi-channel AI ChatBot [OPENAI Key Required] ” Add-On. This add-on will unlock the capabilities needed to create and manage your AI-powered Chatbot.
2-Connect Your OpenAI Account:
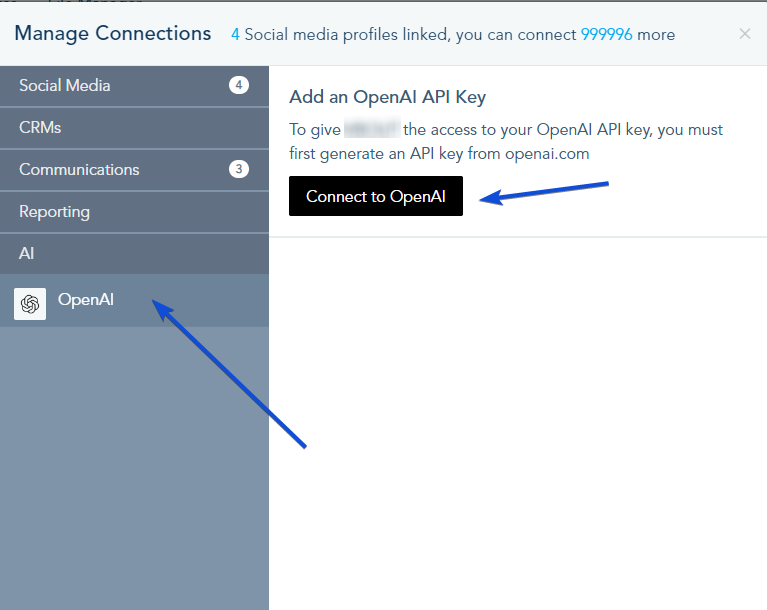
Navigate to the Connection Center and connect your OpenAI account.
Option 2: Use the platform API with limited number of messages
Go to the add-on section and purchase the “Multi-channel AI ChatBot – x Messages” Add-On. Using this add-on, you will be limited by the number of messages the chatbot can receive.
Creating your AI Chatbot
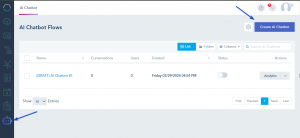
Once the add-on is installed, a new tab labeled “AI Chatbot” will appear in your account dashboard. Follow these steps to create your Chatbot:
Go to the AI Chatbot tab, and click on Create AI Chatbot.
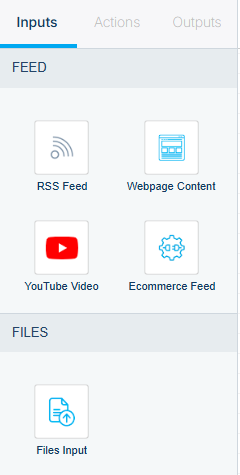
1- Inputs:
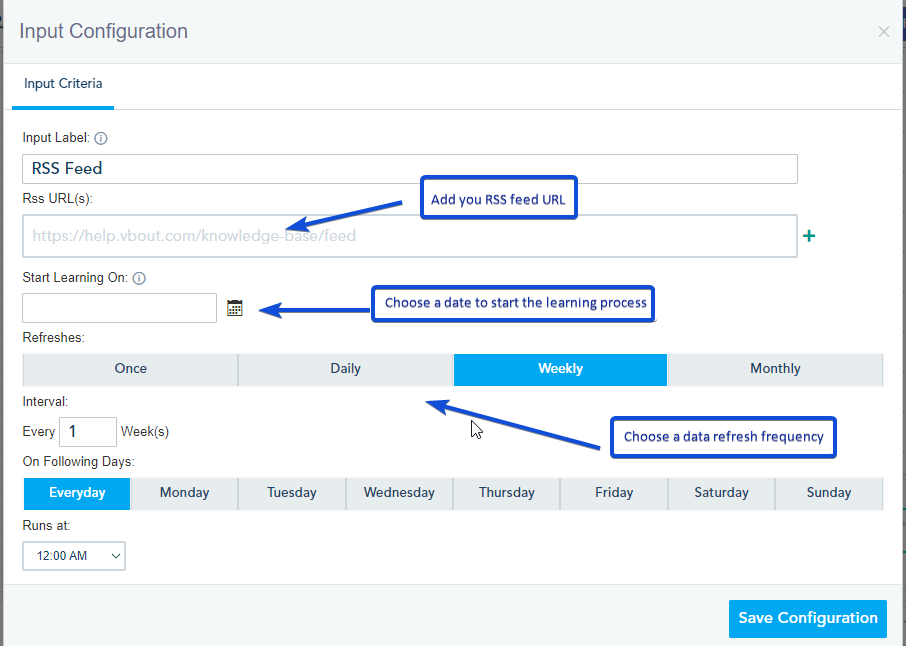
Choose the data sources your Chatbot will gather information from:
- RSS feeds
- Webpage content
- Ecommerce Feed
- YouTube video transcripts
- Files Input
Set a refresh rate to keep your chatbot’s knowledge base up-to-date.
2- Actions:
Design and configure your Chatbot’s appearance and behavior.
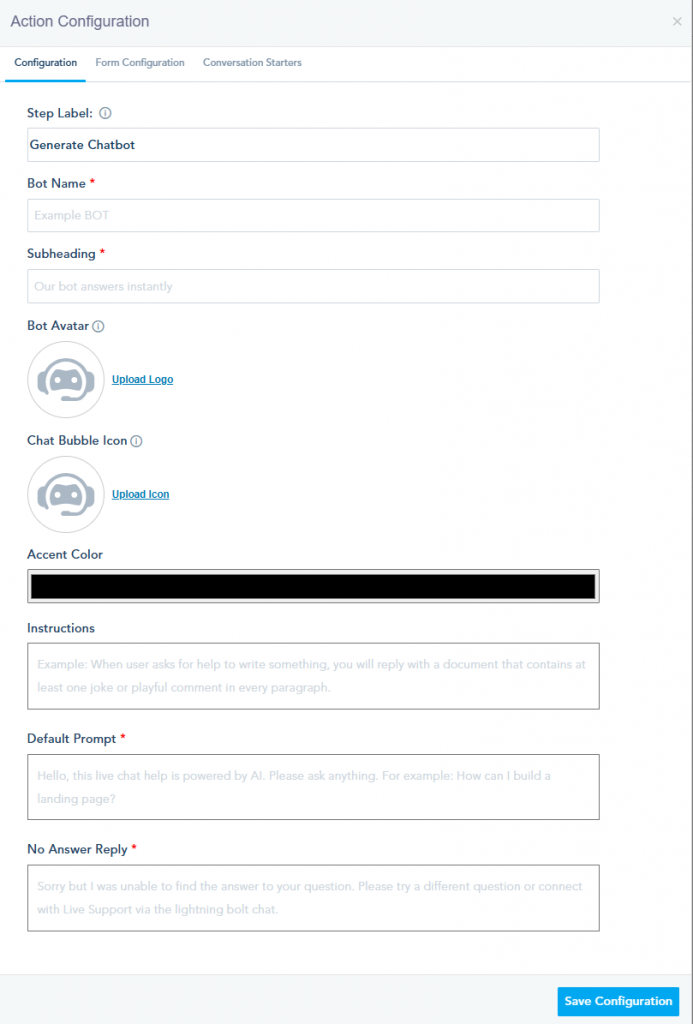
– Configuration:
- Assign a name, subheading, and avatar.
- Customize the chat bubble icon and theme color to align with your brand identity.
- Provide instructions for how the bot should respond to queries.
- Set a default prompt to initiate conversations and define fallback responses for unanswered questions.
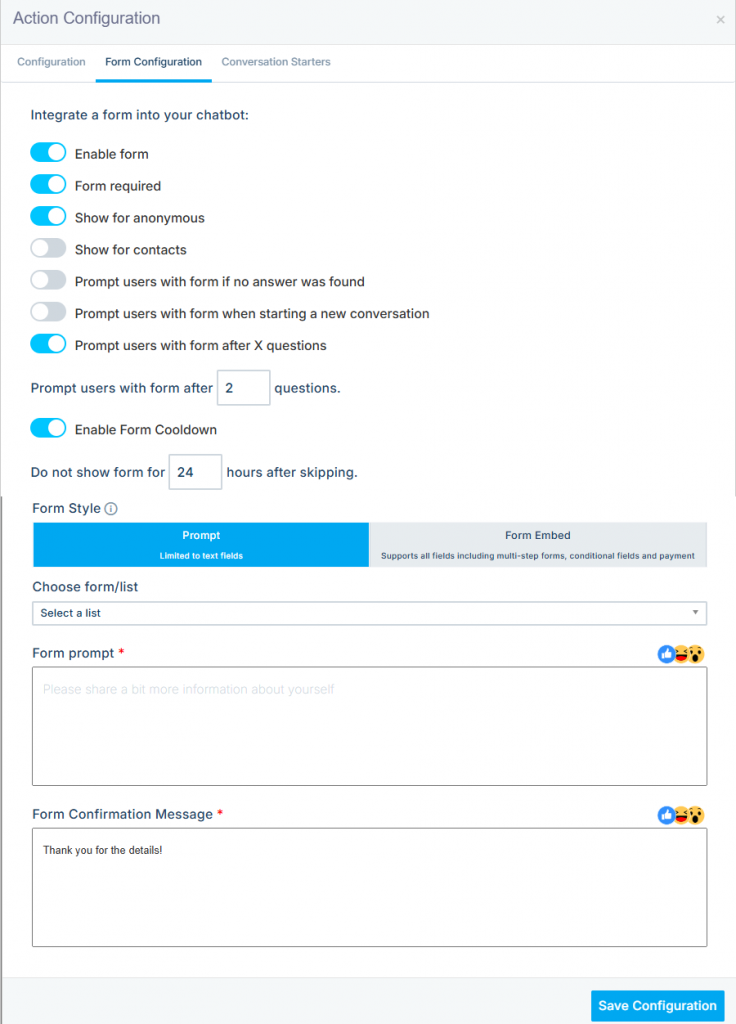
– Form Configuration
- Enable the form option to collect user data, such as names, emails, and phone numbers.
- Choose the list where collected data will be stored and specify required fields.
- Allow users to skip optional fields.
- Add a form prompt and a confirmation message.
For more details, please check this link.
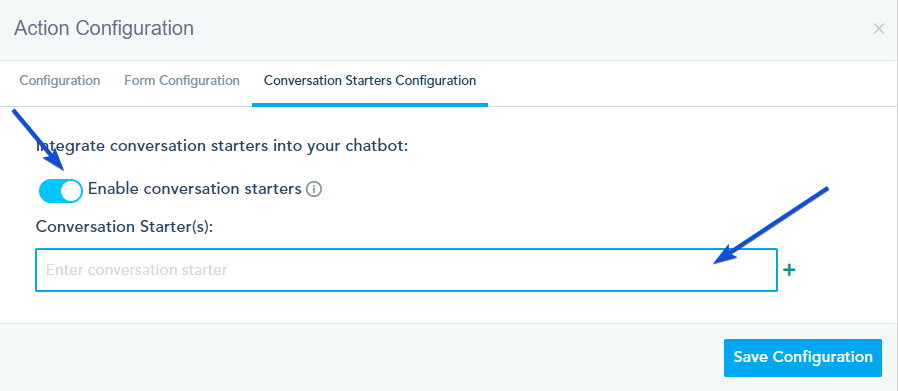
– Conversation Starters Configuration
Add multiple conversation starters to guide users in interacting with the bot.
For more details please check this link.
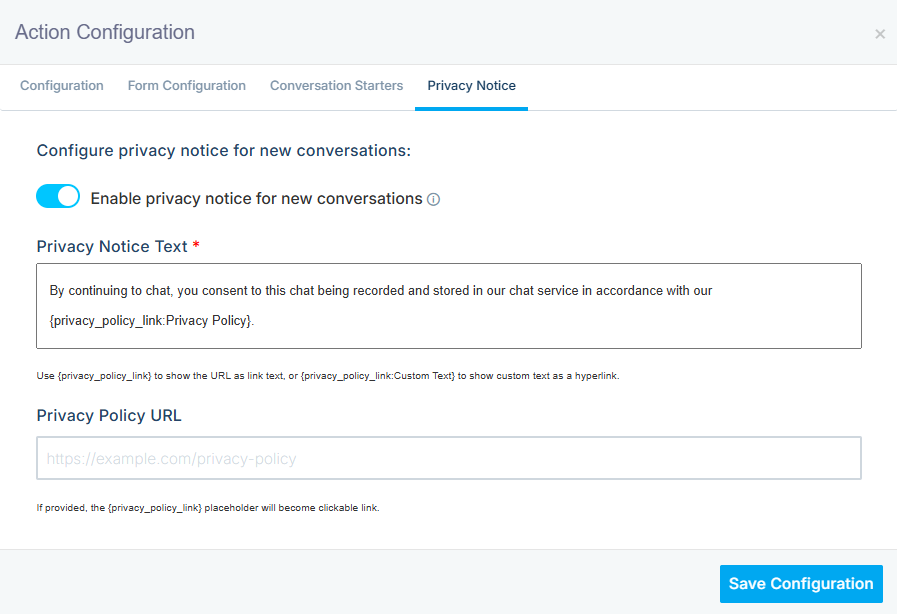
– Privacy notice
When you enable the privacy notice option, the notice will be shown at the bottom of the chat interface for new conversations.
You can configure the privacy notice text and add your privacy policy link.
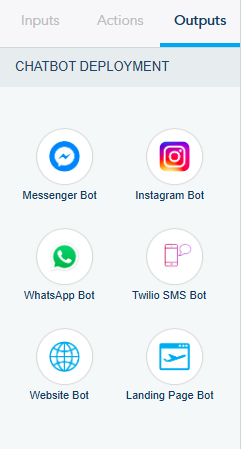
3- Outputs:
Determine where your chatbot will be deployed:
- Messenger Bot
- Instagram Bot
- WhatsApp Bot
- Twilio SMS Bot
- Website Bot
- Landing page Bot
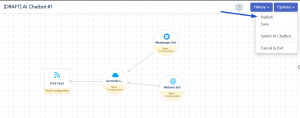
Once your Chatbot setup is complete, Click “Publish” to make it live.
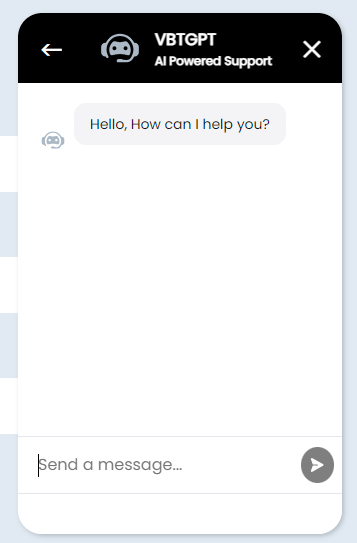
Example of Chatbot added on a landing page:
Analytics
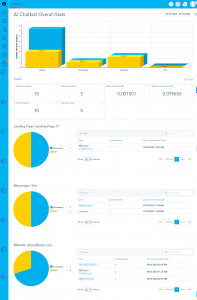
Monitor the performance of your Chatbot by accessing the Analytics section under AI Chatbot. Track metrics such as the number of conversations, unique users, and bot usage to measure engagement and effectiveness.
Analytics using your own API account
Chatbot analytics using a limited number of messages.
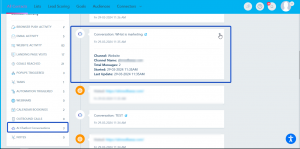
You can check the Chatbot activity from the lead profile.


