The platform enables you to manage one or multiple WhatsApp accounts from a single dashboard.
- Connecting your WhatsApp account
- Managing your WhatsApp streams
- Sending WhatsApp messages using Automation
Connecting your WhatsApp account:
Setting up a WhatsApp Business Account to work with the platform inbox, requires a few key steps. This guide will walk you through the requirements and setup process to get your WhatsApp Business account connected seamlessly.
Requirements for Connecting WhatsApp
Before connecting, ensure you have the following ready:
- Meta Business Account Admin Access: You’ll need administrator permissions for your business’s Meta account.
- Company Legal Information: This includes the official company name and details for setup.
- Company Phone Number: Ensure access to the phone number that will be used for WhatsApp messaging.
- WhatsApp Business Account (WABA): Your WhatsApp Business Account should be linked to your Meta account.
WhatsApp Messaging Limits and Billing
Each WhatsApp Business Account (WABA) includes:
- 1,000 Free Conversations per month across all business phone numbers.
- Charges are based on 24-hour conversation windows, not by each message sent or received.
- A conversation is a 24-hour message thread initiated when a message is delivered to a customer.
Note: Ensure your Facebook Business Account is verified, with an active billing profile, as WhatsApp charges are directly billed by Meta. Please check this link for more details on pricing in your country.
Connecting Your WhatsApp Channel in the Platform
You’ll need to connect your WhatsApp account to the platform. Follow these steps:
Initiate the connection process:
-
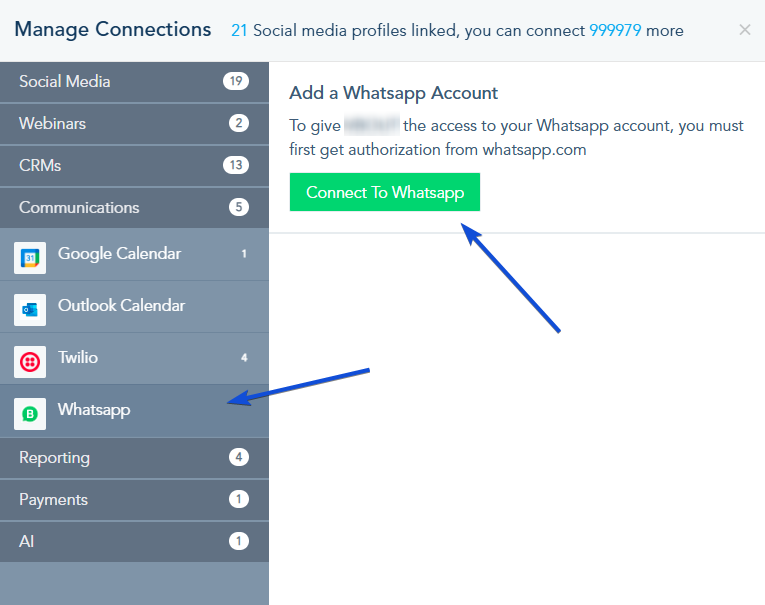
- Go to the Connection Center in your platform.
- Under the Communication tab, select WhatsApp
- Click on Connect To Whatsapp to initiate the connection process.
Begin the Setup:
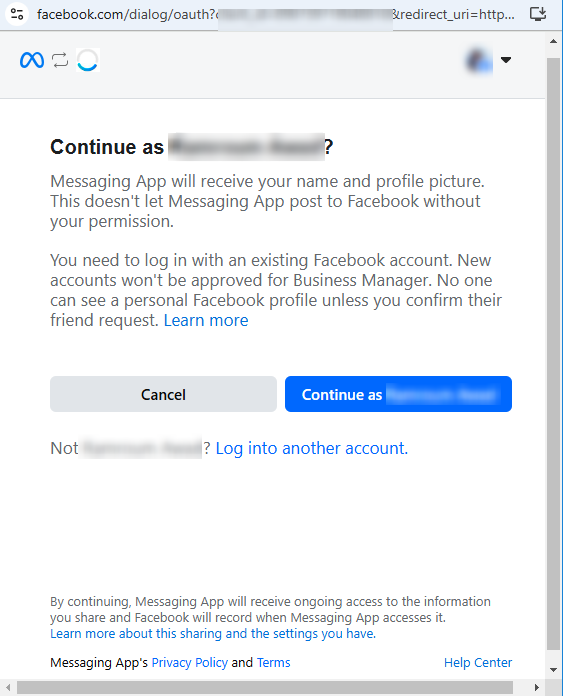
Login to your Meta Business Account and click Continue as [Your Account].
Click Get Started to initiate the setup.
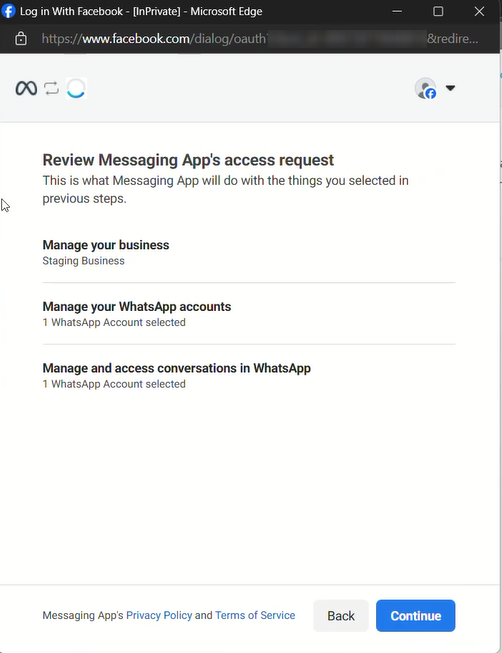
Review and approve permissions, then click Continue.
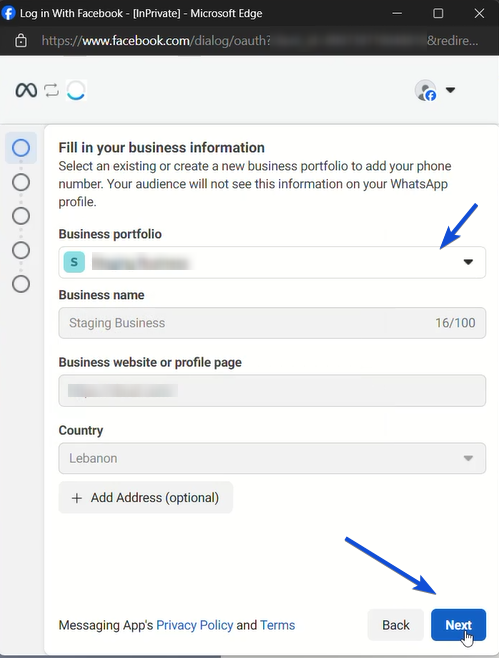
Choose or Create a Business Portfolio:
If you already have a Meta Business Account, select it and proceed or create a new Meta Business Account, by entering your business name, website, email, and country, then click on Next.
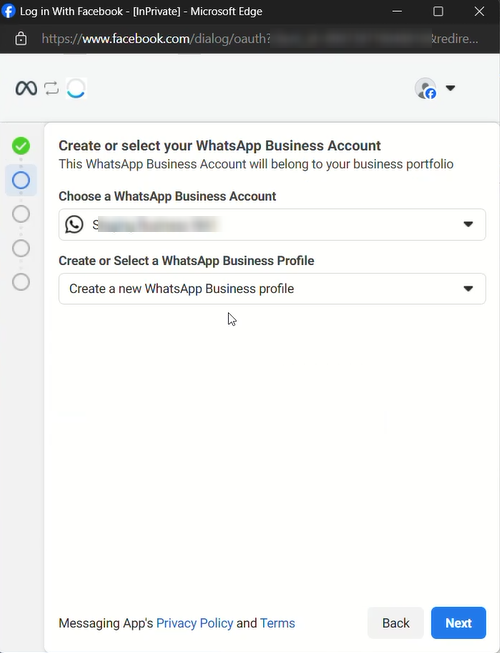
Select or Create a WhatsApp Business Account (WABA):
Select your existing WhatsApp Business Account. or create an account by entering an account name and business type, then click Next.
If you already have a verified number, select it. Otherwise, follow prompts to register and verify a new phone number.
Complete the Setup
Review your permissions and click Continue.
Click Finish to finalize your connection.
Once done, your WhatsApp account will be connected and ready to be used.
Managing your WhatsApp streams:
You can check your WhatsApp messages by following the below steps:
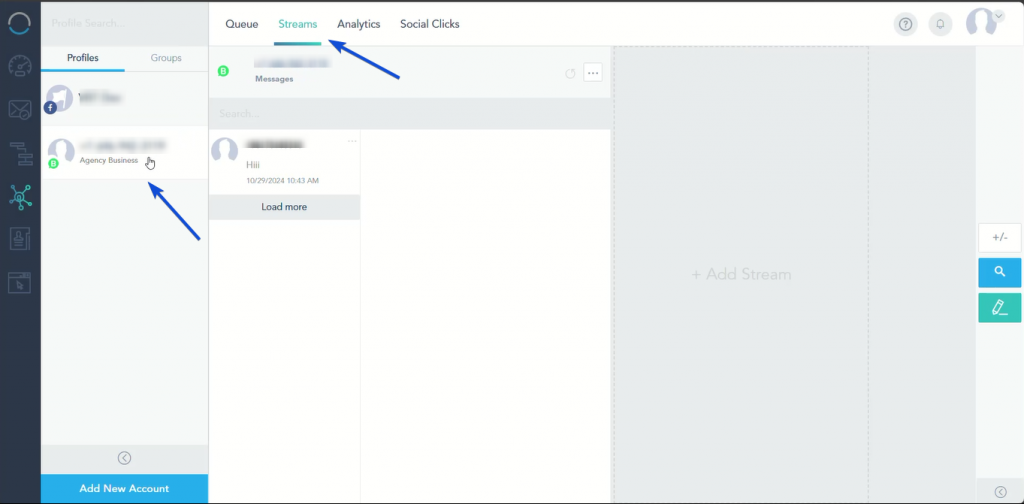
From the Social media tab, Click on Streams.
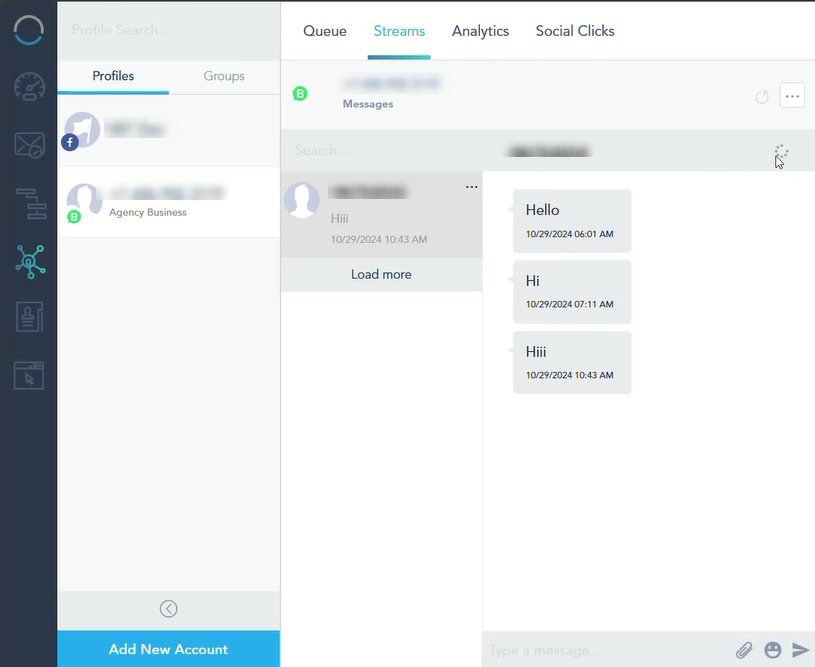
Choose your WhatsApp Account and the contact number you wish to check its stream.
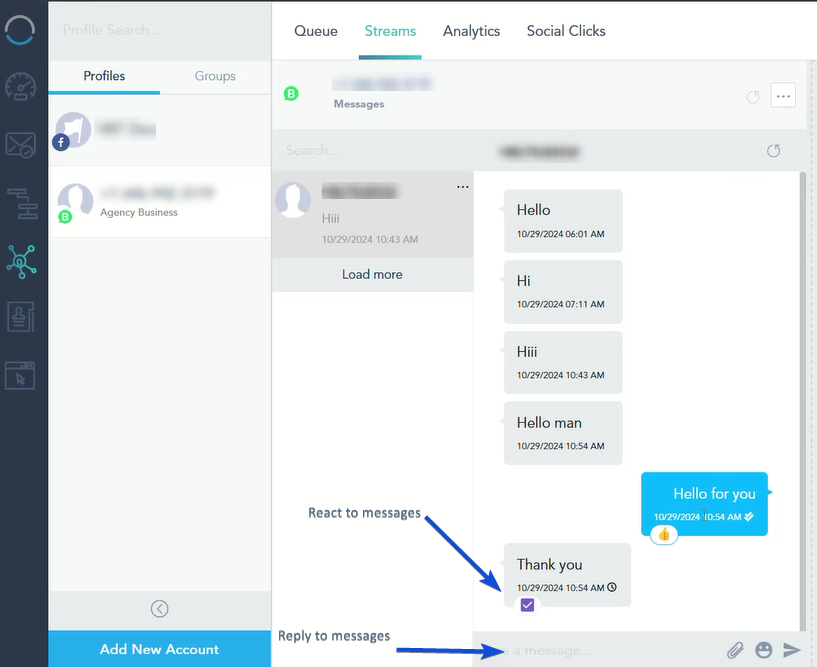
You can reply and react to messages. It supports media, files, and reactions.
Sending WhatsApp messages using Automation
You can use automation to send WhatsApp messages to your contacts from the platform using the below steps:
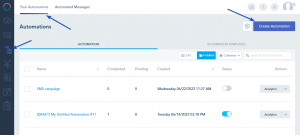
Go to Automation -> Your Automations -> Create Automation.
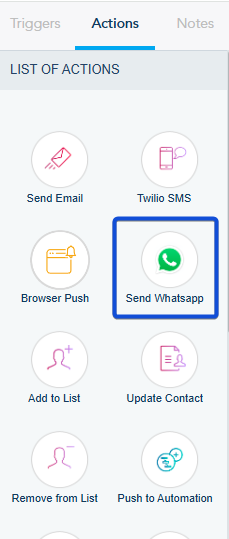
Add a trigger and the “Send Whatsapp” action from the list of actions
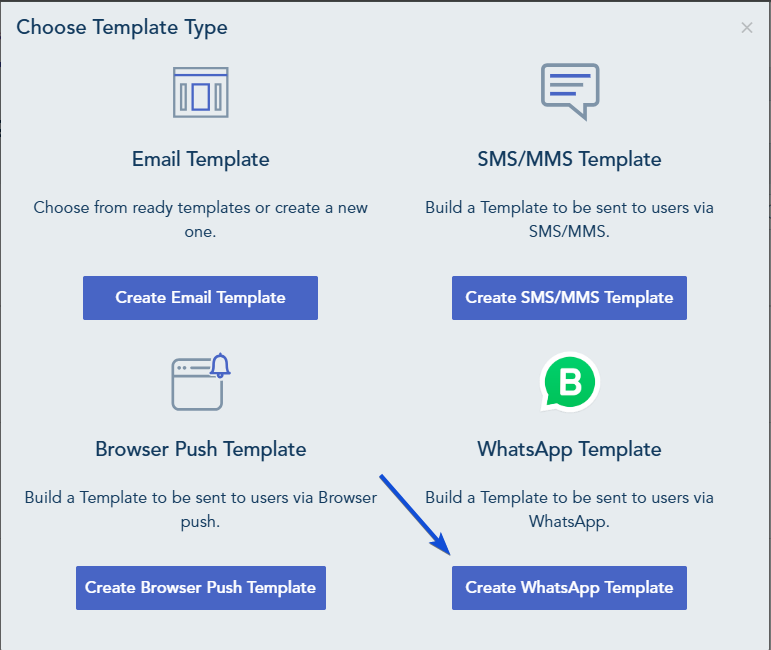
In the action configuration, you can choose a template from the drop-down list or you can choose to CREATE NEW WHATSAPP TEMPLATE.
You can also create a WhatsApp Template by going to Automated Messages -> Create Automated Message -> Create WhatsApp Template.
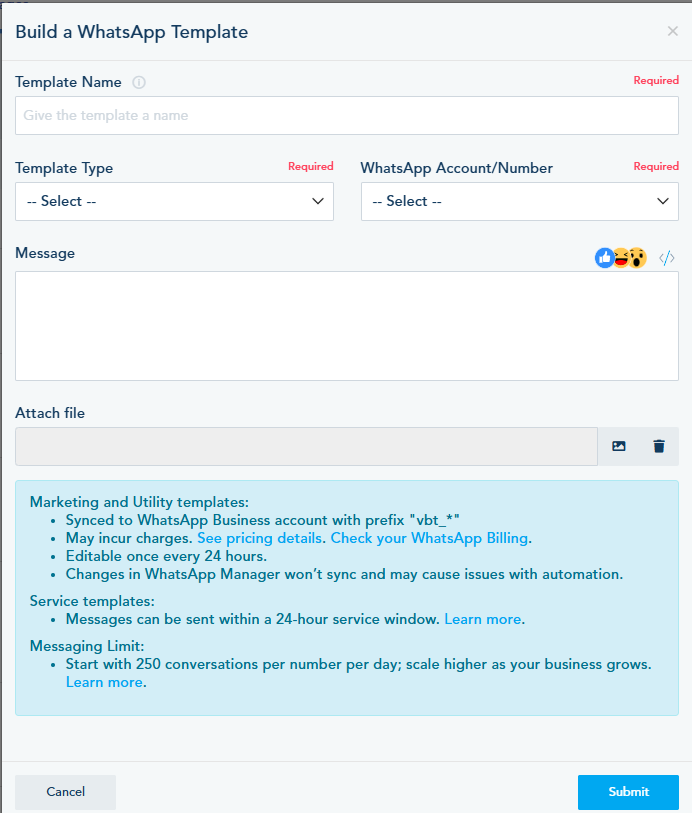
In the WhatsApp Template, you need to select a Type, a number and create your message.
WhatsApp message templates are categorized into Service, Marketing, and Utility templates.
- Service Messages: Provide updates and facilitate customer support. These messages focus on resolving customer queries or providing necessary information. This type of message can be exchanged between you and the customer within a 24-hours response window and they are free of charge (do not use WhatsApp credits).
- Marketing Messages: Promote products, services, or events. These messages are designed to drive customer engagement and sales.
- Utility Messages: Deliver important and time-sensitive information that helps users manage their services or accounts effectively such as alerts, reminders, and updates.
Marketing and Utility messages are pre-approved messages sent to customers outside the 24-hour customer care window. These templates are charged (use WhatsApp Credits) because they initiate a new interaction or are sent after the 24-hour session window expires.
Only WhatsApp Template with “Approved” status can be used to send WhatsApp messages.
Once you have completed your automation flow, you can save and publish your automation.

