
You can use your own domain name or sub-domain to point to your landing pages created on the platform. Furthermore, you can point the same domain name to multiple sub-pages from the same system. Below are simple instructions on how to use your own domain name:
What You’ll Need:
- A domain.
- Administrative access to your domain’s DNS with your domain hosting provider.
- Access to your account.
- A Landing page
Configuring CNAME to point to your landing pages requires the following steps:
Step 1: Choose and register your domain name.
Step 2: Update your DNS settings with your registrar.
Step 3: Add your domain name to the platform and verify it.
Step 4: Point your root domain to the platform.
Step 1: Choose and register your domain name
If you don’t have a domain name already, you’ll need to choose and register one. You can purchase a domain name from a number of popular registrar sites. Our domain partner has good pricing and a simple domain name management. Registrars will charge you an annual service fee to maintain your domain, but the platform itself does not charge you extra for this feature.
Step 2: Update your DNS Settings with your registrar
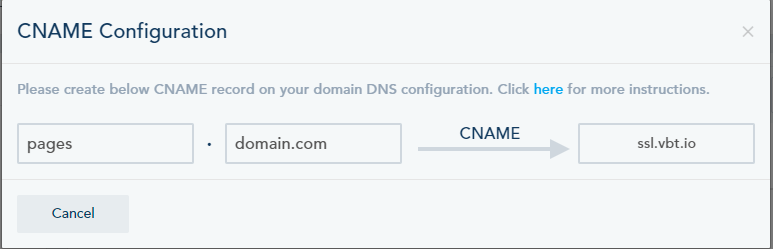
Once you’ve registered your domain name, you’ll need to update the Domain Name System (DNS) settings with your registrar. On your registrar’s DNS settings page, create a CNAME record pointing it to “pages.” so your registrar knows to direct people from all your “xxx.my-business-name.com” subdomains to the platform redirect engine. All registrars should have documentation on how to do this (Our support can always assist you in getting this configuration setup properly).
Below is an example of a domain name DNS configuration:

Step 3: Add your Domain Name to the platform and verify it
After you’ve updated your domain’s DNS settings with your registrar.
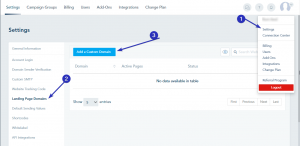
1- Add your Domain Name in Landing Page domains section:
Go to Settings -> Landing Page Domains, click on Add a Custom domain.
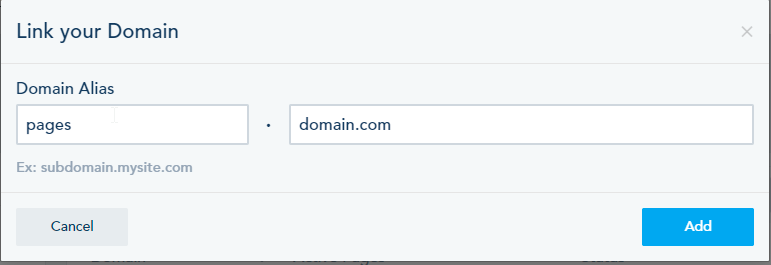
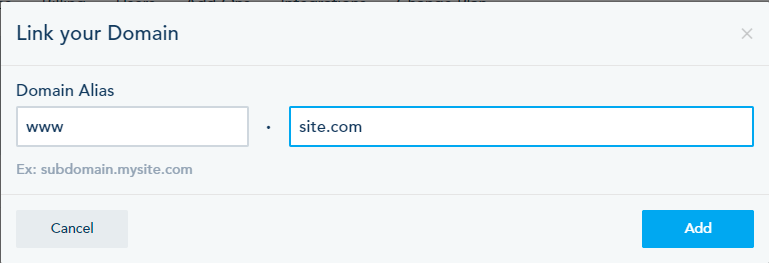
2- Add the subdomain and the domain:
3- Click on Install:
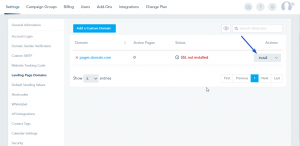
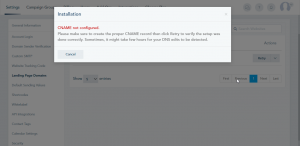
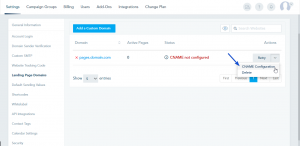
Note: If you did not configure CNAME properly, you will receive this message:
4- Once you properly configure CNAME, you will see the following:

5- Once the SSL setup is completed, you will have a custom domain configured and secured:
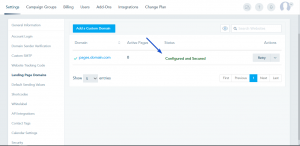
You can edit CNAME configuration by clicking on the drop-down menu:
and edit the configuration:
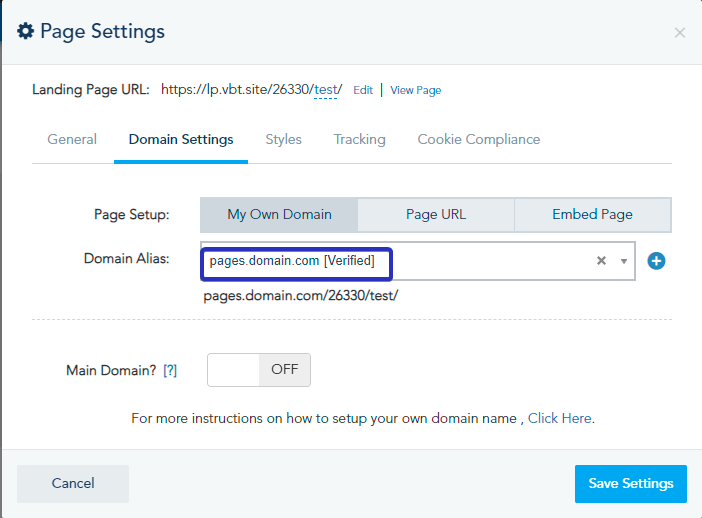
6- Go to your landing page, and click on Tools -> Page Domain.
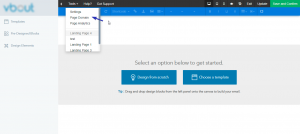
7- Choose your domain from the drop-down in Domain Alias and Save Settings.
Once you complete this setup you will be able to use your custom subdomain to point to your created landing page using this format: subdomain.my-business-name.com/page/[PAGE-ID] where page ID is the unique identifier of the page.
Note: The Page ID cannot be removed from the Page URL.
Step 4: Point your Root Domain to the platform
Making your root domain point to your landing page instead of a subdomain (i.e: adding www.mysite.com) follows the same concept as above with a couple additional steps involved:
1- Add your main domain to Landing page Domains section in settings. i.e: add www.mysite.com or mysite.com to your settings.
2- On the CNAME configuration of your domain you will have to add 2 records one for www.mysite.com, and the other for *.mysite.com and make each one of them point to ssl.vbt.io
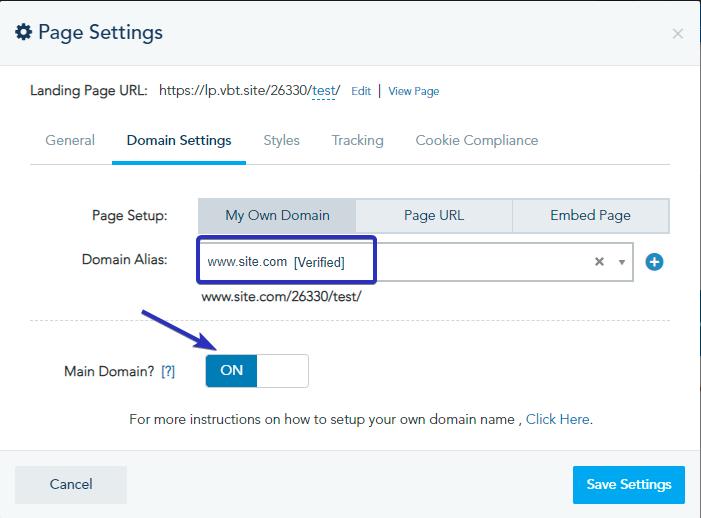
3- Activate the option to point to a root domain.
NOTE: if you are using Godaddy, you won’t be able to point your Wildcard domain to an external site. You will have to use Godaddy’s domain forwarding to redirect from yoursite.com to www.yoursite.com.
To find out more about Landing Pages, click here.