When starting to build your AI chatbot workflow, you have the option to add conversation starters. Follow these instructions to create and configure your chatbot effectively.
For comprehensive details on creating the AI chatbot, please refer to this link.
After adding your chatbot input, navigate to the Actions section.
– Add your chatbot to start designing and configuring its appearance and behavior.
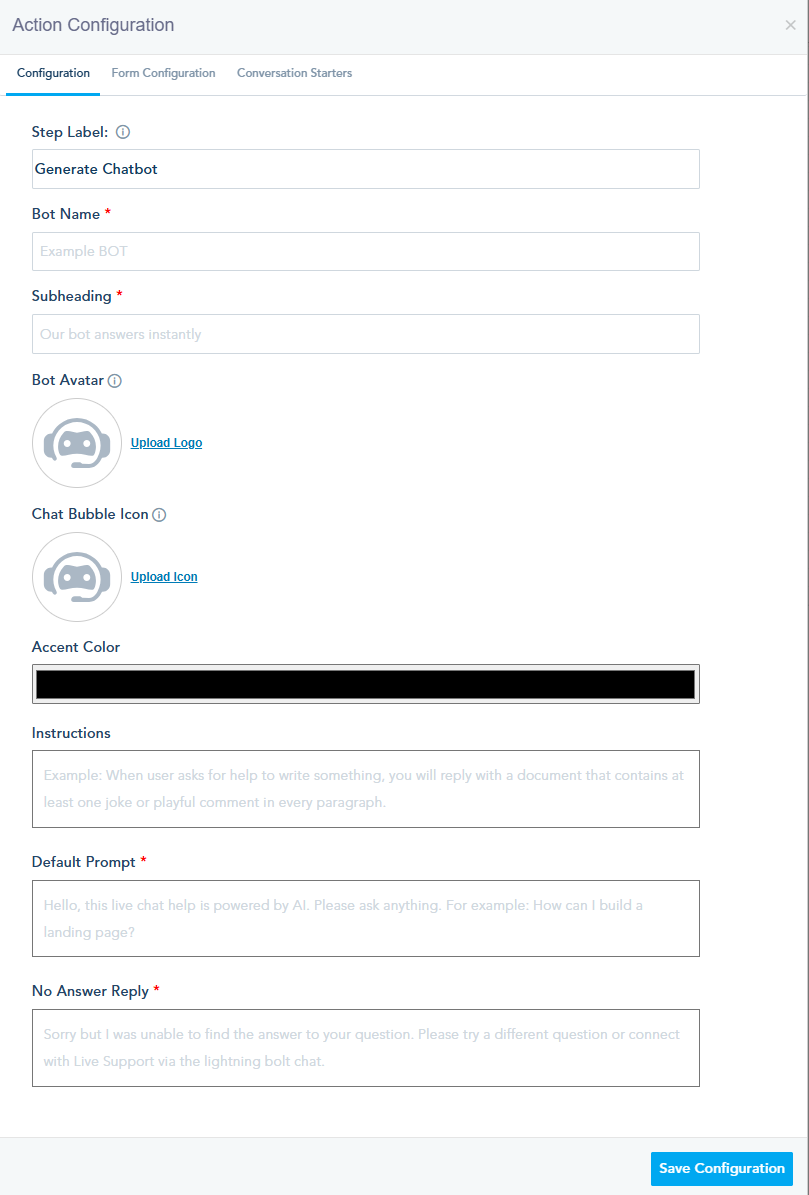
– Configuration:
Give your bot a name, subheading, and avatar. Customize the chat bubble icon and theme color to align with your brand identity. Provide instructions for how the bot should respond to queries, set a default prompt for initiating conversations, and define responses for unanswered questions.
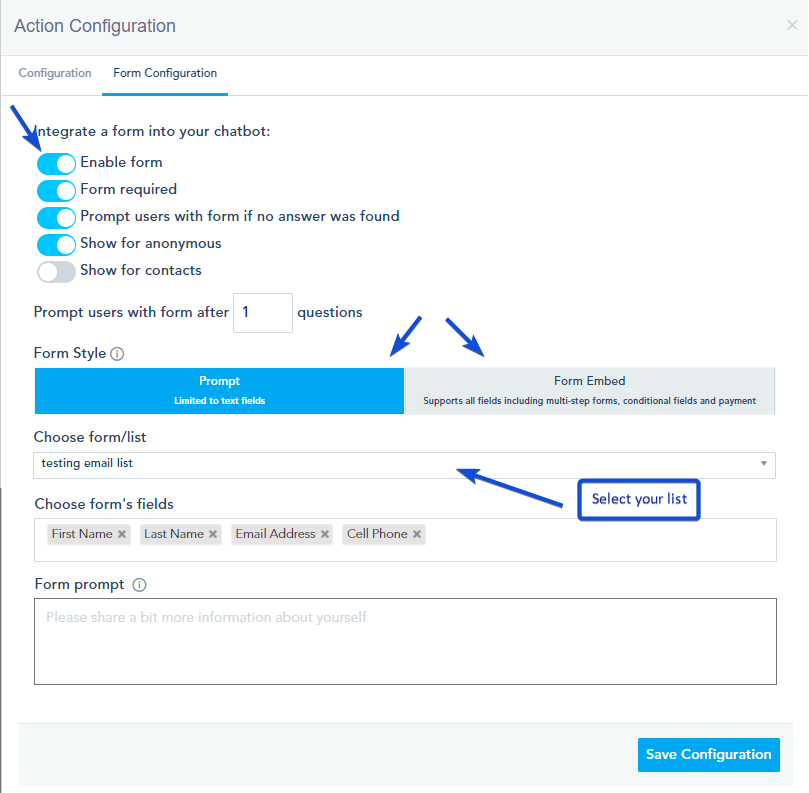
– Form Configuration
You can add a form to collect user data in your chatbot by navigating to the Form Configuration and enabling this option. For more details, please check this link.
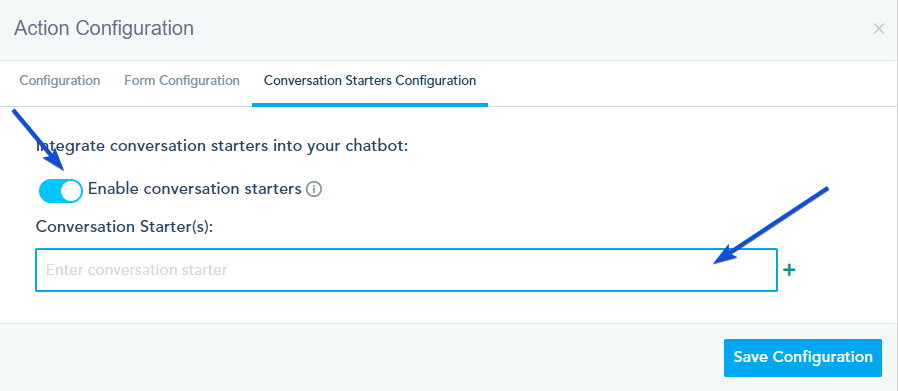
– Conversation Starters Configuration
By enabling this option, you can add multiple conversation starters for the user to begin asking the bot.
Then, you can add your chatbot outputs.
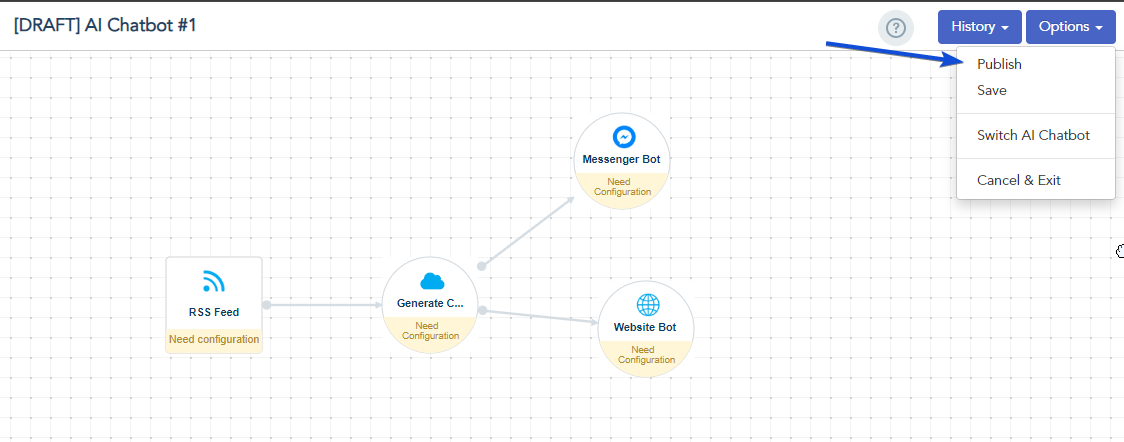
Once your Chatbot setup is complete, Click on “Publish” to make it live.
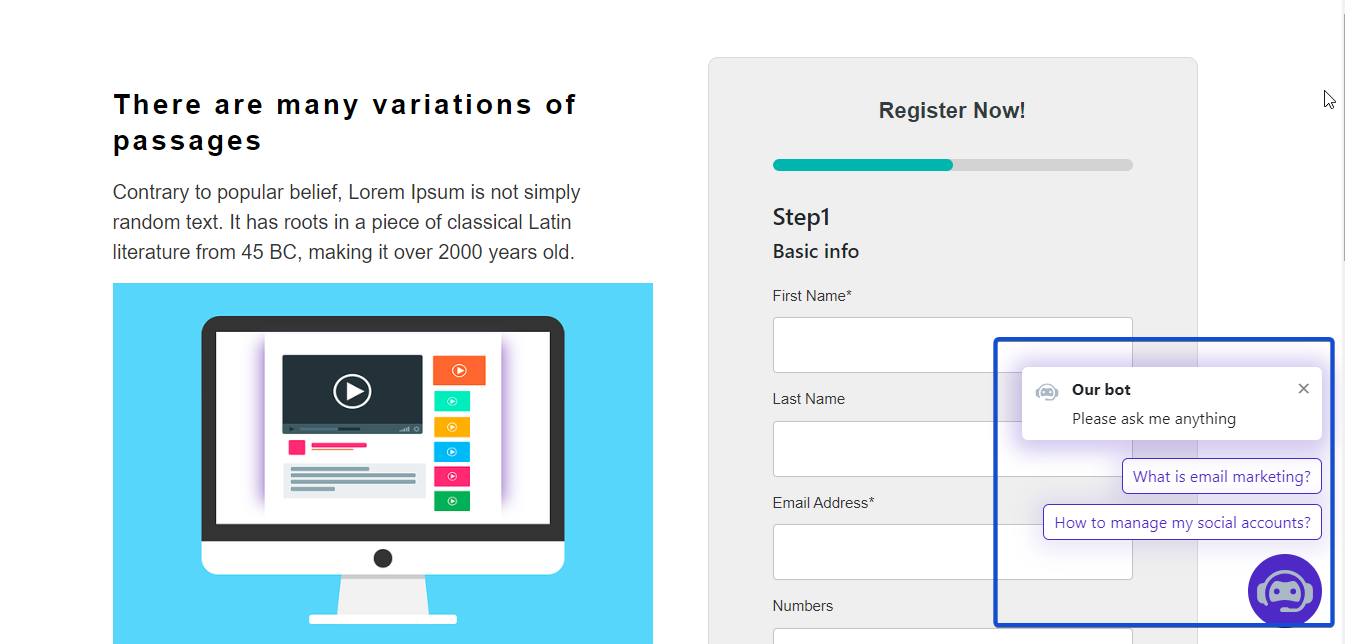
Once published, your chatbot will be displayed as shown below. Users can click on any of the conversation starters to begin their chat with that question.